Disclosure: This post contains affiliate links. If you make a purchase through one of these links, we may earn a small commission at no additional cost to you. As an Amazon Associate, we earn from qualifying purchases.
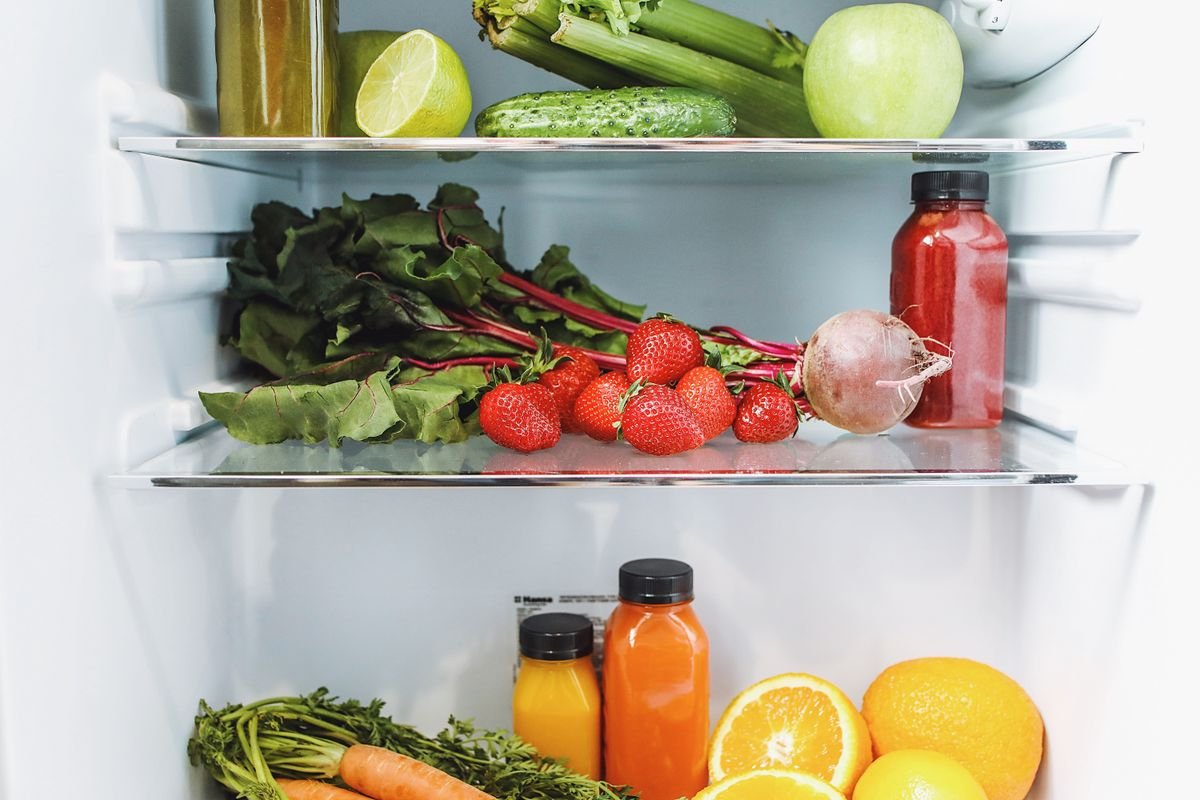
Most fridges are organized by one rule: put it wherever it fits. The milk lands in the door, the leftovers get pushed behind the pickles, and the spinach you bought with good intentions turns into a sad green puddle in the back of the drawer.
Here is the thing most people never hear: your refrigerator is not one temperature. The door swings open dozens of times a day and runs warmer than the shelves, the crisper drawers hold humidity differently, and the bottom shelf is the safest place for anything that might drip. Once you treat each area as its own zone with its own job, the fridge almost organizes itself, and food lasts longer because it sits where it belongs.
So instead of another list of tips, here is a zone map. Walk through your fridge top to bottom with it once, and you will have a system you can keep up in about ten minutes a week.
Before You Start: Clear It, Check It, Set It
Pick a moment right before grocery day, when the fridge is at its emptiest. Take everything out, toss anything expired or forgotten, and wipe the shelves and drawers with warm soapy water. Then check the temperature: the U.S. Food and Drug Administration recommends keeping your refrigerator at 40°F (4°C) or below. A cheap appliance thermometer on the middle shelf tells you more than the dial ever will.
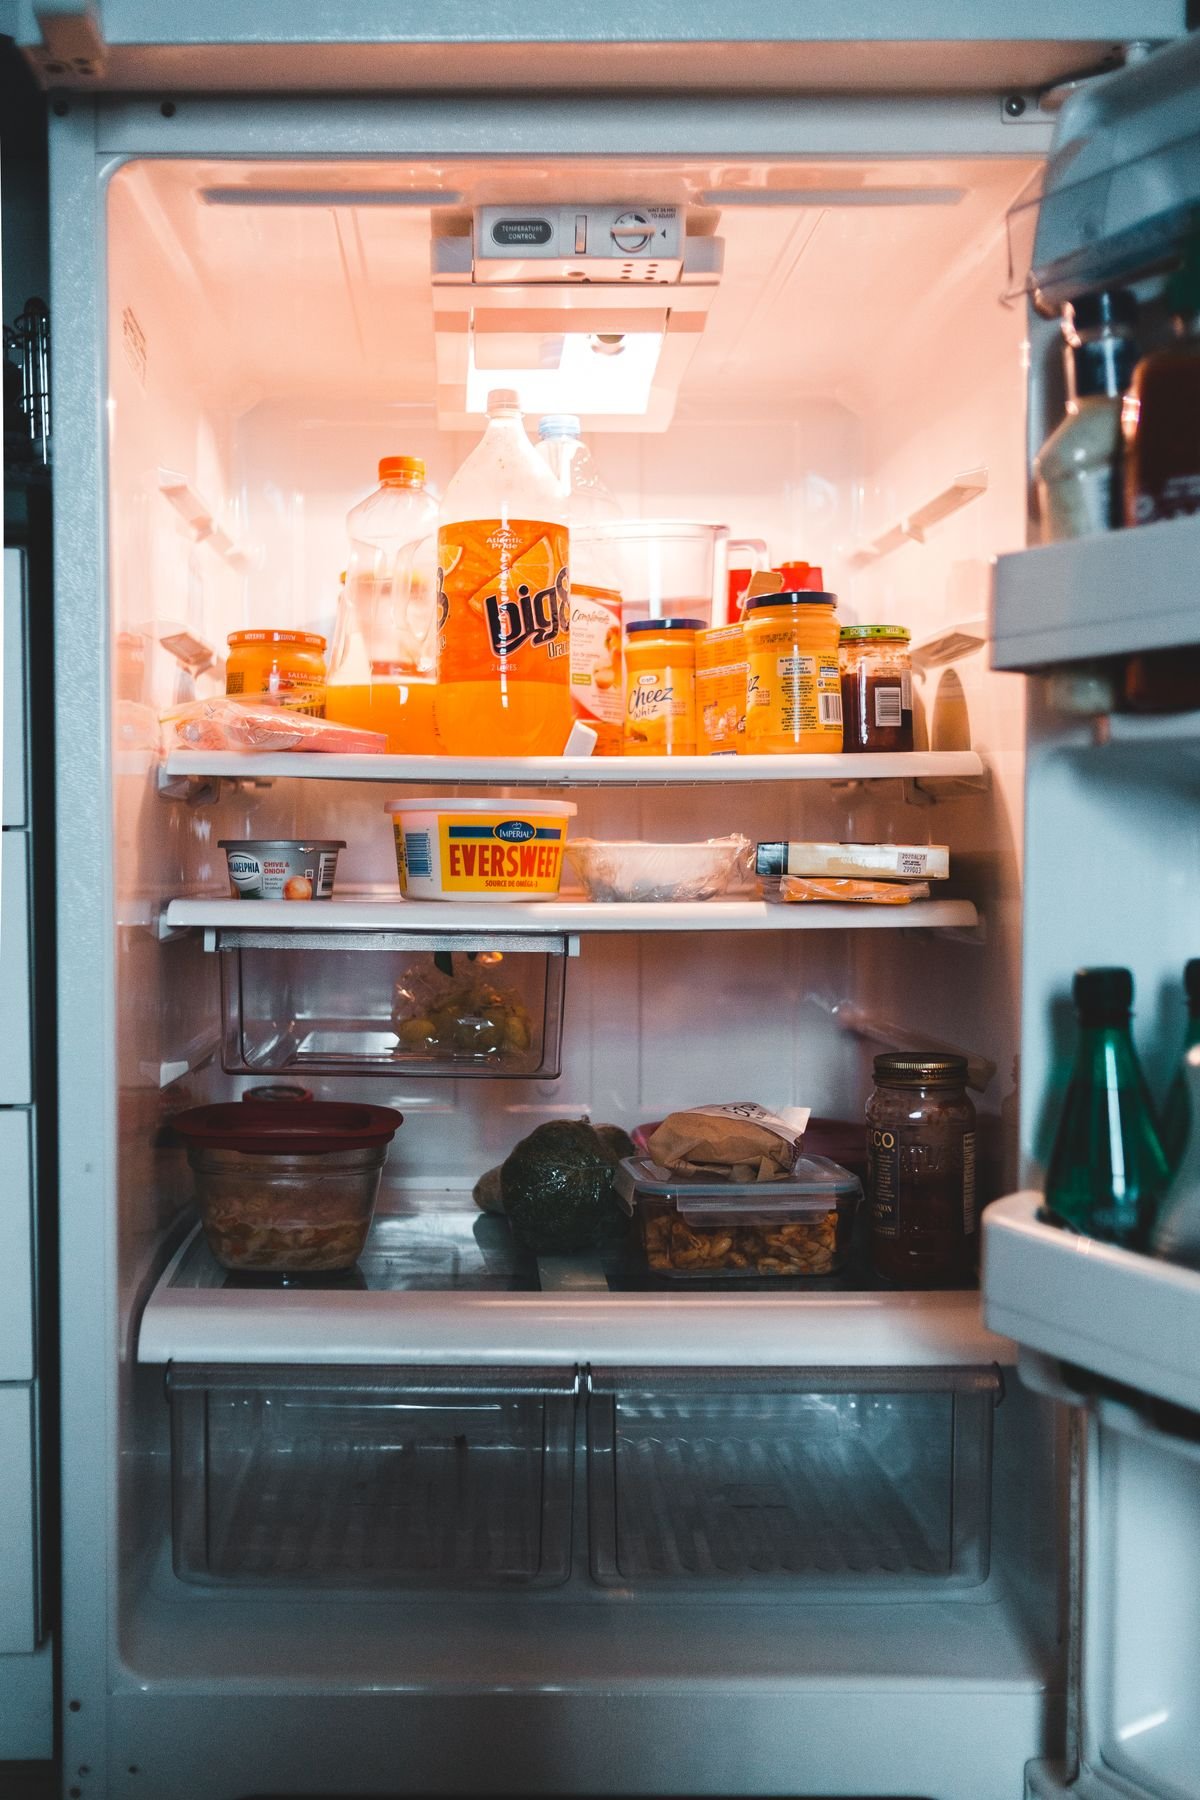
Now put things back zone by zone, starting at the top.
Zone 1: The Door (Warmest Spot)
What goes here: condiments, sauces, salad dressings, jams, pickles, butter, bottled water and juice.
Why: every time the door opens, the shelves inside it get a blast of room-temperature air. That is fine for vinegar-, salt- and sugar-heavy foods that are naturally more stable. It is not the place for milk or eggs, even if your fridge came with a little egg tray in the door. The USDA suggests keeping eggs in their original carton on an interior shelf.
Setup tip: group the door by meal, not by size. One shelf for sandwich stuff (mustard, mayo, pickles), one for cooking (soy sauce, chili paste, lemon juice), one for drinks. You will stop opening three jars to find the right one.
Zone 2: The Top Shelf (Ready to Eat)
What goes here: leftovers, yogurt, hummus, deli items, snacks and anything that needs no cooking.
Why: food-safety guidance is simple: ready-to-eat foods go above raw foods, so nothing drips onto something you will not cook. The top shelf is also at eye level for most adults, which makes it the perfect home for the food you actually want people to eat first.
Setup tip: create an Eat First bin at the front of this shelf for leftovers and anything opened. USDA guidance is to eat most cooked leftovers within three to four days, so a single visible bin keeps them from disappearing behind the juice. Clear bins with handles help here: you slide the whole group out instead of digging.
Sorbus Fridge Organizer Bins (6-Piece Set)

If you want to set up zones without buying a dozen random containers, this mixed set covers the main jobs in one go: wide bins for an Eat First zone and produce, narrow bins for yogurt or jars, and a can organizer for drinks.
- Mixed sizes — 2 wide bins, 2 narrow bins, a 12-can organizer and an egg holder
- Clear and stackable — you see what is inside each zone at a glance
- BPA-free and easy to clean — pull a bin out, rinse it, slide it back
Check Current Price on Amazon →
As an Amazon Associate we earn from qualifying purchases. Price and availability may change.
Zone 3: The Middle Shelves (Dairy and Eggs)
What goes here: milk, cream, cheese, eggs (in the carton) and anything that spoils quickly when it warms up.
Why: the interior shelves hold a steadier temperature than the door. Dairy is one of the first things to turn when it sits in that warm door shelf, so moving the milk inside is the easiest freshness upgrade you can make today.
Setup tip: put the tallest items, like milk jugs and juice cartons, at the back and toward the sides, and shorter items in front. Nothing should hide behind something taller than itself.
Zone 4: The Bottom Shelf (Raw Meat and Thawing)
What goes here: raw meat, poultry and seafood, plus anything thawing from the freezer.
Why: raw juices can carry bacteria, and gravity is not your friend. Keeping raw proteins on the lowest shelf means a leaky package can only drip onto the shelf, not onto your lunch. Thawing in the fridge, rather than on the counter, is also the method food-safety agencies recommend.
Setup tip: keep raw items inside a rimmed tray or a dedicated bin that you can lift out and wash. Label it so nobody in the house puts the cheese in there by accident.
Zone 5: The Crisper Drawers (Produce, Split by Humidity)
What goes here: fruits and vegetables, but not all in the same drawer.
Why: many crisper drawers have a small slider that opens or closes a vent. A closed vent (higher humidity) keeps leafy greens, herbs, carrots and other vegetables that wilt from drying out. An open vent (lower humidity) suits fruits like apples and pears, which give off ethylene gas that speeds ripening in the produce around them. Mixing them is a big reason the lettuce goes limp so fast.
Setup tip: one drawer for vegetables, vent closed. One drawer for fruit, vent open. If your fridge has no sliders, store greens loosely wrapped in a dry paper towel inside a bin, and keep apples on their own.
The 10-Minute Weekly Reset
A zone map only works if it gets a little maintenance. Right before you put new groceries away, run through this quick reset:
- Empty the Eat First bin: eat it tonight, freeze it, or toss it.
- Pull older items to the front of each zone, so new groceries go in behind them.
- Wipe any spills, especially on the bottom shelf.
- Check that the crisper vents are still set the way you want them.
- Glance at the thermometer. Still at 40°F or below? You are done.
The Bottom Line
You do not need a bigger fridge or a full set of matching containers to make this work. Start by moving the milk out of the door and giving leftovers one visible home on the top shelf. Once those two habits stick, add bins where things keep getting lost; a small mixed set like the Sorbus 6-piece fridge organizer is an easy place to begin.
Which zone in your fridge is the messiest right now: the door, the drawers, or the mystery back corner? Tell us in the comments, and share the one trick that keeps your fridge under control.
Leave a Reply