Blog

  • How Many Sheets and Towels Do You Actually Need? A Linen Closet Guide by the Numbers

    How Many Sheets and Towels Do You Actually Need? A Linen Closet Guide by the Numbers

    Disclosure: This post contains affiliate links. If you make a purchase through one of these links, we may earn a small commission at no additional cost to you. As an Amazon Associate, we earn from qualifying purchases.

    Most linen closets don’t have a storage problem. They have a quantity problem. Somewhere behind that door are fitted sheets for a mattress you sold years ago, a stack of thin towels nobody reaches for, and a duvet that only comes out when relatives visit. No shelf riser or basket can fix a closet that simply holds more than a household uses.

    So instead of starting with containers, this guide starts with numbers. Below you’ll find realistic counts for sheets, towels, pillowcases and blankets, a quick way to audit what you own, and a shelf plan that keeps the right amount within reach.
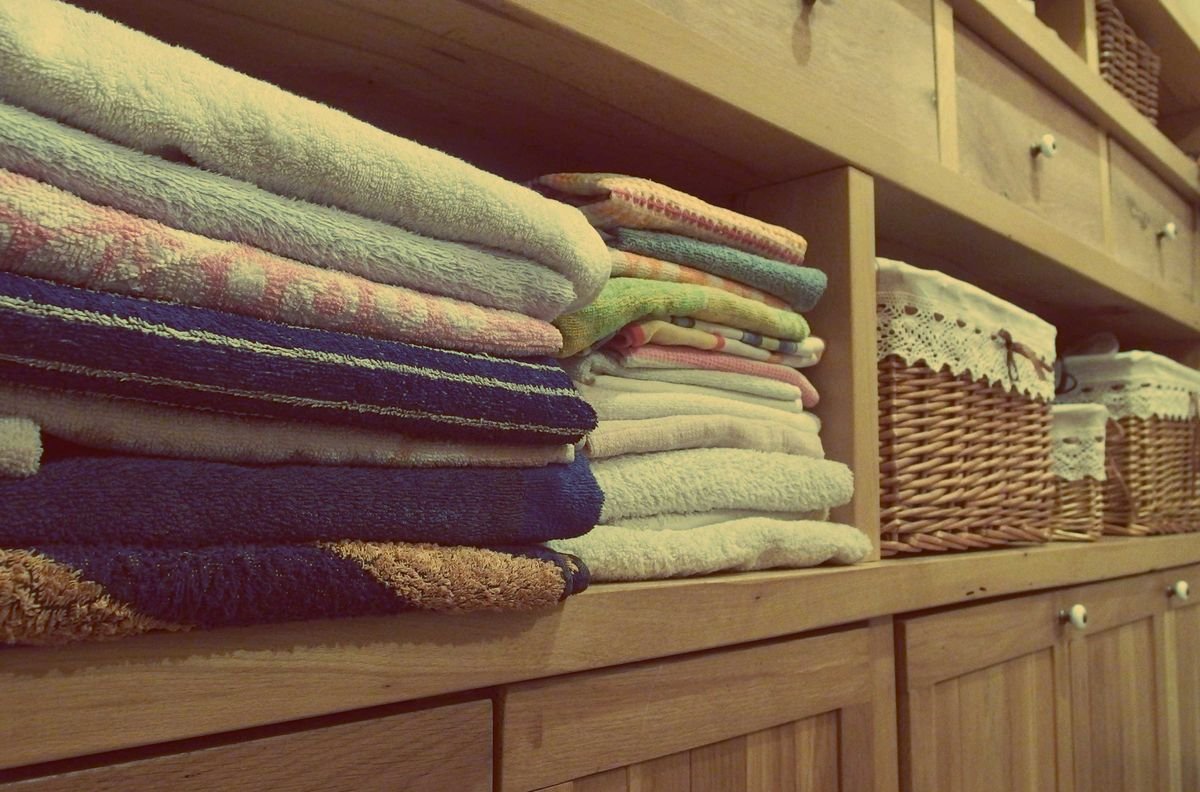
    Folded bath towels stacked on wooden shelves next to woven storage baskets in a linen closet

    The Short Answer: A Realistic Linen Count

    These numbers assume you do laundry about once a week. If you wash more often, you can go lower; if laundry day tends to slip, add one more of each.

    ItemHow manyWhy this number works
    Sheet sets2 per bedOne on the bed, one clean and ready
    Guest sheet set1 per guest bedLives with the guest room, not the main stack
    Extra pillowcases2 per bedThey wear out and stain faster than sheets
    Bath towels2 per personOne in use, one in the wash
    Hand towels2–3 per bathroomThey get changed more often than bath towels
    Washcloths4–6 per personSmall, cheap, and used daily
    Guest towels1 set per expected guestA matching set saves the frantic search
    Spare blankets1 per bed + 1–2 throwsCovers cold snaps and sick days

    For a couple with one guest room, that works out to roughly six sheet sets, eight bath towels and three or four blankets. Most closets hold far more than that, which is exactly why they overflow.

    Step 1: Count What You Actually Have

    Pull everything out and sort it into piles by category: sheets, pillowcases, bath towels, hand towels, washcloths, blankets, and “other” (table linens, beach towels, the mystery fabric). Then write down a count next to each pile. Seeing “14 bath towels” on paper when the table above says eight is far more persuasive than a vague sense that the shelf is full.

    While you count, check each item against three quick questions: Does it fit a bed or bathroom you still have? Is it in good shape, without holes, stretched elastic or stubborn stains? Would you actually choose it over the others in the pile? Anything that fails one of those questions is a candidate to leave.

    Step 2: Keep the Best, Not the Oldest

    Once you know your target number, keep your favorites up to that count. People tend to hold onto the oldest linens out of habit and save the nicest ones “for good.” Flip that. Use the soft towels and the sheets you love every week, and let the worn-out backups go. If you’d like a small reserve, keep just one extra set of each item rather than a whole second shelf.

    Stack of neatly folded knit throw blankets in cream, pink and mustard tones

    Step 3: Give Bulky Bedding Its Own Home

    Comforters, duvets and winter blankets are the real space hogs. A single king comforter can swallow an entire shelf. Since most households only swap these seasonally, they don’t need prime, eye-level real estate. Fold them into soft, zippered storage bags and move them to the top shelf, the closet floor, or under a bed. A bag with a clear window lets you see what’s inside without unzipping every one.

    ★ Our Pick

    Lifewit 3-Pack 100L Blanket Storage Bags

    Three gray Lifewit fabric storage bags with clear front windows showing folded blankets inside

    If comforters and spare blankets are crowding out your everyday sheets and towels, these soft zippered bags let you pack bulky bedding into neat, stackable cubes that slide onto a top shelf or the closet floor.

    • Sized for bedding — each bag holds about 100 liters, roomy enough for a comforter, a duvet or a couple of thick blankets
    • Clear front window — see what’s inside at a glance, no unzipping and digging
    • Easy to move — reinforced side handles and two-way zippers make pulling them down from a high shelf simple

    Check Current Price on Amazon →

    As an Amazon Associate we earn from qualifying purchases. Price and availability may change.

    Step 4: Store Sheets as Complete Sets

    Loose fitted sheets, flat sheets and pillowcases scattered across a shelf are the reason making the bed turns into a scavenger hunt. Fold the fitted sheet, flat sheet and one pillowcase, then tuck everything inside the second pillowcase. You end up with one tidy bundle per set, and grabbing a fresh set takes seconds. Label the shelf edge by bed size (Queen, Twin, Guest) so nobody mixes them up.

    Step 5: Arrange Shelves by How Often You Reach

    With the counts settled, the layout almost designs itself:

    • Eye level: bath towels and the sheet sets you use weekly.
    • Waist level: hand towels and washcloths, ideally in an open basket so kids can reach them too.
    • Top shelf: guest linens, seasonal blankets and bagged comforters.
    • Floor: a laundry basket or a bin of backup toiletries if space allows.

    Leave a little breathing room on each shelf. A closet packed edge to edge looks organized for a week, then collapses the first time someone pulls a towel from the bottom of a stack.

    Close-up of a tall stack of neatly folded linen fabric

    What to Do With the Extras

    Linens in good condition can go to a local shelter or a donation center. Worn towels and sheets are often welcome at animal shelters and rescues, which use them for bedding and cleanup, so call ahead and ask what they accept. Anything too far gone can become cleaning rags. Keep a few in a small bin in the garage or under the sink and recycle the rest through a textile drop-off if your area has one.

    The Takeaway

    A calm linen closet starts with a number, not a product. Two sheet sets per bed, two bath towels per person, one spare blanket per bed, and a single small reserve is enough for most homes. Count what you have, keep your favorites up to that number, give bulky bedding a home of its own, and arrange the rest by how often you reach for it. The closet will stay tidy because there’s simply less to keep tidy.

    How many towels are hiding in your linen closet right now? Share your count, or your favorite folding trick, in the comments below.
  • 5 Kitchen Drawer Myths That Keep Your Utensils in Chaos (and What Actually Works)

    5 Kitchen Drawer Myths That Keep Your Utensils in Chaos (and What Actually Works)

    Disclosure: This post contains affiliate links. If you make a purchase through one of these links, we may earn a small commission at no additional cost to you. As an Amazon Associate, we earn from qualifying purchases.

    Every kitchen has one: the drawer that sticks halfway because a ladle handle is jammed sideways, the one where the can opener hides under three takeout menus, the one you open, sigh at, and close again. Most of us respond the same way each time. We buy another gadget, shove things around for ten minutes, and the chaos is back by Thursday.

    The problem usually isn’t effort. It’s a handful of common beliefs about kitchen drawers that sound sensible but quietly work against you. Below are the five we hear most often, why they don’t hold up, and what to do instead.

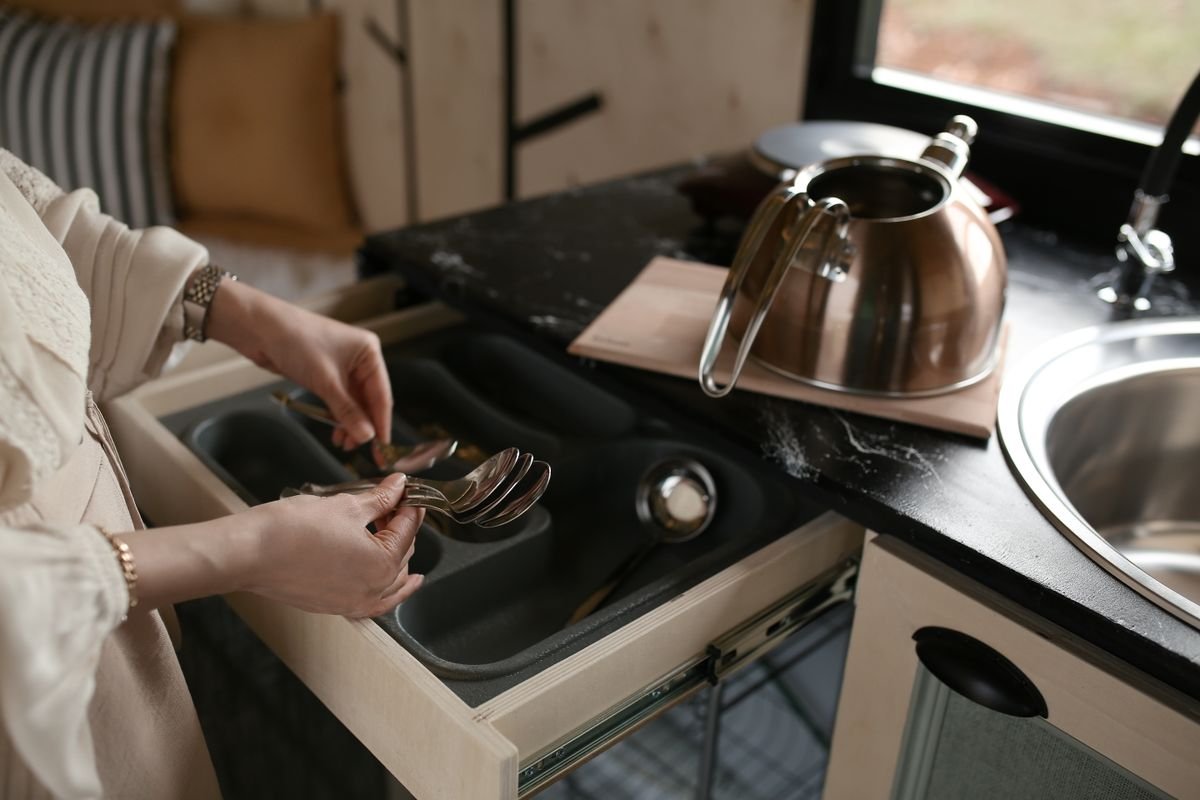
    Hands placing spoons into a cutlery tray inside an open kitchen drawer

    Myth #1: You Need More Drawer Space

    The reality: most cluttered drawers aren’t too small. They’re carrying duplicates. Pull everything out of your main utensil drawer and lay it on the counter grouped by type. It’s very common to find three vegetable peelers, two pizza cutters, a drawer’s worth of mismatched measuring spoons, and four spatulas when you only ever reach for one.

    Try this: keep the one you actually use from each group, plus a backup only for things you use daily and that wear out (like a peeler). Everything else goes into a donation box. If you’re nervous about letting go, put the extras in a labeled bin in the garage for 60 days. If you never open the bin, donate it without looking inside. Most people free up a third of the drawer before buying a single organizer.

    Myth #2: Any Organizer Tray Will Fix It

    The reality: a tray that doesn’t fit your drawer creates new problems. Too small, and it slides forward every time you yank the drawer open, while loose items collect in the gap behind it. Too tall, and the drawer above scrapes the handles. Fixed-size trays are designed for an “average” drawer that very few kitchens actually have.

    Try this: measure the inside of the drawer, not the front panel: width wall to wall, depth front to back, and the usable height (close the drawer and check clearance against the frame above). Then choose an organizer that expands to fill the width so nothing can shift. Leave roughly half an inch of play so the tray goes in and out easily for cleaning. Assign compartments by frequency, with forks and spoons in the slots closest to you and rarely used pieces like the cake server at the back.

    ★ Our Pick

    Pipishell Expandable Bamboo Silverware Organizer (Large)

    Pipishell expandable bamboo silverware drawer organizer with multiple compartments

    If your current tray slides around or leaves dead space on the sides, an expandable organizer solves the fit problem from Myth #2: it widens until it meets the drawer walls, so nothing shifts when you open the drawer.

    • Expands to fit — adjusts from about 13 to 19.6 inches wide to match your drawer
    • 6 to 8 compartments — room for flatware plus longer tools along the extending side sections
    • Bamboo build — sturdy and easy to wipe clean with a damp cloth

    Check Current Price on Amazon →

    As an Amazon Associate we earn from qualifying purchases. Price and availability may change.

    Myth #3: Every Utensil Belongs in a Drawer

    The reality: long, bulky tools like ladles, whisks, tongs, and wooden spoons are the main reason drawers jam. They don’t fit neatly in standard compartments, they tangle, and you end up digging for them mid-recipe while something burns.

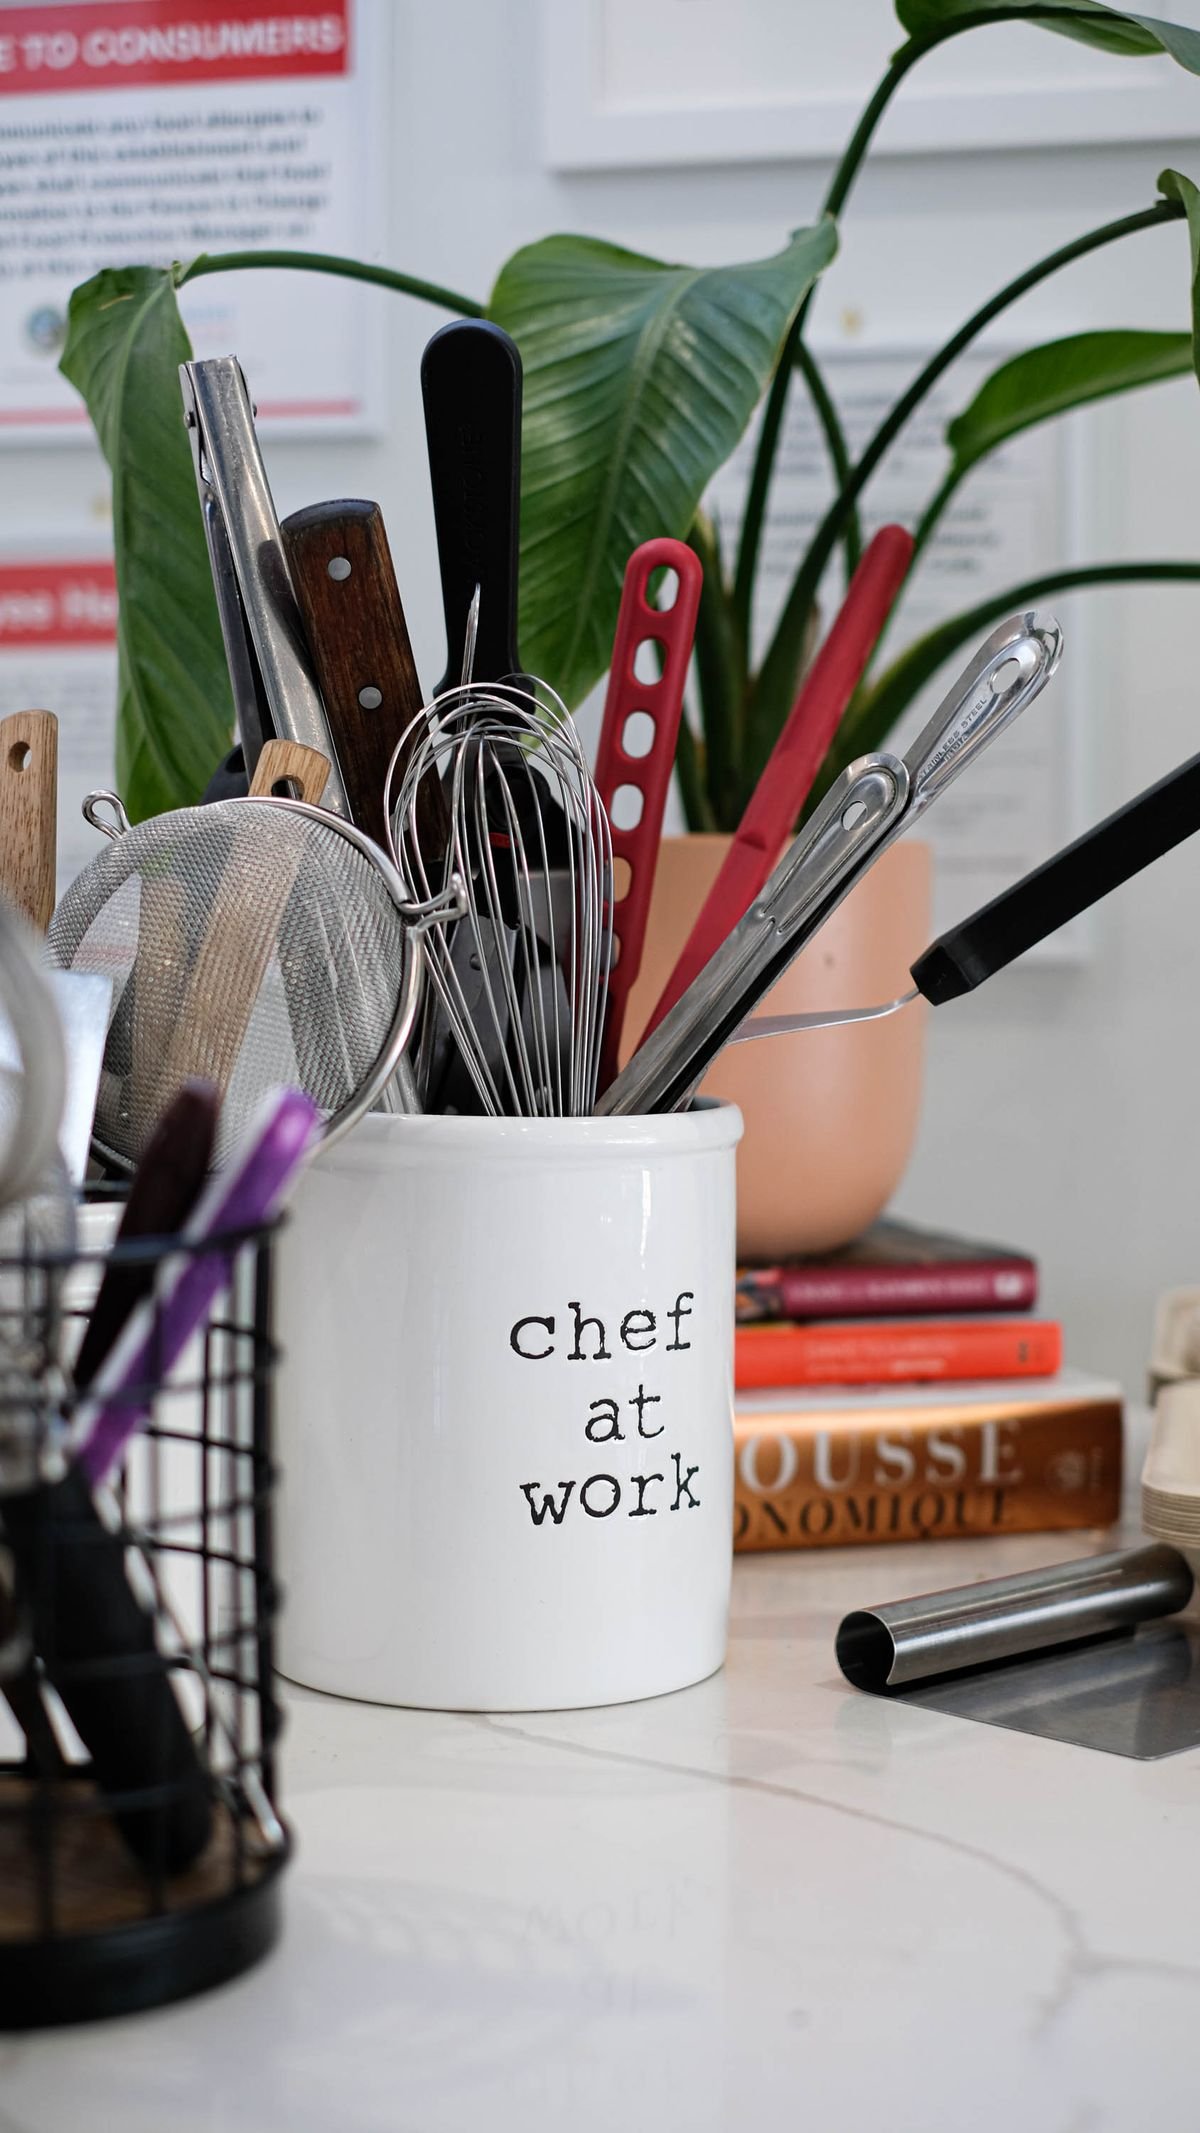
    Countertop utensil crock filled with whisks, tongs and spatulas

    Try this: move your five to eight most-used cooking tools into a sturdy crock right next to the stove. That’s where you need them, and you can grab one with one hand. Pick a crock with a heavy base so it doesn’t tip when you pull out tongs. The rule that keeps it from turning into countertop clutter: if a tool hasn’t left the crock in a month, it goes back into a drawer or out of the house. Your drawer instantly gets lighter and closes properly again.

    Myth #4: The Junk Drawer Is a Lost Cause

    The reality: the junk drawer isn’t a failure. It’s a real need, because every home has batteries, rubber bands, tape, and spare keys that don’t belong anywhere else. It only becomes a mess when it has no structure and no limits.

    Try this: give it a job description. Line it with a few small open bins (old jar lids and small food containers work fine) and decide on four or five categories: tools, tape and glue, batteries and chargers, keys, and “pending” for things you aren’t sure about yet. When the pending bin is full, sort it. Once a month, set a five-minute timer, toss dried-out pens and mystery screws, and put everything back in its bin. A junk drawer with categories is just a utility drawer with a funny name.

    Myth #5: Deep Drawers Are Only for Pots

    The reality: deep drawers are often the most versatile storage in the kitchen, but stacking things in them wastes them. Anything at the bottom of a pile is effectively lost.

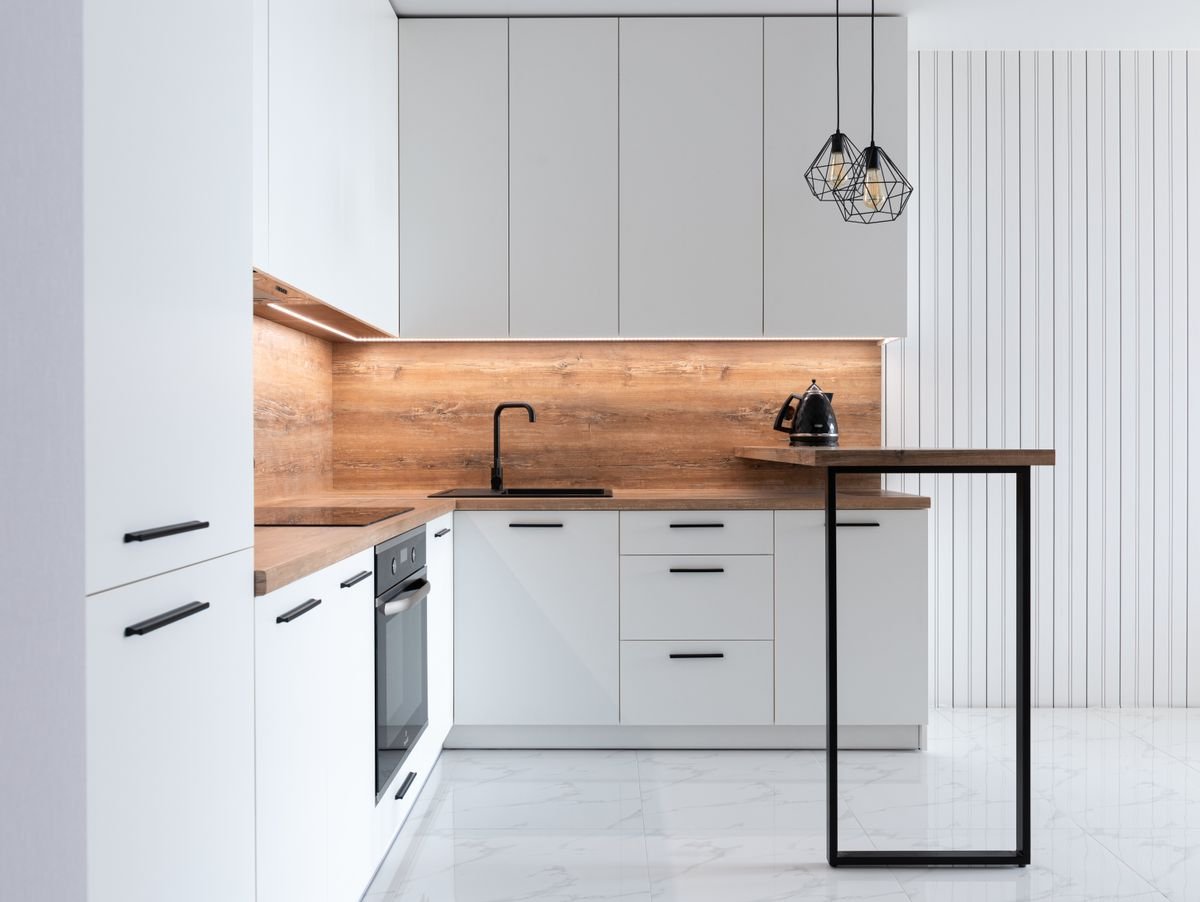
    Modern white kitchen with a stack of shallow and deep drawers

    Try this: think vertically. Store baking sheets, cutting boards, and pot lids on their edges, like files in a cabinet, using simple dividers or a tension rod. Nest food storage containers by shape and keep their lids standing upright in a separate section. Use shallow top drawers for flat, frequently used items (flatware, measuring spoons, wraps) and save the deep drawers for anything taller than your hand. The goal is that you can see and lift out any single item without moving another one first.

    The Short Version

    A calm kitchen drawer comes down to a few simple moves: cut duplicates before buying anything, choose an organizer that actually fits the drawer (an expandable bamboo tray handles odd widths well), move bulky cooking tools to a crock by the stove, give the junk drawer categories and a monthly reset, and store things on their edges in deep drawers. Start with one drawer this weekend. Once you feel the difference of opening it without a fight, the rest of the kitchen tends to follow.

    Which kitchen drawer myth were you living by? And what’s the strangest thing hiding in your junk drawer right now? Tell us in the comments below.
  • Shelf by Shelf: A Fridge Organization Zone Map That Keeps Food Fresher (and Easier to Find)

    Shelf by Shelf: A Fridge Organization Zone Map That Keeps Food Fresher (and Easier to Find)

    Disclosure: This post contains affiliate links. If you make a purchase through one of these links, we may earn a small commission at no additional cost to you. As an Amazon Associate, we earn from qualifying purchases.

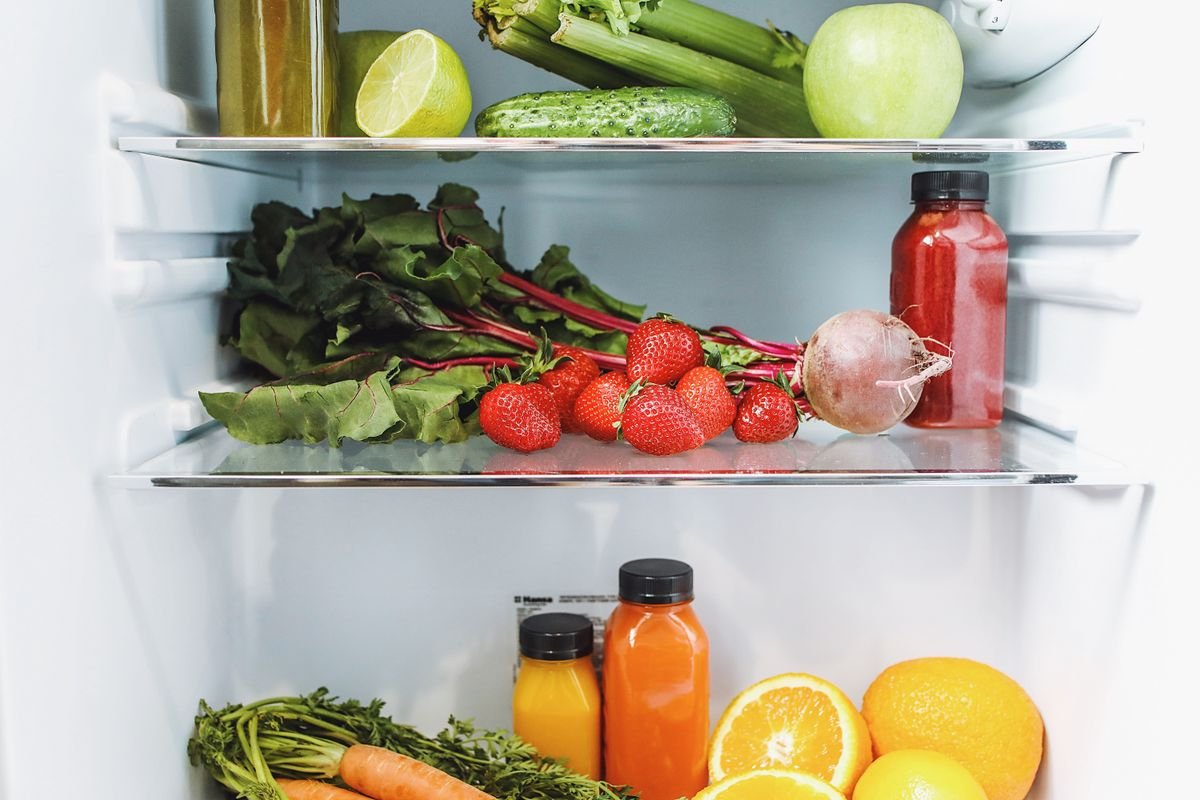
    Fresh vegetables, strawberries and juice bottles on clean glass refrigerator shelves

    Most fridges are organized by one rule: put it wherever it fits. The milk lands in the door, the leftovers get pushed behind the pickles, and the spinach you bought with good intentions turns into a sad green puddle in the back of the drawer.

    Here is the thing most people never hear: your refrigerator is not one temperature. The door swings open dozens of times a day and runs warmer than the shelves, the crisper drawers hold humidity differently, and the bottom shelf is the safest place for anything that might drip. Once you treat each area as its own zone with its own job, the fridge almost organizes itself, and food lasts longer because it sits where it belongs.

    So instead of another list of tips, here is a zone map. Walk through your fridge top to bottom with it once, and you will have a system you can keep up in about ten minutes a week.

    Before You Start: Clear It, Check It, Set It

    Pick a moment right before grocery day, when the fridge is at its emptiest. Take everything out, toss anything expired or forgotten, and wipe the shelves and drawers with warm soapy water. Then check the temperature: the U.S. Food and Drug Administration recommends keeping your refrigerator at 40°F (4°C) or below. A cheap appliance thermometer on the middle shelf tells you more than the dial ever will.

    Open refrigerator with drinks, condiments and leftovers on its shelves

    Now put things back zone by zone, starting at the top.

    Zone 1: The Door (Warmest Spot)

    What goes here: condiments, sauces, salad dressings, jams, pickles, butter, bottled water and juice.

    Why: every time the door opens, the shelves inside it get a blast of room-temperature air. That is fine for vinegar-, salt- and sugar-heavy foods that are naturally more stable. It is not the place for milk or eggs, even if your fridge came with a little egg tray in the door. The USDA suggests keeping eggs in their original carton on an interior shelf.

    Setup tip: group the door by meal, not by size. One shelf for sandwich stuff (mustard, mayo, pickles), one for cooking (soy sauce, chili paste, lemon juice), one for drinks. You will stop opening three jars to find the right one.

    Zone 2: The Top Shelf (Ready to Eat)

    What goes here: leftovers, yogurt, hummus, deli items, snacks and anything that needs no cooking.

    Why: food-safety guidance is simple: ready-to-eat foods go above raw foods, so nothing drips onto something you will not cook. The top shelf is also at eye level for most adults, which makes it the perfect home for the food you actually want people to eat first.

    Setup tip: create an Eat First bin at the front of this shelf for leftovers and anything opened. USDA guidance is to eat most cooked leftovers within three to four days, so a single visible bin keeps them from disappearing behind the juice. Clear bins with handles help here: you slide the whole group out instead of digging.

    ★ Our Pick

    Sorbus Fridge Organizer Bins (6-Piece Set)

    Sorbus 6-piece clear fridge organizer set with wide bins, narrow bins and a soda can organizer holding food and drinks

    If you want to set up zones without buying a dozen random containers, this mixed set covers the main jobs in one go: wide bins for an Eat First zone and produce, narrow bins for yogurt or jars, and a can organizer for drinks.

    • Mixed sizes — 2 wide bins, 2 narrow bins, a 12-can organizer and an egg holder
    • Clear and stackable — you see what is inside each zone at a glance
    • BPA-free and easy to clean — pull a bin out, rinse it, slide it back

    Check Current Price on Amazon →

    As an Amazon Associate we earn from qualifying purchases. Price and availability may change.

    Zone 3: The Middle Shelves (Dairy and Eggs)

    What goes here: milk, cream, cheese, eggs (in the carton) and anything that spoils quickly when it warms up.

    Why: the interior shelves hold a steadier temperature than the door. Dairy is one of the first things to turn when it sits in that warm door shelf, so moving the milk inside is the easiest freshness upgrade you can make today.

    Setup tip: put the tallest items, like milk jugs and juice cartons, at the back and toward the sides, and shorter items in front. Nothing should hide behind something taller than itself.

    Zone 4: The Bottom Shelf (Raw Meat and Thawing)

    What goes here: raw meat, poultry and seafood, plus anything thawing from the freezer.

    Why: raw juices can carry bacteria, and gravity is not your friend. Keeping raw proteins on the lowest shelf means a leaky package can only drip onto the shelf, not onto your lunch. Thawing in the fridge, rather than on the counter, is also the method food-safety agencies recommend.

    Setup tip: keep raw items inside a rimmed tray or a dedicated bin that you can lift out and wash. Label it so nobody in the house puts the cheese in there by accident.

    Zone 5: The Crisper Drawers (Produce, Split by Humidity)

    What goes here: fruits and vegetables, but not all in the same drawer.

    Why: many crisper drawers have a small slider that opens or closes a vent. A closed vent (higher humidity) keeps leafy greens, herbs, carrots and other vegetables that wilt from drying out. An open vent (lower humidity) suits fruits like apples and pears, which give off ethylene gas that speeds ripening in the produce around them. Mixing them is a big reason the lettuce goes limp so fast.

    Setup tip: one drawer for vegetables, vent closed. One drawer for fruit, vent open. If your fridge has no sliders, store greens loosely wrapped in a dry paper towel inside a bin, and keep apples on their own.

    The 10-Minute Weekly Reset

    A zone map only works if it gets a little maintenance. Right before you put new groceries away, run through this quick reset:

    1. Empty the Eat First bin: eat it tonight, freeze it, or toss it.
    2. Pull older items to the front of each zone, so new groceries go in behind them.
    3. Wipe any spills, especially on the bottom shelf.
    4. Check that the crisper vents are still set the way you want them.
    5. Glance at the thermometer. Still at 40°F or below? You are done.

    The Bottom Line

    You do not need a bigger fridge or a full set of matching containers to make this work. Start by moving the milk out of the door and giving leftovers one visible home on the top shelf. Once those two habits stick, add bins where things keep getting lost; a small mixed set like the Sorbus 6-piece fridge organizer is an easy place to begin.

    Which zone in your fridge is the messiest right now: the door, the drawers, or the mystery back corner? Tell us in the comments, and share the one trick that keeps your fridge under control.

  • Under the Kitchen Sink, Sorted: A Measure-First Guide to Choosing the Organizer That Actually Fits

    Under the Kitchen Sink, Sorted: A Measure-First Guide to Choosing the Organizer That Actually Fits

    Disclosure: This post contains affiliate links. If you make a purchase through one of these links, we may earn a small commission at no additional cost to you. As an Amazon Associate, we earn from qualifying purchases.

    The cabinet under the kitchen sink is the one most of us open, shove something into, and close again as fast as possible. It’s dark, it’s deep, there’s a drainpipe running straight through the middle of it, and somewhere in the back there’s a bottle of cleaner you bought twice because you couldn’t find the first one.

    The good news: this is one of the smallest spaces in the house, so it’s one of the fastest to fix. The catch is that most under-sink organizers get returned for one reason — they don’t fit around the plumbing. So instead of another list of ideas, this guide works the other way around: measure first, pick the right type of organizer second, and only then decide what goes back in.

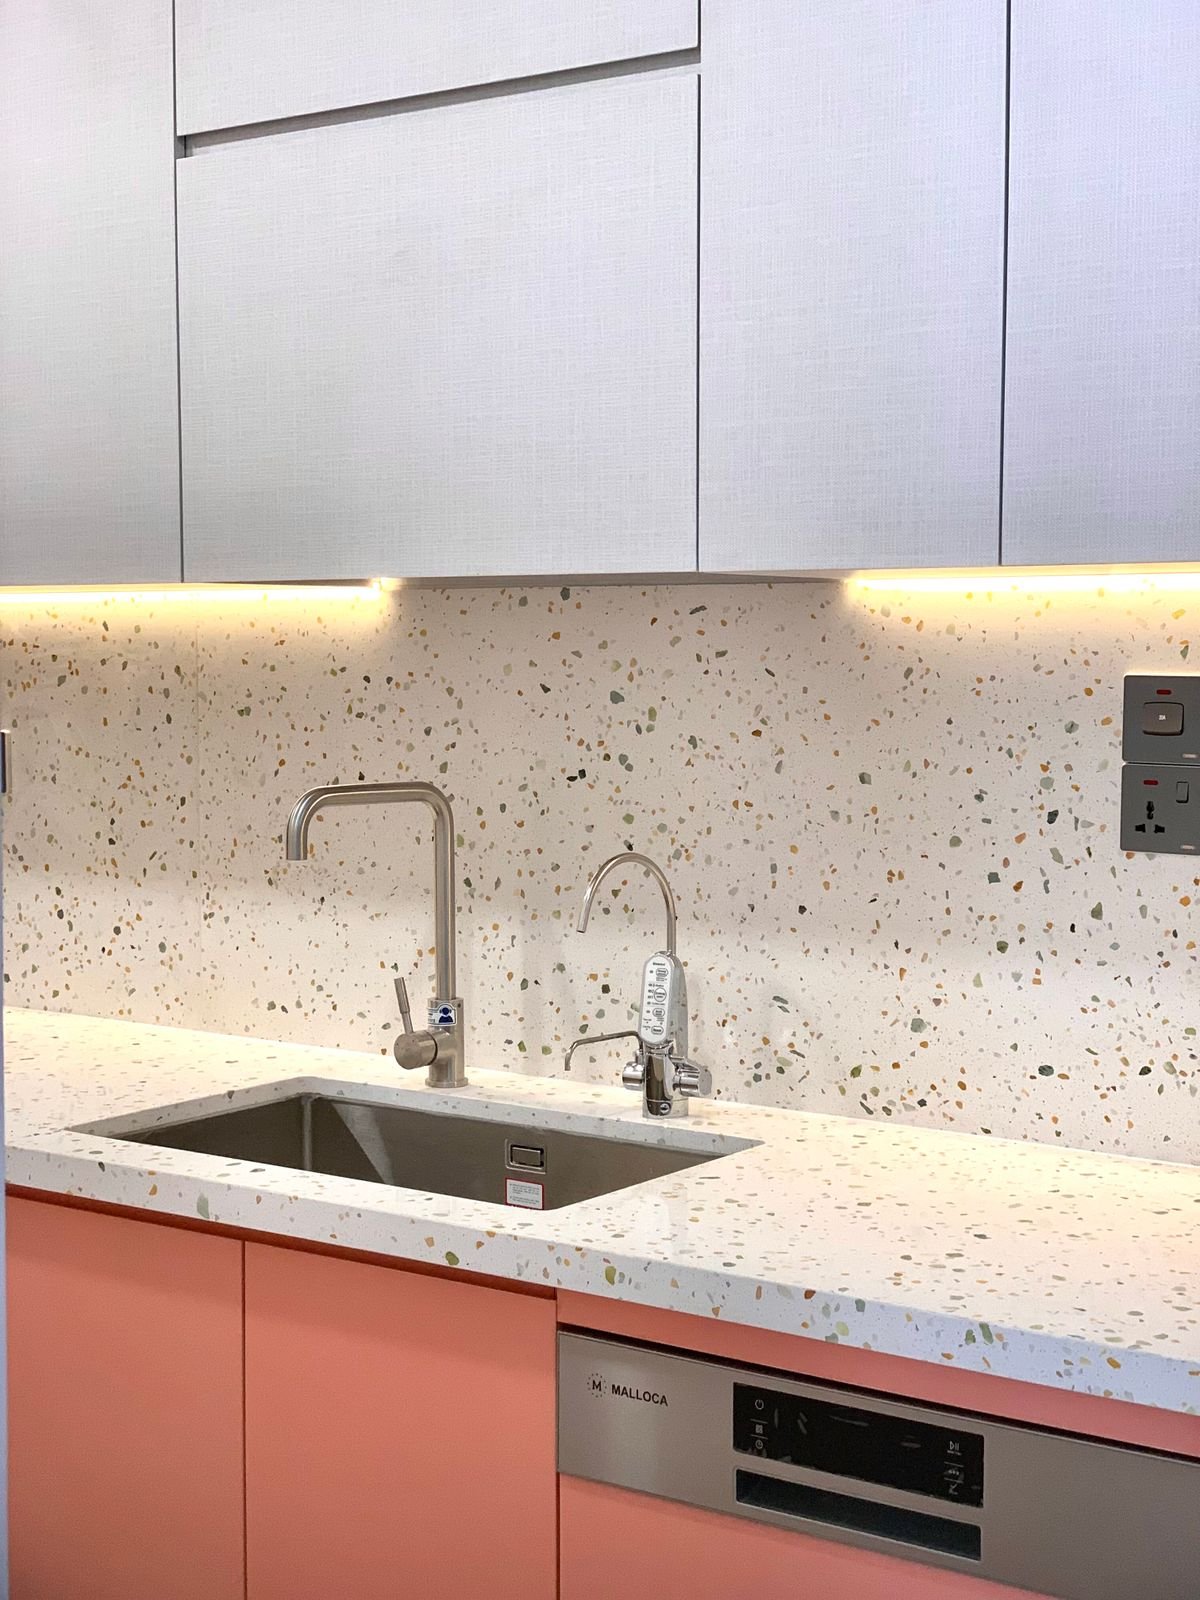
    A kitchen sink with a terrazzo countertop and coral base cabinets below

    Why Under-Sink Storage Usually Fails

    Three things work against you in this cabinet. First, the plumbing: the P-trap, supply lines and (in many kitchens) a garbage disposal eat the middle of the space, so a standard shelf simply won’t sit flat. Second, depth: base cabinets are usually around two feet deep, which means anything past the halfway point is out of sight and out of mind. Third, moisture: drips and small leaks are common here, and cardboard boxes or solid plastic trays trap that water instead of letting it dry.

    Any system that ignores one of those three problems will look great for a week and fall apart after that.

    Step 1: Take Five Measurements Before You Buy Anything

    Grab a tape measure and a phone to jot the numbers down. It takes about five minutes and saves you a return trip.

    1. Door opening width. Measure the narrowest point you’ll have to pass the organizer through — often the face frame or the center stile between two doors, not the cabinet interior.
    2. Interior depth. From the inside of the face frame to the back wall. Subtract an inch for pipes that come out of the back.
    3. Height to the lowest pipe. Measure from the cabinet floor to the bottom of the P-trap or disposal. This is the real ceiling for anything you put directly underneath.
    4. Width of the “free” zones. Measure the clear space to the left and right of the drain. These side zones are where tall organizers belong.
    5. Hinge clearance. Open the door fully and check how far the hinge sticks into the cabinet. Pull-out drawers need to slide past it.

    Step 2: Match the Organizer Type to Your Cabinet

    With your numbers in hand, the choice gets a lot simpler. Here’s how the five most common options compare:

    Organizer typeBest forWatch out for
    L-shaped or two-tier pull-outCabinets with a drain on one side; doubling vertical spaceCheck height to the lowest pipe before ordering
    Single sliding drawerDeep cabinets where the back is wastedHinges and center stiles can block the slide
    Turntable (lazy Susan)Corner sink cabinets and small bottlesTakes a full circle of floor space; tall bottles tip
    Tension rodHanging spray bottles by their triggersOnly works for trigger sprayers; can slip if overloaded
    Door-mounted rackSponges, gloves, trash bagsMust clear the pipes when the door closes

    For most standard single-bowl kitchen sinks, a pull-out that wraps around the drain is the option that solves the most problems at once: it uses the height on one side, brings the back of the cabinet to you, and doesn’t care that the pipe is there.

    ★ Our Pick

    REALINN L-Shaped Pull-Out Under Sink Organizer

    REALINN L-shaped two-tier pull-out organizer installed beside a sink drain pipe

    Its narrow upper basket steps around the drain while the wide bottom tier slides out, so the plumbing stops dictating what you can store.

    • Pipe-friendly L shape — the top basket can be mounted on the left or right to clear the drain or disposal.
    • Pull-out bottom tier — bottles at the back come forward in one pull, no kneeling and reaching.
    • Open wire baskets — drips fall through instead of pooling, and it wipes clean quickly.

    Check Current Price on Amazon →

    As an Amazon Associate we earn from qualifying purchases. Price and availability may change.

    Step 3: Edit Before You Put Anything Back

    Empty the whole cabinet onto a towel on the floor. It’s the only way to see how many half-used bottles you really have. Combine duplicates, toss anything dried out or unlabeled, and move the things you use a few times a year (oven cleaner, silver polish, spare light bulbs) to a garage shelf or utility closet.

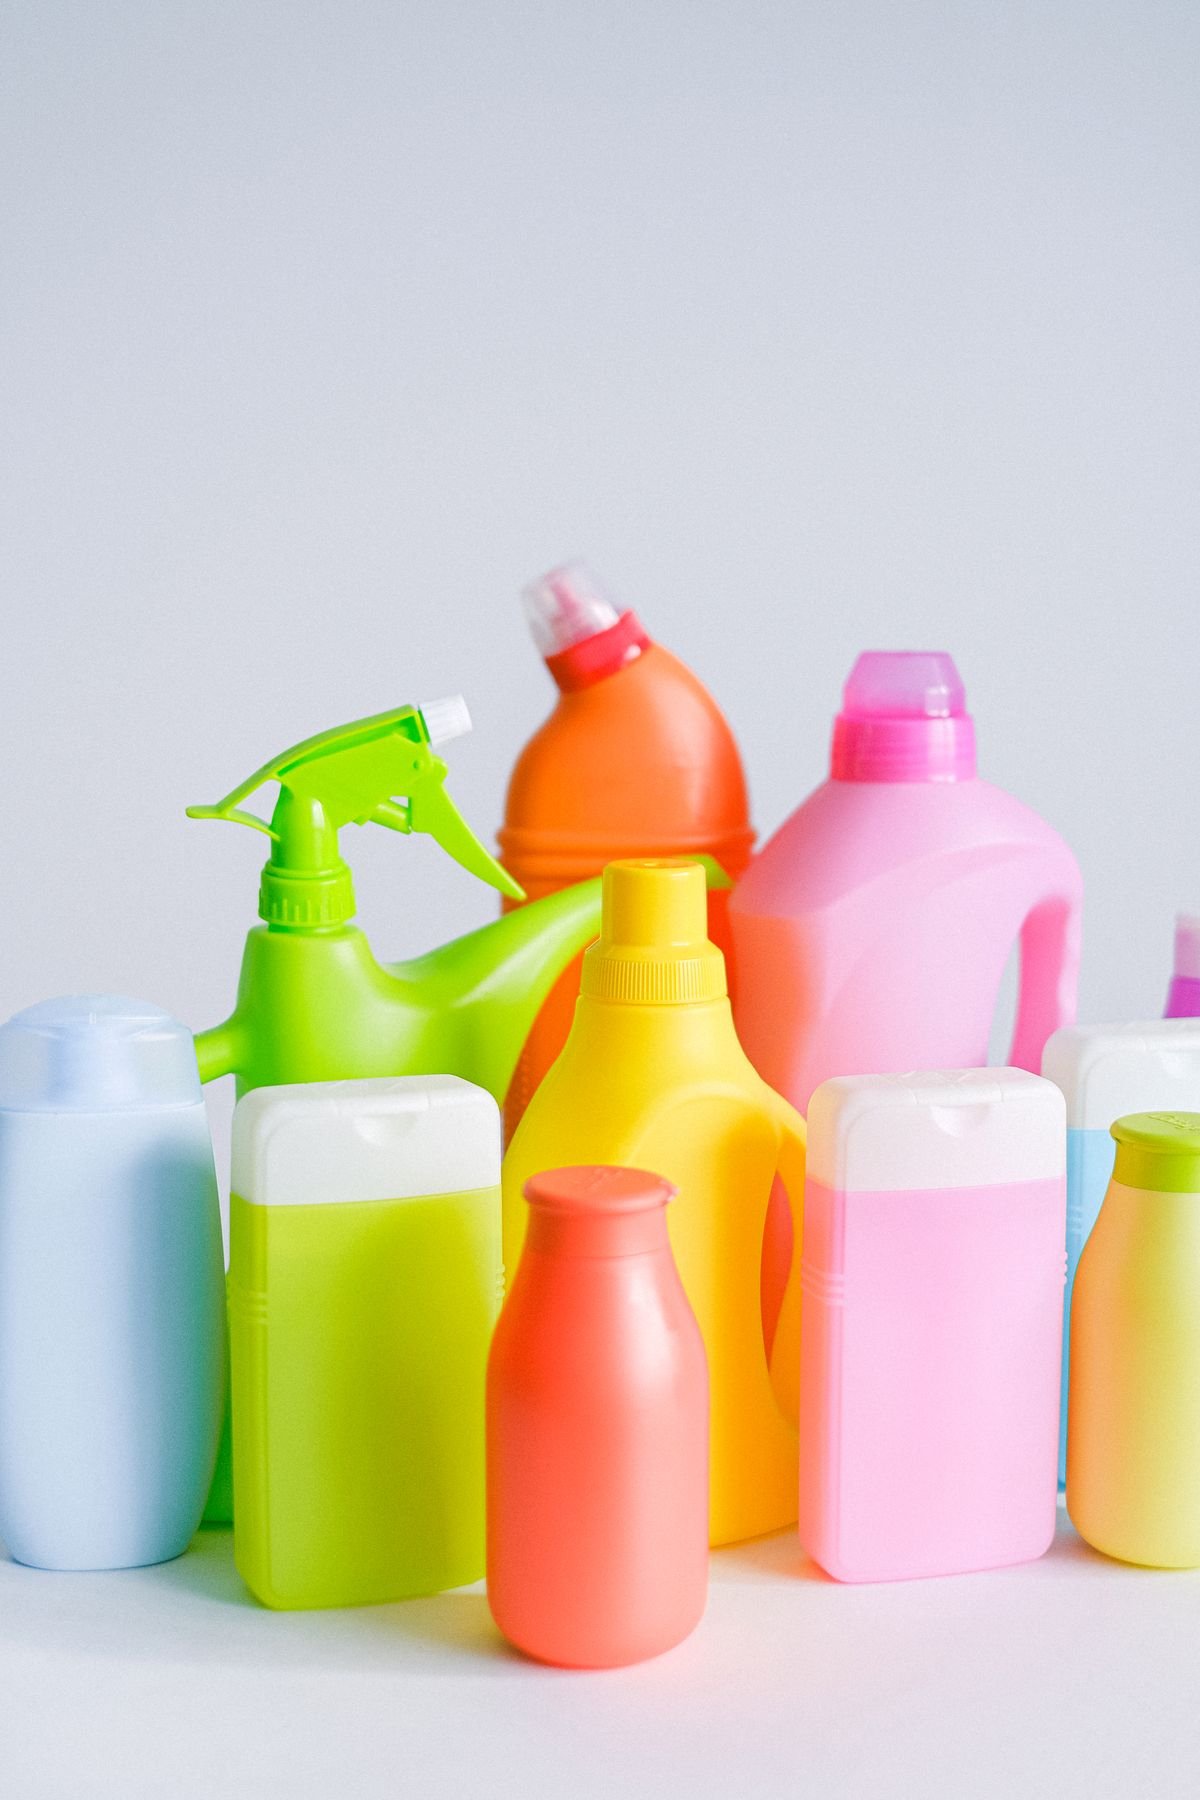
    A group of colorful plastic cleaning product bottles, including a spray bottle

    What earns a spot under the sink is a short list: dish soap refills, dishwasher pods, sponges and brushes, one or two all-purpose sprays, trash bags, and a pair of gloves. If you have young children or pets, this is also the moment to install a cabinet safety latch or move harsh chemicals to a high shelf — the under-sink cabinet is one of the easiest for small hands to reach.

    Step 4: Zone It by How Often You Reach

    Put the things you grab every day in the front, at the height your hand naturally lands when the door opens. Weekly items go on the pull-out or the second tier. Refills and backups go in the back or on the lowest level. A small open caddy for daily dish tools keeps them together and lets you carry the whole set to the counter in one go.

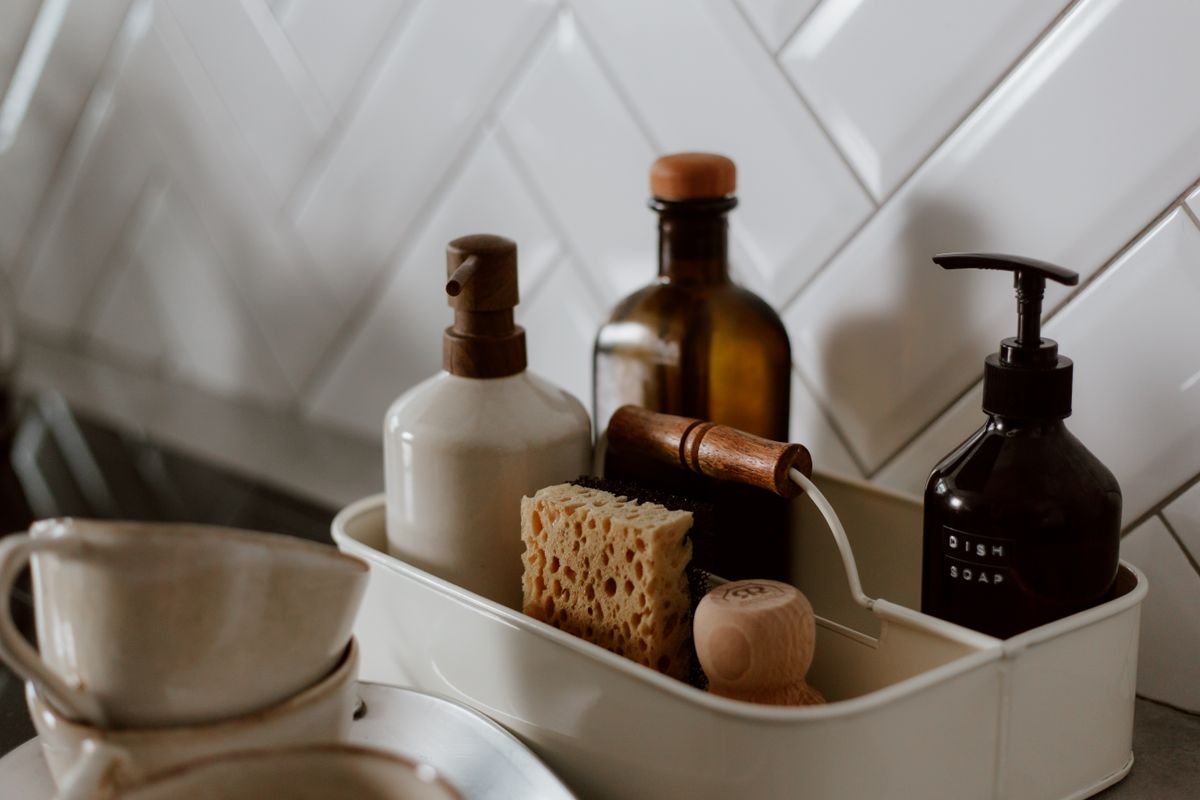
    A metal caddy holding dish soap, a sponge and a scrub brush beside a white tiled backsplash

    Trash bags are the item people forget. Keep the open roll on the inside of the door or in a slim holder on a side wall so you can pull one without moving anything else.

    Step 5: Protect the Cabinet Floor

    Before the organizer goes in, lay down a waterproof, trimmable cabinet liner with a raised edge if you can find one. It catches drips from bottles and gives you an early warning if a supply line starts to leak — a damp liner is a lot cheaper to notice than a swollen cabinet floor. Once a month, take ten seconds to run a hand along the liner and the pipes. That small habit is the difference between a tidy cabinet and a repair bill.

    The Short Version

    Measure the opening, the depth and the height to the lowest pipe. Choose an organizer that works with your plumbing rather than against it. Edit down to the dozen or so things you really use at the sink, put daily items up front, and protect the floor from leaks. You’ll get a cabinet you can open without bracing yourself — and you’ll stop buying that second bottle of cleaner.

    What’s living under your kitchen sink right now — and what’s the one thing that always ends up in the way? Tell us in the comments below. We read every one, and your questions shape what we write next.
  • The One-Weekend Entryway Reset: A 5-Step Plan for a Drop Zone That Actually Stays Tidy

    The One-Weekend Entryway Reset: A 5-Step Plan for a Drop Zone That Actually Stays Tidy

    Disclosure: This post contains affiliate links. If you make a purchase through one of these links, we may earn a small commission at no additional cost to you. As an Amazon Associate, we earn from qualifying purchases.

    The entryway is the hardest-working few square feet in most homes. Everything that comes in or goes out passes through it: shoes, coats, bags, mail, keys, dog leashes, the umbrella nobody remembers to dry. And because it is usually small and right next to the door, it is also the first place clutter piles up and the last place anyone thinks to fix.

    The good news: you do not need a mudroom or a renovation to get a calm, functional entry. You need one focused weekend and a plan. Below is the exact sequence we recommend, broken into five steps with rough time estimates, so you can work through it on a Saturday and enjoy the result on Monday morning.

    Step 1 (Friday evening, 30 minutes): Watch how your entry is really used

    Before you buy or move anything, spend one evening simply noticing. When people walk in, where do their shoes land? Where do bags get dropped? Where does the mail end up? Jot it down. The goal is to design around the habits your household already has instead of fighting them. If everyone kicks their shoes off to the left of the door, that is where the shoe storage should go, not across the hallway where it looks nicer.

    Also count what genuinely needs a home here. A useful rule of thumb: each person who uses the door daily needs one hook, one spot for two pairs of everyday shoes, and one small landing place for keys and pocket items. Anything beyond that is a candidate for storage elsewhere.

    Step 2 (Saturday morning, 1–2 hours): Empty it and edit hard

    Take everything out of the entry: every shoe, coat, bag and basket. Wipe the floor and baseboards while the space is bare (this is usually the dirtiest floor in the house). Then sort what you removed into three piles:

    • Daily use: goes back to the entry.
    • Seasonal or occasional: winter boots in July, the spare umbrella, sports gear. Move these to a closet, the garage or an under-bed bin.
    • Done: shoes nobody wears, freebie tote bags, expired coupons. Donate, recycle or toss.

    Most people are surprised that the daily-use pile is less than half of what was there. That is the whole point: an entryway feels cluttered not because it lacks storage, but because it stores things that should live somewhere else.

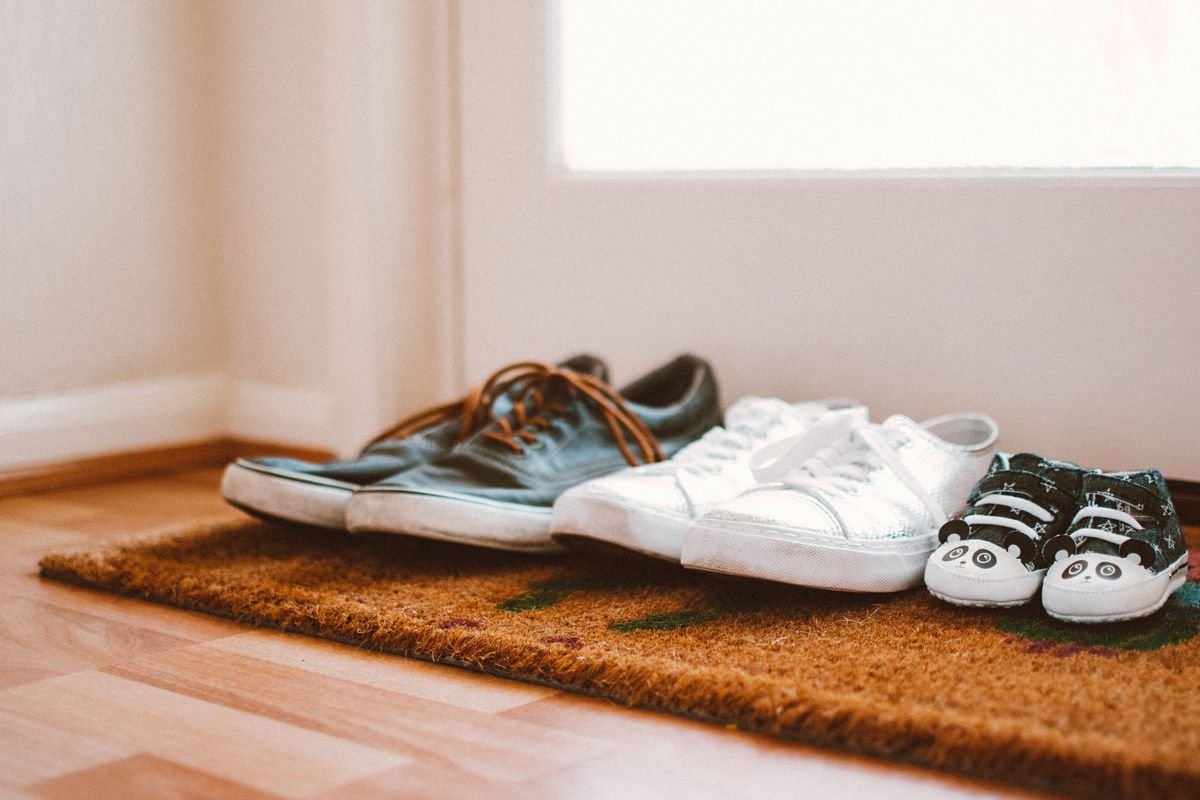
    Three pairs of shoes lined up neatly on a coir doormat by the door

    Step 3 (Saturday midday, 1 hour): Go vertical with hooks and a shelf

    Floor space is precious in an entry, and walls are almost always underused. A row of sturdy hooks at roughly shoulder height handles coats, bags and leashes, and a shelf above it catches hats, gloves or a small basket for sunglasses. Add a second, lower row of hooks if you have kids, so they can hang their own things without help (which is the only way a system survives a school year).

    Mount into studs or use proper anchors: a fully loaded coat rack in winter is heavier than it looks. And resist the urge to install ten hooks for a household of three. Extra hooks just invite extra coats.

    ★ Our Pick

    HBCY Creations Solid Wood Wall-Mounted Coat Rack with Shelf

    HBCY Creations rustic brown solid wood coat rack with a top shelf and five black metal hooks

    If you only add one thing to your entry this weekend, make it a hook rack with a built-in shelf. This one combines both in a single 24-inch piece, so coats, bags and leashes go on the hooks while hats and small baskets sit on top.

    • Two jobs in one — five hooks below and a shelf above, without taking any floor space.
    • Solid wood build — a rustic brown finish that suits most entryways and mudrooms.
    • Ready to hang — mounting hardware is included in the box.

    Check Current Price on Amazon →

    As an Amazon Associate we earn from qualifying purchases. Price and availability may change.

    Step 4 (Saturday afternoon, 1–2 hours): Contain the shoes and the small stuff

    Shoes are the number one source of entryway chaos, so give them a defined boundary. Depending on your space, that could be a low shoe rack, a boot tray, or a bench with cubbies underneath. A boot tray is the cheapest option and works surprisingly well in small apartments: anything outside the tray is visibly out of place, which nudges everyone to tidy up.

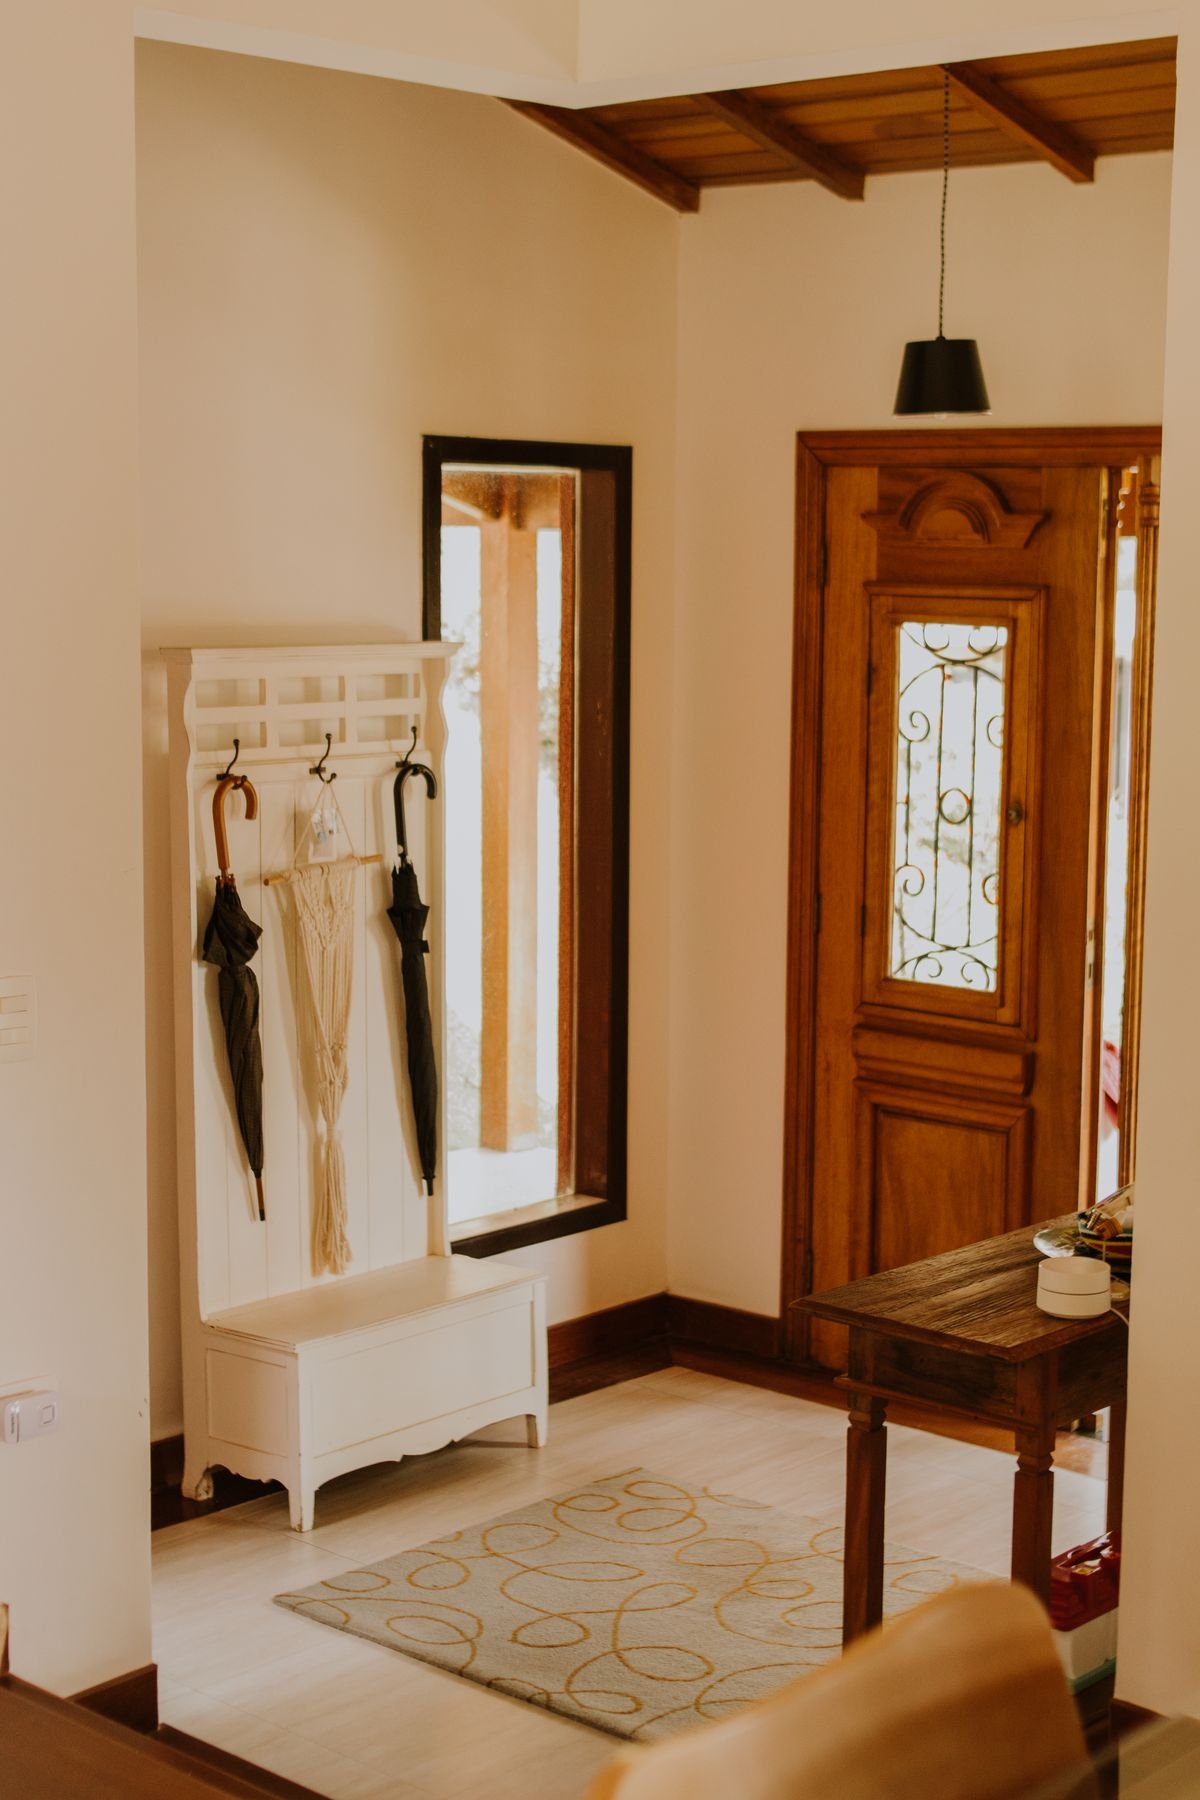
    Bright entryway with wall-mounted coat hooks, umbrellas, a small storage bench and a wooden front door

    Then handle the small items that disappear: keys, mail, earbuds, dog bags. A tray or shallow bowl on a slim console or wall shelf becomes the landing zone for keys and pocket items. For mail, a single wall pocket or file works better than a flat surface, because flat surfaces collect piles. The rule is simple: if it does not have a container, it will spread.

    Step 5 (Sunday, 30–60 minutes): Add a mirror, light and a reset routine

    With the functional pieces in place, finish with two small touches that make the space feel intentional. A mirror bounces light around and makes a narrow hallway feel wider (and saves a trip back to the bathroom for a last-minute check). Good lighting, even a plug-in wall sconce or a small lamp on the console, makes the entry welcoming instead of a dark corridor you rush through.

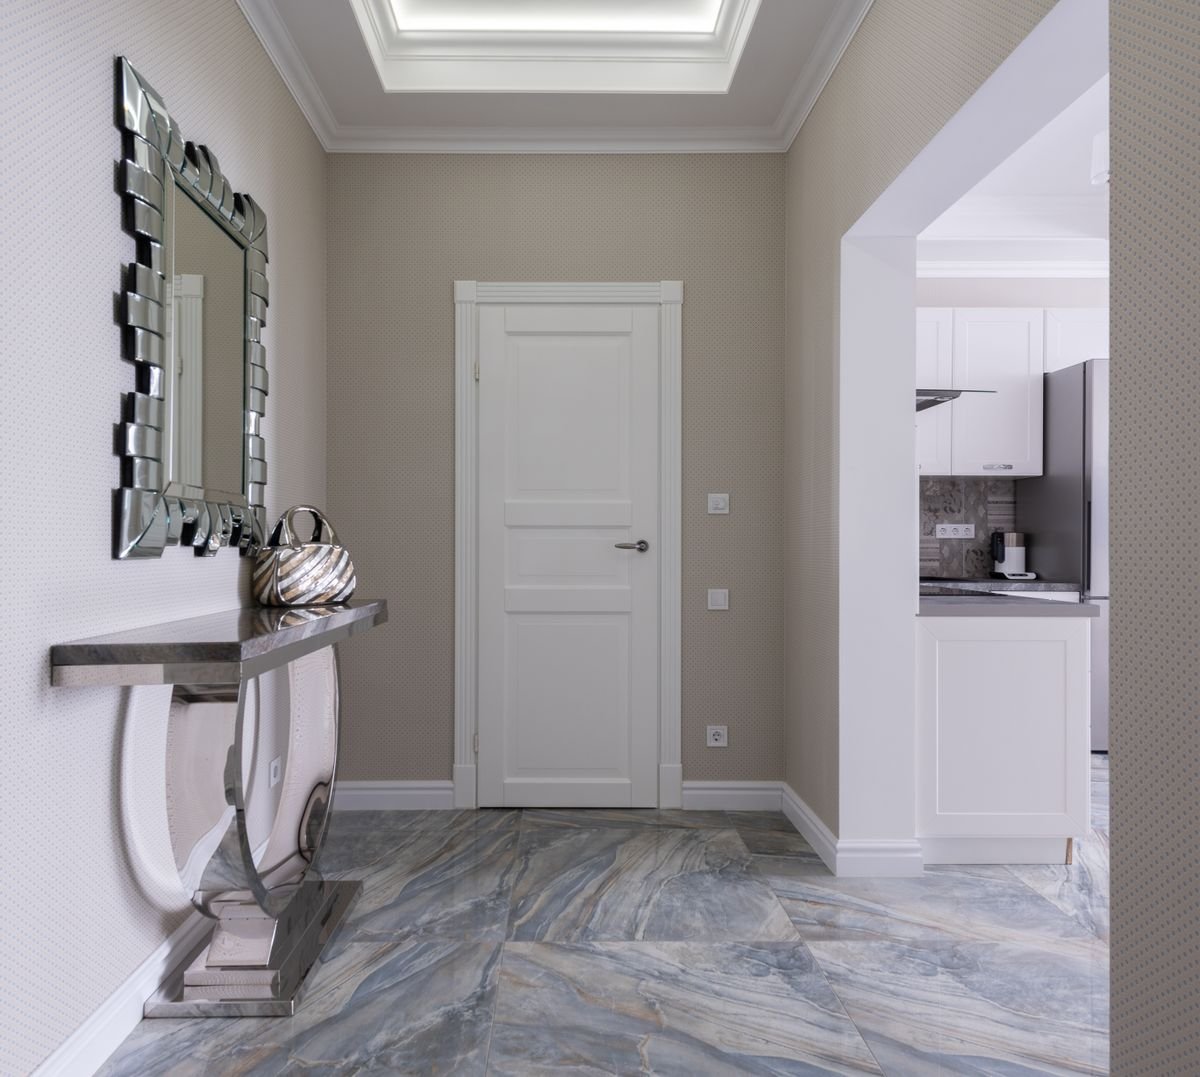
    Modern hallway with a slim console table and a large mirror next to the front door

    Finally, agree on a two-minute reset. Once a day, ideally in the evening, someone puts stray shoes back in the tray, hangs anything on the floor, and clears the mail pocket. That tiny habit is what separates an entry that stays organized from one that slides back into chaos within two weeks.

    Your weekend at a glance

    • Friday: observe the traffic patterns and count what really needs a home.
    • Saturday: empty, edit, hang hooks and a shelf (we like the HBCY Creations rack), and contain shoes and small items.
    • Sunday: add a mirror and light, then start the daily two-minute reset.

    An organized entryway changes how your whole home feels the moment you walk in. Start with the edit, keep the system simple, and let the daily reset do the rest.

    What is the one thing that always ends up piled by your front door? Tell us in the comments, and we may tackle it in a future post.

  • Laundry Room Organization: Answers to the 7 Questions Everyone Actually Asks

    Laundry Room Organization: Answers to the 7 Questions Everyone Actually Asks

    Disclosure: This post contains affiliate links. If you make a purchase through one of these links, we may earn a small commission at no additional cost to you. As an Amazon Associate, we earn from qualifying purchases.

    The laundry room is one of the smallest spaces in most homes, and somehow it still ends up holding a mountain of unsorted socks, three half-empty detergent bottles, and a basket that’s been “about to be folded” since Tuesday. Laundry space comes up more than almost any other room in home-organization questions — probably because it’s a room people walk through several times a day, so the clutter is impossible to ignore.

    Instead of another generic tips list, here are the questions we see asked most often about laundry room organization, answered one by one. Whether you have a full laundry room or a stacked washer-dryer tucked into a closet, these should give you a clear starting point.

    1. What’s the first thing I should do when organizing a laundry room?

    Empty it out completely before you buy a single storage bin. It sounds tedious, but laundry rooms accumulate orphaned items — a lone sock, a dried-up stain pen, a coupon for detergent that expired two years ago — faster than almost any other space in the house. Take everything off shelves and out of cabinets, wipe the surfaces down, and only put back what you actually use during a wash cycle. Everything else either gets a new home elsewhere in the house or goes in the donate/trash pile. Buying containers for clutter you haven’t sorted yet just means you end up with organized clutter, which isn’t really progress.

    2. My laundry space is tiny — a closet with a stacked washer and dryer. What can I actually do?

    Small laundry closets benefit the most from going vertical, since floor space usually doesn’t exist. A slim rolling cart that fits in the gap beside the machines can hold detergent, dryer sheets, and stain remover without eating into walking room. Over-the-door organizers work well on the closet door itself for smaller items like lint rollers and clothespins. And if there’s any wall space at all above or beside the machines, a fold-away drying rack (more on that below) gives you drying capacity without permanently taking up room the rest of the day.

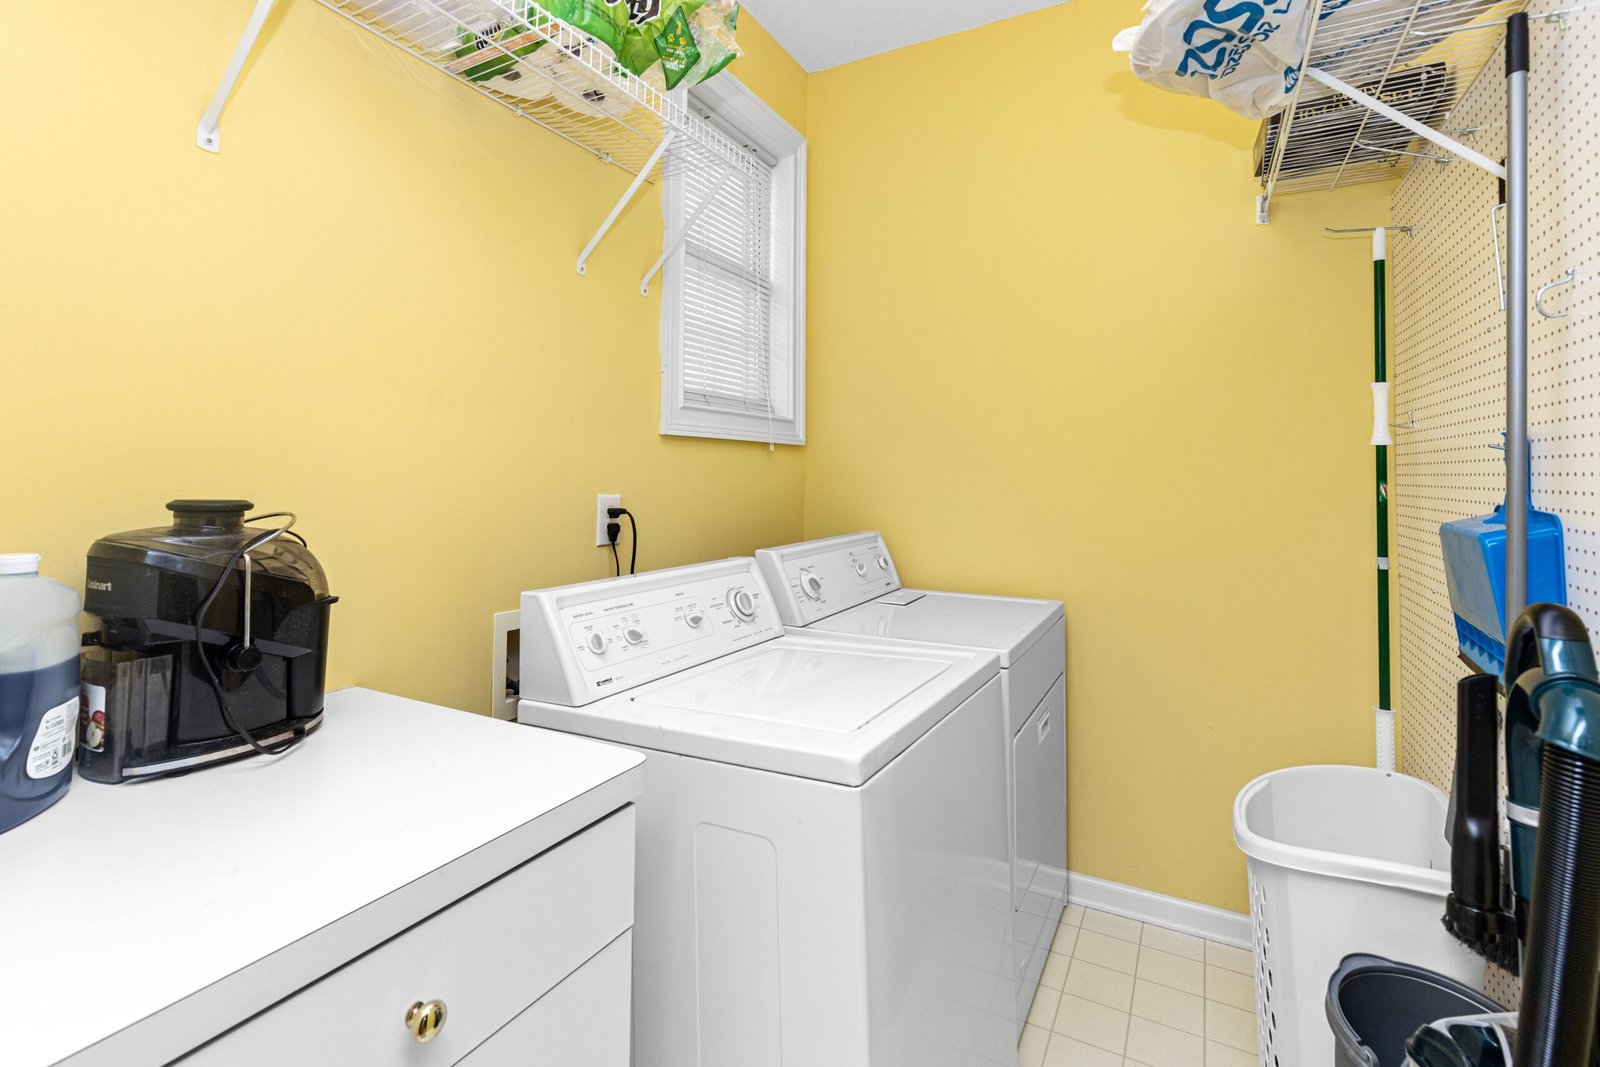
    Bright, organized laundry room with washer and dryer and open shelving

    3. What’s the best way to store detergent and cleaning supplies safely?

    Keep laundry chemicals up and out of reach if there are kids or pets in the house — a shelf above the machines is safer than a low bin, even a “childproof” one. Beyond safety, group supplies by function: one container for everyday detergent and softener, a small caddy for stain treatment (pen, spray, spare toothbrush), and a third spot for anything used only occasionally, like wool wash. You’ll stop rummaging through five bottles to find the one you actually need.

    4. Should I sort laundry before it gets to the laundry room, or once it’s there?

    Sorting earlier saves time later. A three-bin hamper system in the bedroom or bathroom (whites, darks, and delicates, or however your household splits it) means laundry arrives at the machine already separated, instead of turning into a sorting project every wash day. If a multi-bin hamper isn’t practical everywhere, even a simple habit of tossing dark clothes and light clothes into two separate baskets makes a noticeable difference by the time laundry day comes around.

    5. How can I make drying clothes easier without relying only on the dryer?

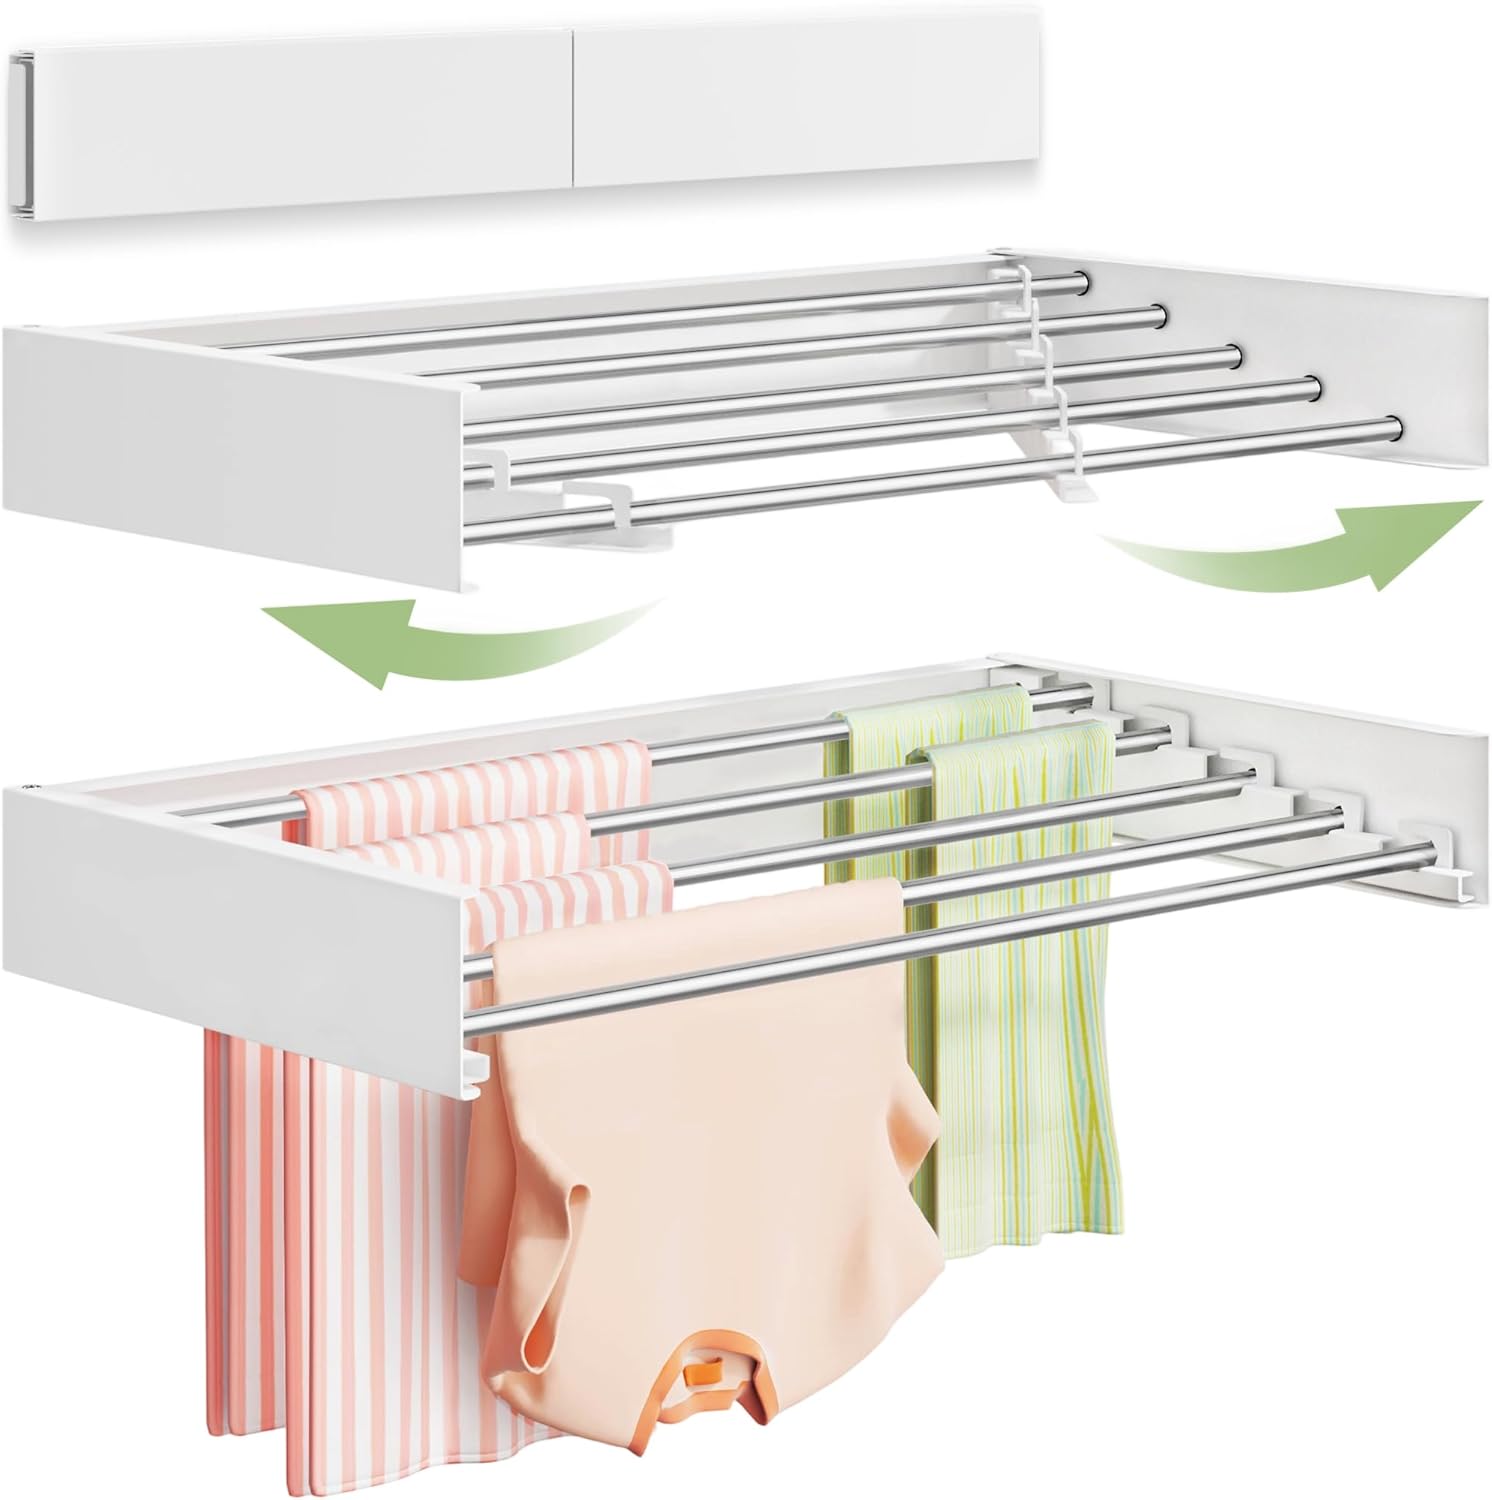
    This is where a wall-mounted drying rack earns its keep, especially for delicates, activewear, or anything that shrinks in the dryer. Floor-standing drying racks work, but they permanently take up space and tend to get shoved in a corner (or a hallway) between uses. A rack that folds flat against the wall solves that: you unfold it to dry a load, then fold it back down when you’re done, and the floor space is yours again the rest of the time. It’s a small change that makes air-drying realistic instead of something you mean to do but never get around to.

    ★ Our Pick

    Vikaqi Wall Mounted Clothes Drying Rack (32″)

    Vikaqi wall mounted clothes drying rack, 32 inch, folded against a white wall

    For a laundry room or closet that has wall space but no floor space to spare. It holds a 4.6-star rating from over 1,300 reviewers and has Amazon’s Choice status in its category.

    • Folds flat against the wall — you unfold it for a load, then fold it back and the floor space is yours again

    As an Amazon Associate we earn from qualifying purchases. Price and availability may change.

    6. What actually solves the “lost socks and stray items” problem?

    A dedicated shallow bin labeled “lost socks” (or lint rollers, or spare buttons, or whatever tends to go missing) does more than any amount of willpower. The trick is making it genuinely easy to toss a stray item in mid-fold, rather than setting it “for later” on top of the dryer, where it becomes clutter instead of getting solved. A lot of laundry-room mess isn’t from a lack of storage — it’s from storage that’s one step too inconvenient to actually use.

    7. How often should I actually declutter the laundry room?

    Twice a year is usually enough for most households — once when you switch out seasonal items (heavy blankets, ski gear, beach towels) and once around spring cleaning. During each pass, check expiration dates on stain removers and specialty detergents, toss dryer sheets or fabric boxes that have been open long enough to lose scent, and reassess whether the bins and baskets you set up are still matching how the room actually gets used. Organization systems that made sense a year ago don’t always hold up once habits change.

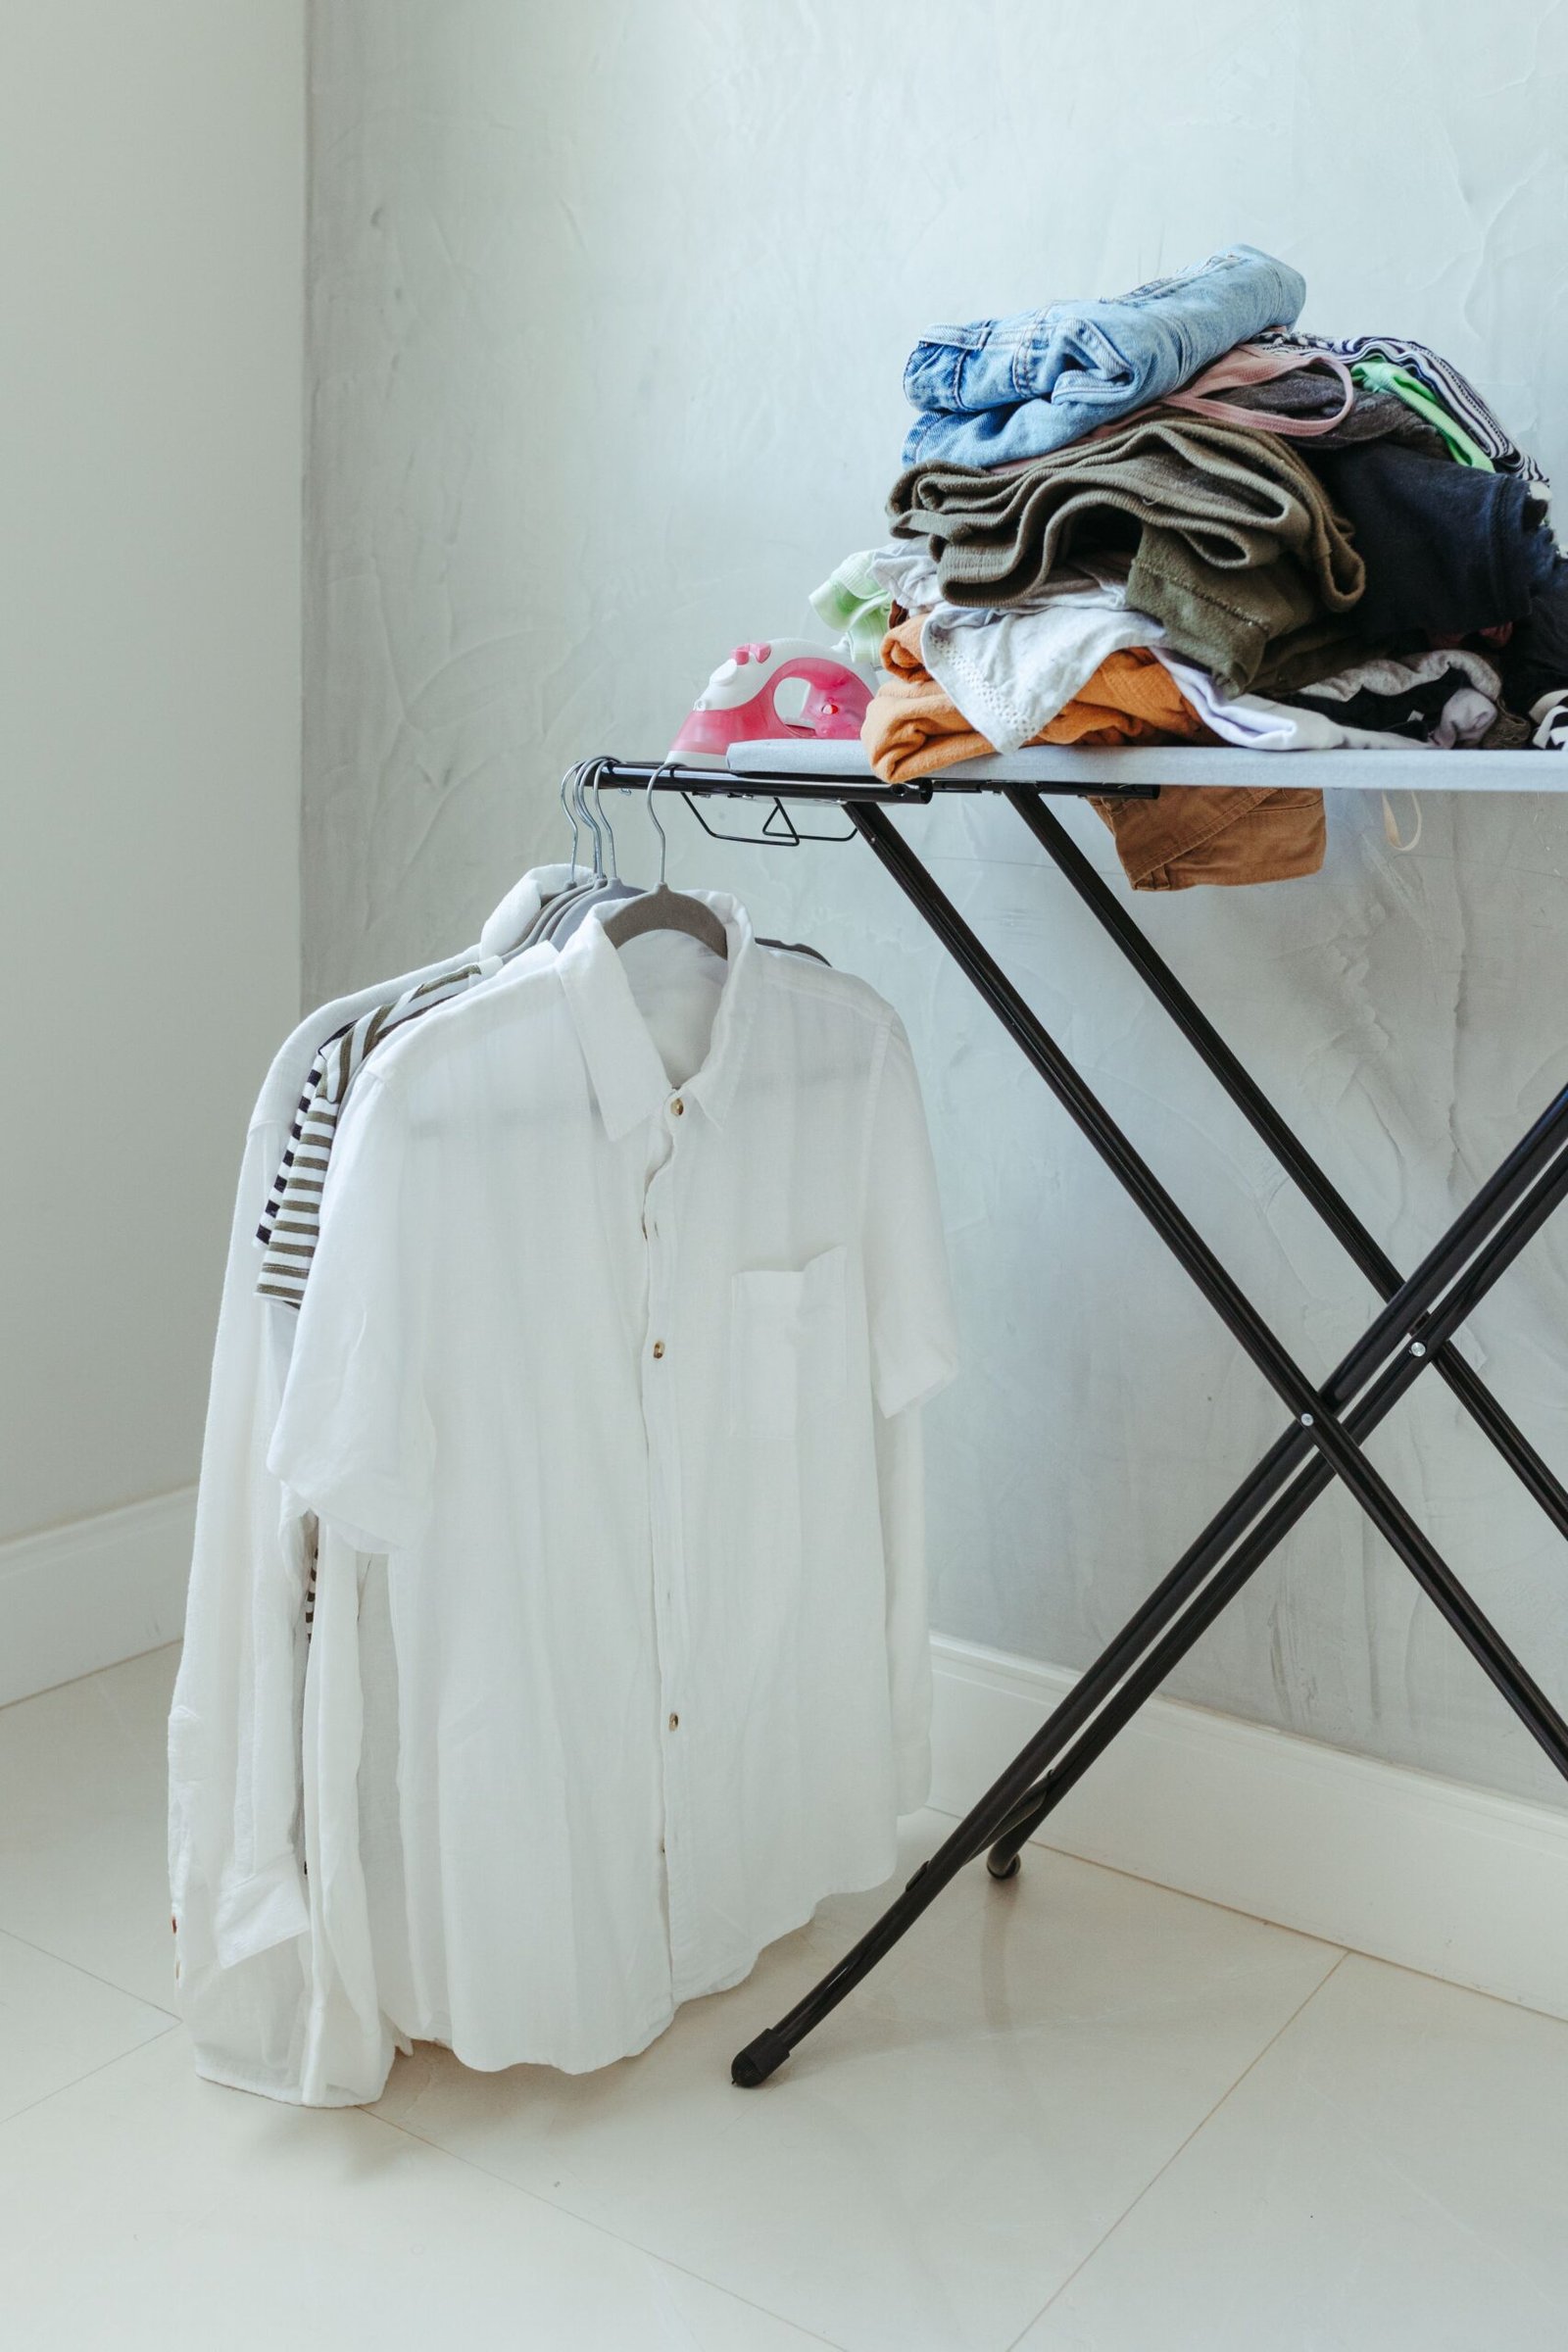
    Neatly organized laundry room with labeled bins and an ironing board

    None of these fixes require a full renovation — most come down to matching your storage to how the room is actually used, and giving stray items a specific place to land instead of a general “somewhere.” Start with whichever question above matches your biggest headache right now, and the rest tends to fall into place over a few wash cycles.

    Have a laundry room quirk we didn’t cover, or a system that works surprisingly well in a small space? Tell us about it in the comments — we’re always looking for real-world setups to feature in future posts.

  • 6 Home Office Organization Upgrades That Actually Make You Want to Sit Down and Work

    6 Home Office Organization Upgrades That Actually Make You Want to Sit Down and Work

    Disclosure: This post contains affiliate links. If you make a purchase through one of these links, we may earn a small commission at no additional cost to you. As an Amazon Associate, we earn from qualifying purchases.

    Most home offices don’t fail because the desk is too small or the room is too dark. They fail because everything in them is homeless. Chargers live wherever the cable happens to reach. Paperwork forms a pile that grows until it becomes a filing system by accident. Pens migrate to every surface except the cup that’s supposed to hold them. None of that is a character flaw — it’s just a space with no rules. Give it a few, and the same desk starts to feel like somewhere you actually want to sit down and work. Here are six upgrades that go deeper than “buy a bin,” organized so you can tackle one a weekend if that’s all the time you have.

    1. Give Every Cable a Track, Not a Tangle

    The fastest way to make a desk look chaotic — even a clean one — is a nest of cords hanging underneath it. It’s also one of the easiest fixes, because the problem isn’t the cables themselves, it’s that they have nowhere defined to sit. A cable tray mounted under the desktop gives every charger, hub, and power strip a single shelf of its own, off the floor and out of sight, instead of draped across your knees or tangled around chair wheels. The upgrade here isn’t just cosmetic: a dedicated tray also means you can actually find the right cable when you need to swap a charger or unplug a hub, instead of tracing three identical black cords back to their source.

    ★ Our Pick

    Cinati Under-Desk Cable Management Tray

    Cinati under-desk cable management tray, white metal

    Currently an Amazon’s Choice pick with a 4.7-star average, and the install really is as simple as it sounds.

    • No-drill install — clamps straight onto the underside of most desks, no tools beyond the included clamp

    As an Amazon Associate we earn from qualifying purchases. Price and availability may change.

    2. Sort Papers Into Three Zones, Not One Pile

    A single inbox tray works for about a week before it turns into an archaeology project. Instead, split paper into three honest categories: Active (something you need to act on this week), Reference (things you might need to look up later, like manuals or tax documents), and Archive (records you’re required to keep but will probably never open again). Active stays on the desk in a slim tray you’re forced to look at. Reference goes into a labeled folder or small file box within arm’s reach. Archive gets boxed and moved out of the office entirely — a closet shelf or under-bed bin is fine, because by definition you don’t need daily access to it. The point isn’t a perfect filing system; it’s making sure “I’ll deal with it later” has an actual destination instead of becoming a permanent desk feature.

    3. Move Small Supplies Off the Desktop and Onto the Wall

    Desktop real estate is the most expensive space in the room — it’s the surface you actually use — so it shouldn’t be spent storing pens, sticky notes, and the stapler you touch twice a week. A pegboard, magnetic strip, or a simple set of wall-mounted cups moves all of that vertical, freeing up the flat surface for the laptop, notebook, and whatever you’re actually working on right now. It also makes tidying faster: putting something “back” means one motion toward the wall instead of finding a specific drawer.

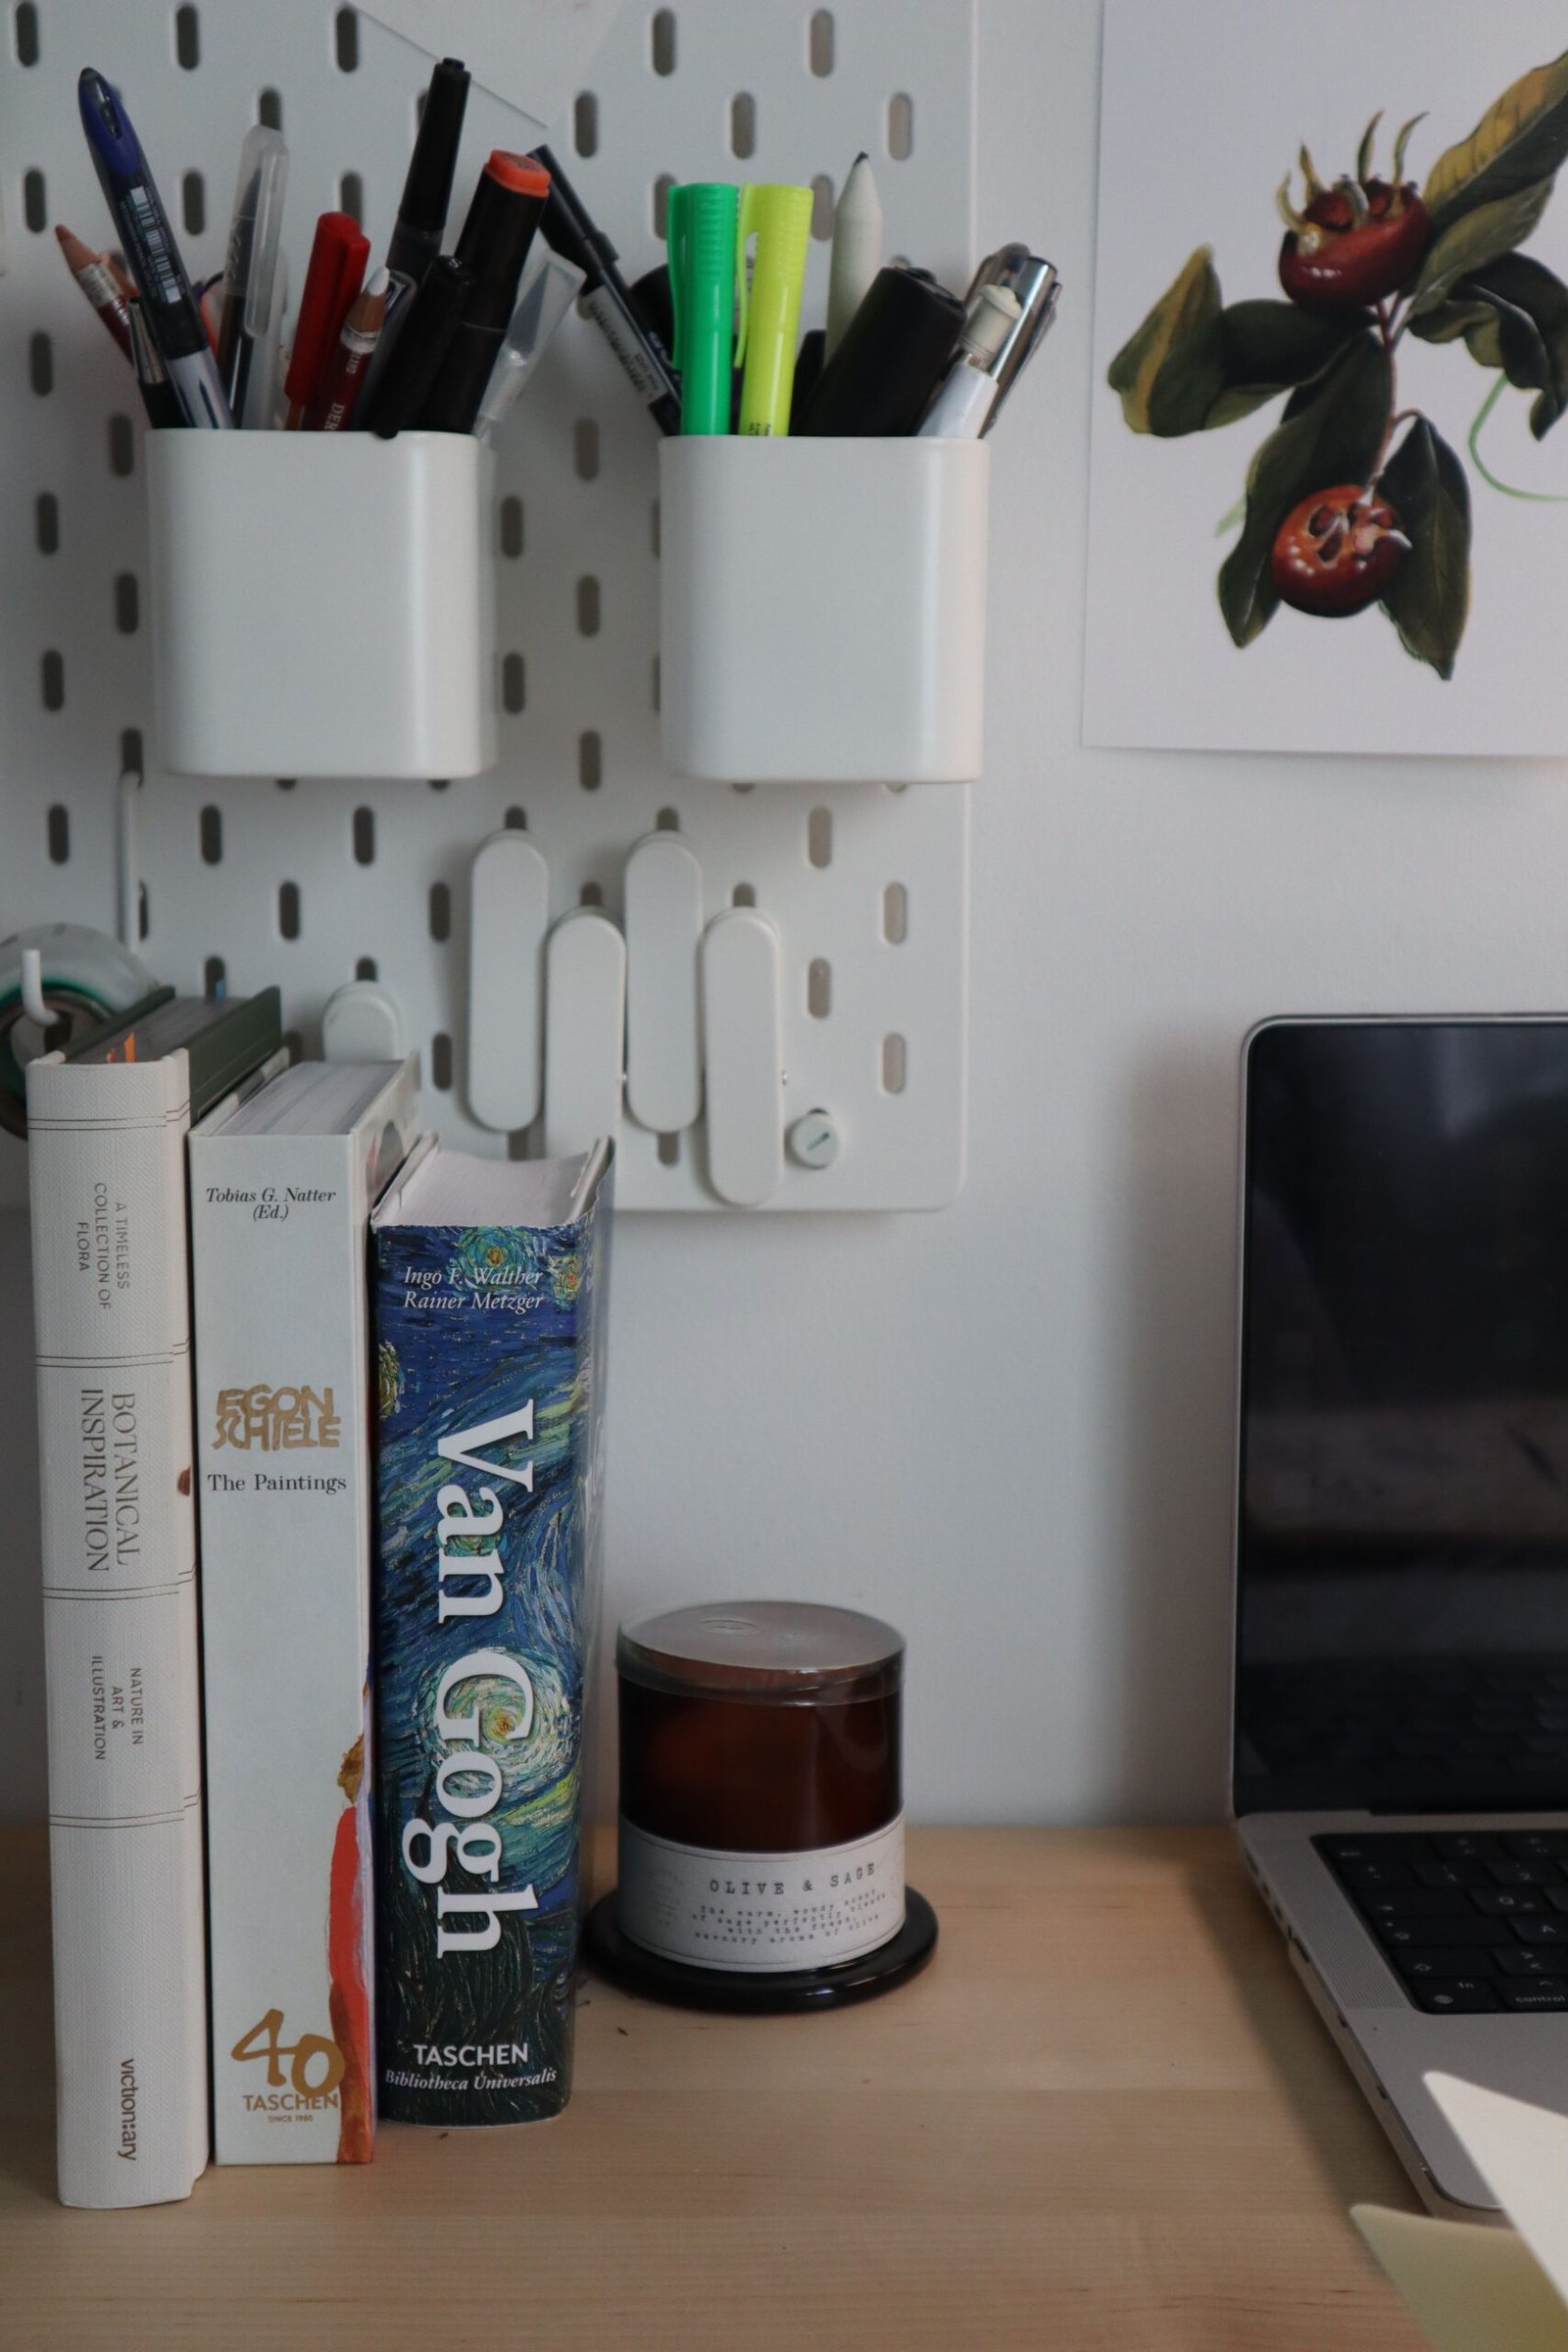
    Organized home office desk setup with stationery kept off the main work surface

    4. Create a Landing Zone Outside the Office

    Keys, mail, your badge, the package you keep forgetting to return — none of that belongs on your desk, but it ends up there anyway because there’s no better option on the way in. Set up a small tray, hook, or shallow basket near the entrance to the room (or the house) specifically for transitional items. The rule is simple: if it’s not office work and not a permanent fixture, it goes in the landing zone, not on the desk. This one change quietly prevents a huge share of the clutter that accumulates on a workspace by the end of the week.

    5. Claim the Space Above Eye Level

    Most home offices stop storing things once they run out of desk and floor space, but the wall above eye level is almost always empty. That’s prime real estate for anything you need occasionally but not daily: reference binders, spare cables, extra office supplies, backup hard drives. A single floating shelf near the ceiling line keeps rarely-used items accessible without letting them compete for space with the things you reach for every day. It also has a side benefit: a shelf up high draws the eye upward and makes a small office feel less cramped, not more.

    6. Replace the Big Cleanup With a 5-Minute Reset

    The reason home offices slide back into chaos even after a great organizing weekend is that there’s no maintenance step — just one big cleanup, followed by months of drift, followed by another big cleanup. A short daily reset breaks that cycle: before you close your laptop for the day, spend five minutes putting loose papers into their zone, returning supplies to the wall, and clearing anything that landed on the desk that doesn’t belong there. Five minutes a day is a very different commitment than a Saturday afternoon, and it’s the difference between a system that holds and one you have to rebuild every few months.

    Have a home office fix that’s made a bigger difference than you expected? Drop it in the comments below — we’re always looking for the next upgrade worth testing.

  • Pegboard vs. Wall Shelving vs. Bins: Which Garage Storage System Actually Works for You?

    Pegboard vs. Wall Shelving vs. Bins: Which Garage Storage System Actually Works for You?

    Disclosure: This post contains affiliate links. If you make a purchase through one of these links, we may earn a small commission at no additional cost to you. As an Amazon Associate, we earn from qualifying purchases.

    If you’ve ever stood in your garage wondering why you own three rakes but can never find a Phillips screwdriver, you’re not alone. Garages tend to become the house’s default dumping ground — tools, sports gear, seasonal decorations, and the odd box that “we’ll deal with later” all pile up until there’s barely room for the car. The good news is that most garage chaos comes down to picking the wrong storage system for how you actually use the space, not a lack of effort.

    There’s no single “best” way to organize a garage. The right system depends on how many tools you own, whether you rent or own your home, and how much wall space you’re willing to give up. Below, we compare three of the most popular garage storage systems — pegboard, wall-mounted shelving with bins, and stackable/rolling bins — so you can figure out which one (or which combination) fits your space.

    Organized garage interior with wall shelving and storage

    System 1: Pegboard

    Hand tools neatly hung on a metal pegboard

    Pegboard is a wall of small holes fitted with movable hooks, so every tool gets its own visible spot and you can see at a glance what’s missing. It’s the classic choice for hand tools — hammers, pliers, wrenches, screwdrivers — and it works especially well if you like to keep frequently used items within arm’s reach of a workbench.

    Best for: people with a moderate hand-tool collection and at least one open wall near a workbench.
    Pros: inexpensive, endlessly reconfigurable, keeps tools visible so nothing gets “lost” in a drawer.
    Cons: doesn’t do much for bulky items (nobody’s hanging a cooler on a pegboard hook), and a fully loaded board can look cluttered if you don’t group tools by category.

    System 2: Wall-Mounted Shelving + Labeled Bins

    Labeled storage bin on a garage shelf

    This system uses sturdy wall-mounted or freestanding shelving units, with items grouped into clear or labeled bins rather than sitting loose on the shelf. It’s the go-to option for anything that isn’t a hand tool: seasonal decorations, sports equipment, car care supplies, hardware odds and ends, and bulk household stock.

    Best for: garages that double as storage for seasonal or occasional-use items, and anyone who wants a system that scales as they accumulate more stuff.
    Pros: makes efficient use of vertical space, labeled bins mean you’re not digging through a mystery box to find one thing, and it keeps everything off the floor.
    Cons: shelving units take up more floor footprint than pegboard, and the system only stays organized if you’re disciplined about labeling and returning bins to their spot.

    System 3: Stackable & Rolling Bins

    The simplest system: uniform, stackable plastic bins (sometimes on a rolling base) that don’t require any wall mounting or shelving at all. This is often the fastest and most renter-friendly option, since it requires zero drilling or permanent installation.

    Best for: renters, garages with limited wall space, or anyone who wants a flexible system they can rearrange or move entirely if they relocate.
    Pros: no installation, easy to reconfigure, bins can be moved outside the garage temporarily (for a project or a move) without disassembling anything.
    Cons: stacked bins mean the ones on the bottom are harder to access, and without shelving to anchor them, stacks can become unstable if they get too tall.

    Quick Comparison

    System Best For Installation Floor Space Used
    Pegboard Hand tools Wall-mounted, drilling required None
    Shelving + Bins Seasonal & bulky items Wall-mounted or freestanding Moderate
    Stackable/Rolling Bins Renters, flexible storage None Low to moderate
    ★ Our Pick

    Spampur 4-Pack Metal Pegboard Panels with 50 Hooks

    Spampur metal pegboard panel set with hooks

    If you’re leaning toward pegboard, this steel 4-panel kit is a solid starting point. At 16 x 12 inches per panel, the four pieces can form one large board or be split across two smaller walls.

    • Powder-coated steel — won’t rust or scratch easily

    As an Amazon Associate we earn from qualifying purchases. Price and availability may change.

    Which System Should You Choose?

    Most garages actually end up using a mix rather than just one system, and that’s fine — the goal isn’t purity, it’s function. As a general rule: if you own more than a handful of hand tools, give pegboard a try near your workbench. If your garage is where seasonal and bulky items go to hide, shelving with labeled bins will save you the most time. And if you’re renting, working with a small garage, or just want to test the waters before committing to anything permanent, stackable bins are the lowest-risk place to start.

    Have you tried combining more than one of these systems in your own garage? Let us know what’s worked (or hasn’t) for your space in the comments below — we’d love to hear it.

  • 6 Bathroom Organization Mistakes That Are Wasting Your Space (And How to Fix Them)

    6 Bathroom Organization Mistakes That Are Wasting Your Space (And How to Fix Them)

    Disclosure: This post contains affiliate links. If you make a purchase through one of these links, we may earn a small commission at no additional cost to you. As an Amazon Associate, we earn from qualifying purchases.

    A clean, organized bathroom shower niche with neatly arranged bottles

    A small bathroom can feel chaotic even when it’s technically clean — because storage there usually isn’t the problem. The layout is. Between narrow cabinets, oddly shaped corners, and shared counter space, most bathrooms end up organized by accident rather than by design. If you’ve reorganized more than once and it never seems to stick, the issue probably isn’t a lack of effort — it’s one of a handful of very common setup mistakes. Below are six of the most frequent ones we see in real bathrooms, along with a straightforward fix for each, so the next system you build is the one that actually lasts.

    Mistake #1: Everything Lives on the Counter

    The most common bathroom mistake isn’t really about storage capacity — it’s about defaults. When there’s no assigned spot for a toothbrush, a bottle of moisturizer, or hair ties, they land on the counter because that’s the path of least resistance. Over time, the counter becomes the catch-all, and every surface feels cluttered even in a small bathroom.

    Fix: Give every category — skincare, hair tools, oral care — its own small tray or bin, even if it’s just an inexpensive acrylic tray. A tray does two things a bare counter can’t: it defines boundaries so items don’t spread, and it can be lifted as one unit when you actually clean the counter underneath.

    Bathroom vanity with organized under-sink storage baskets

    Mistake #2: The Space Under the Sink Is Wasted

    Under-sink cabinets are usually the biggest storage zone in a bathroom, and also the most disorganized — bottles get pushed to the back, pipes eat up the middle, and half the space above the plumbing never gets used at all.

    Fix: A tiered, adjustable organizer built specifically for under-sink cabinets solves this by working around the pipes instead of ignoring them, adding a usable shelf above and below the plumbing. It’s the single upgrade that tends to free up the most space in the smallest footprint — see our pick below.

    ★ Our Pick

    Vtopmart 4-Piece Under-Sink Organizer Set

    Vtopmart 4-piece under sink bathroom organizer set with clear bins

    • Clear, stackable bins — see what’s inside at a glance instead of digging through the back of the cabinet
    • Set of 4 different sizes — mix and match around pipes instead of forcing one bulky organizer to fit
    • Sturdy, easy-clean plastic — holds up to the humidity and occasional splashes typical under a bathroom sink
    • Rated 4.6 stars from thousands of reviews, with over 10,000 purchases in the past month

    Check Current Price on Amazon →

    Mistake #3: One Giant Drawer for Everything

    A single deep drawer without dividers turns into a drawer you dread opening — hair ties tangled with makeup, nail clippers buried under three half-used lip balms. It might look fine when you close it, but finding anything specific means digging every time.

    Fix: Add a simple drawer divider or a set of small stackable bins inside the drawer. Grouping by category — hair, skincare, first aid — turns one messy drawer into four or five mini-drawers you can actually see into at a glance.

    Mistake #4: Ignoring the Wall

    Most bathrooms only use their floor-level storage — cabinets and counters — and leave every inch of wall space empty. That’s a missed opportunity, especially in a small bathroom where floor space is the tightest resource of all.

    Fix: A slim over-the-toilet shelf, a corner shower caddy, or even a couple of adhesive hooks behind the door can hold towels, baskets, or extra toiletries without taking up a single inch of floor or counter space. Vertical storage is almost always the easiest space to add, because it doesn’t compete with anything else in the room.

    Woven storage basket with folded towels in a bathroom

    Mistake #5: Buying Organizers Before Measuring Anything

    It’s tempting to order the first bin set that shows up in a search, but bathroom cabinets and drawers come in more shapes than almost any other room in the house — narrow, shallow, oddly angled around plumbing. A bin that looked perfect online can end up an inch too tall to close the door.

    Fix: Measure the actual space — width, depth, and height, including any obstruction like a pipe or hinge — before adding anything to a cart. It takes two extra minutes and saves a return.

    Mistake #6: Never Editing What’s Already In There

    Bathroom organization isn’t a one-time project, because bathroom products expire — sunscreen, some makeup, and most skincare have a real shelf life, and expired products quietly take up prime real estate for months or years. Even the best bins only work as well as what’s inside them.

    Fix: Once or twice a year, pull everything out of one zone and check dates. Anything expired, empty, or unused in the last six months goes. A five-minute edit twice a year keeps the system you built from slowly filling back up with things you don’t actually reach for.

    Quick Recap

    • Give every category a tray so items stop landing on the counter
    • Fix the under-sink cabinet with a tiered organizer built for pipes (we recommend the Vtopmart 4-piece set)
    • Add dividers so one drawer doesn’t become a catch-all
    • Use wall space — shelves, caddies, hooks — before adding more floor storage
    • Measure the space before buying any organizer
    • Edit expired or unused products twice a year

    Which of these mistakes hits closest to home in your bathroom? Share it in the comments below.
  • 10 Closet Organization Ideas That Actually Save Space (No Renovation Required)

    Disclosure: This post contains affiliate links. If you make a purchase through one of these links, we may earn a small commission at no additional cost to you. As an Amazon Associate, we earn from qualifying purchases.

    A neatly organized closet with clothes and accessories arranged by category

    If opening your closet feels like a small act of bravery — sweaters avalanching off a shelf, shoes in three different piles, that one drawer you just close quickly and walk away from — you’re in good company. Most closets don’t need more space. They need a system. Here are ten ideas that hold up months later, not just on organizing day.

    1. Take Everything Out First

    Before you buy a single bin, empty the closet completely. It’s the only way to see what you actually own, catch duplicates, and set aside anything you haven’t worn in a year for donation. Skipping this step is the number one reason closet systems fall apart within weeks — you end up organizing clutter instead of removing it.

    2. Sort by Category, Not by Where It Used to Live

    Group everything into rough categories — tops, bottoms, outerwear, shoes, accessories, seasonal items — before deciding where anything goes back. This makes the next step (assigning zones) far easier and reveals just how much of one category you actually own.

    3. Give Everything a Zone

    Once sorted, assign each category a fixed spot: shelf, section of the rod, or bin. A zoned closet is a closet anyone in the house can put things back into correctly, because there’s only one right place for each item — no guessing.

    4. Use Stackable Bins for Anything That Doesn’t Hang

    Folded sweaters, T-shirts, workout clothes, and off-season items do best in stackable, foldable bins rather than loose piles on a shelf. Bins keep stacks from toppling and make it obvious at a glance when a category is running low on space.

    Soft clothes neatly organized in woven storage baskets

    ★ Our Pick

    SNSLXH 5-Pack Foldable Closet Storage Bins

    SNSLXH 5-pack foldable closet storage bins stacked in a closet

    • Stackable, drawer-style bins — build vertical storage on any shelf without installing anything
    • Foldable when empty — fold flat for off-season storage instead of taking up permanent space
    • Sturdy PP plastic construction — holds folded clothing, shoes, or accessories without sagging
    • Rated 4.5 stars from over 5,000 reviews, and currently an Amazon’s Choice pick in its category

    Check Current Price on Amazon →

    5. Add a Second Level With Shelf Risers

    Most closet shelves only use the bottom half of their actual height. A simple wire or acrylic riser adds a second tier without any tools, instantly doubling usable space for folded items or shoe boxes.

    6. Hang Matching Hangers — And Only as Many as You Need

    Switching to one uniform hanger style (velvet or slim plastic both work well) makes a closet look tidier instantly and lets more clothes fit on the same rod, since you’re not fighting mismatched hook shapes and widths.

    7. Corral Small Items in Their Own Bin

    Belts, scarves, and loose accessories almost never stay organized on a shelf by themselves. Give them one small labeled bin or drawer divider so they’re contained instead of sliding into every other category.

    8. Store Off-Season Clothing Separately

    Heavy coats in summer and swimsuits in winter are just taking up prime closet real estate. Move off-season items into labeled, foldable bins on a top shelf or under the bed, and rotate them twice a year.

    9. Keep a Small Donation Bag Inside the Closet

    Instead of a big annual purge, keep an empty bag or box in the closet year-round. The moment something doesn’t fit or isn’t worn anymore, it goes straight in — no separate decluttering session required.

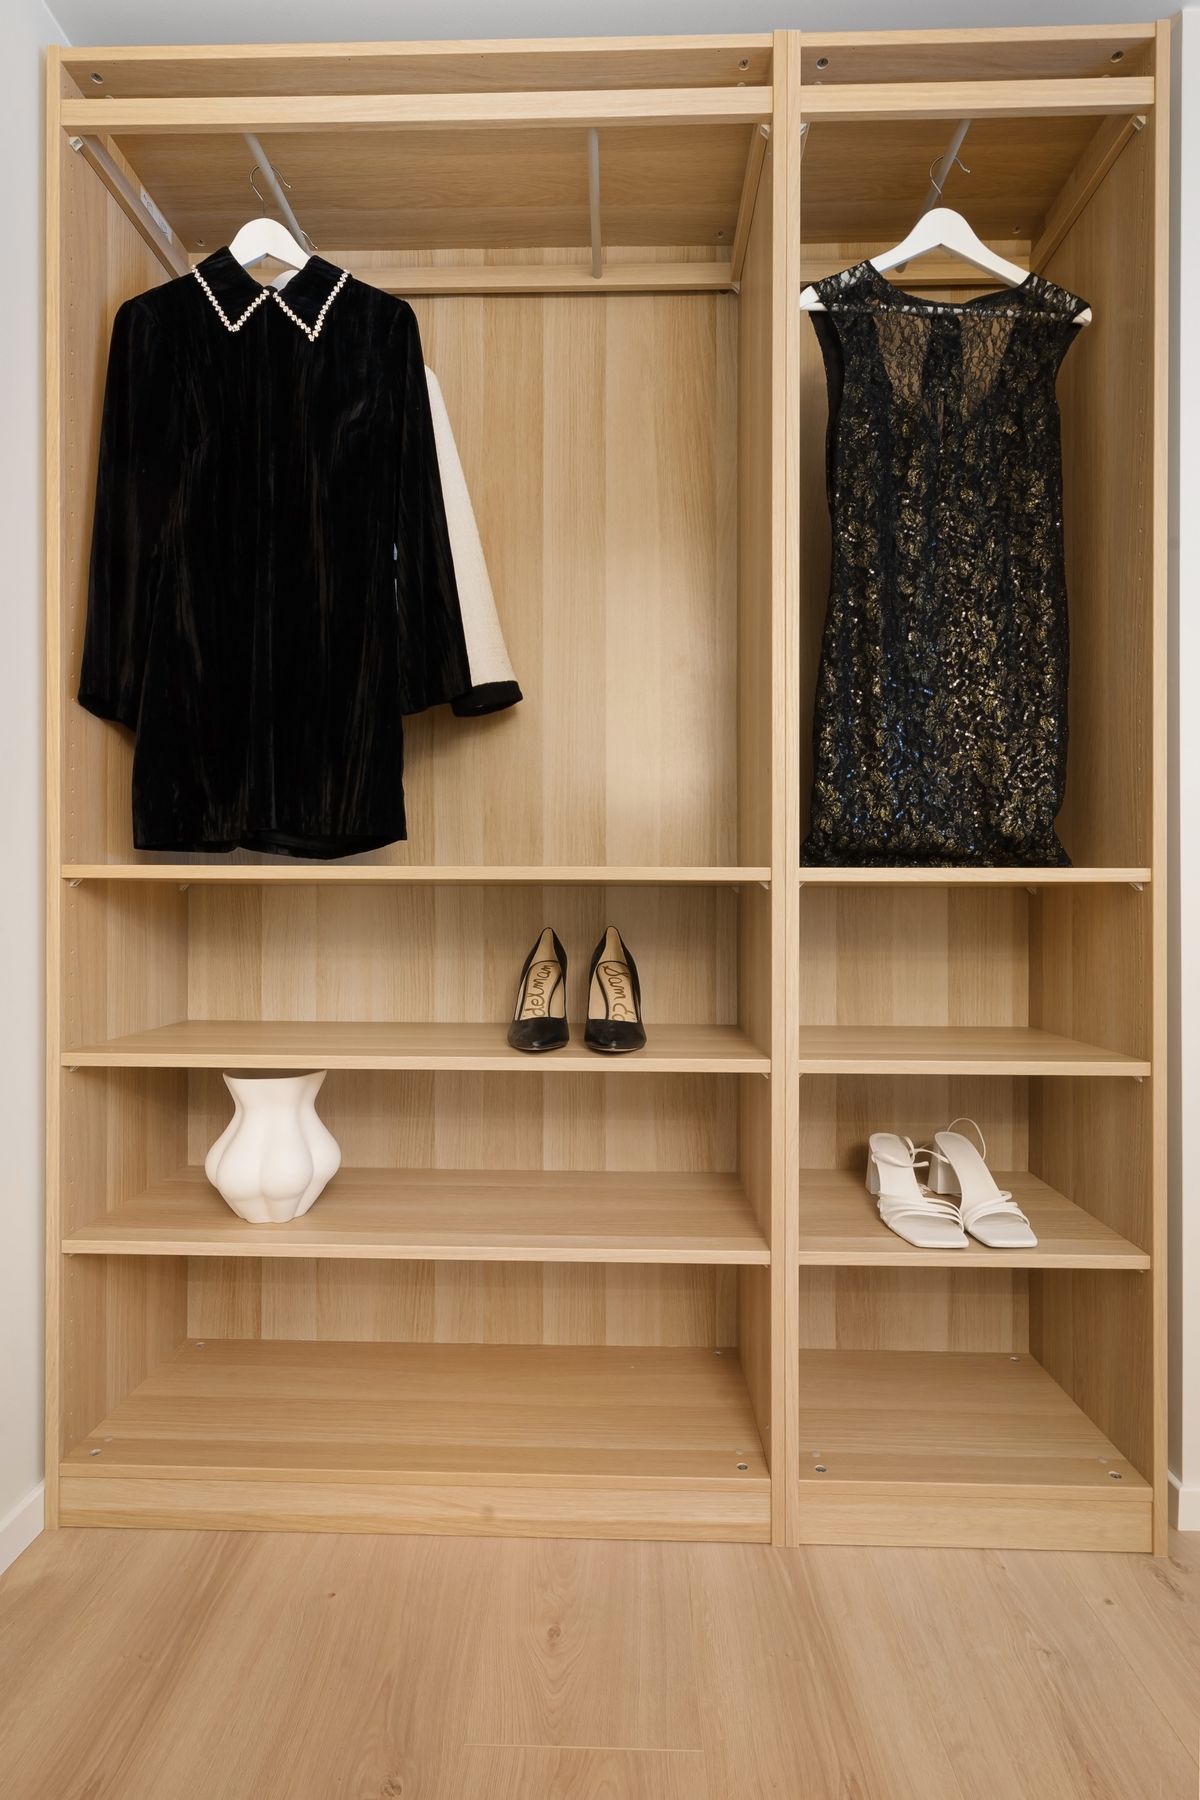
    A minimalist wardrobe with dresses and shoes arranged neatly

    10. Do a 5-Minute Reset Weekly

    Once your system is set up, pick one day a week to spend five minutes putting stray items back in their zone. Five minutes weekly prevents the two-hour teardown-and-redo that most people end up doing every few months.

    Quick Recap

    • Empty the closet before organizing it
    • Sort by category first
    • Assign every category a fixed zone
    • Use stackable bins for folded items (we recommend the SNSLXH 5-pack)
    • Add vertical space with shelf risers
    • Standardize your hangers
    • Corral small accessories in one bin
    • Store off-season items separately
    • Keep a running donation bag
    • Reset weekly, not quarterly

    Have a closet organization trick that’s worked for you? Share it in the comments below.