Category: Kitchen Organization

  • 5 Kitchen Drawer Myths That Keep Your Utensils in Chaos (and What Actually Works)

    5 Kitchen Drawer Myths That Keep Your Utensils in Chaos (and What Actually Works)

    Disclosure: This post contains affiliate links. If you make a purchase through one of these links, we may earn a small commission at no additional cost to you. As an Amazon Associate, we earn from qualifying purchases.

    Every kitchen has one: the drawer that sticks halfway because a ladle handle is jammed sideways, the one where the can opener hides under three takeout menus, the one you open, sigh at, and close again. Most of us respond the same way each time. We buy another gadget, shove things around for ten minutes, and the chaos is back by Thursday.

    The problem usually isn’t effort. It’s a handful of common beliefs about kitchen drawers that sound sensible but quietly work against you. Below are the five we hear most often, why they don’t hold up, and what to do instead.
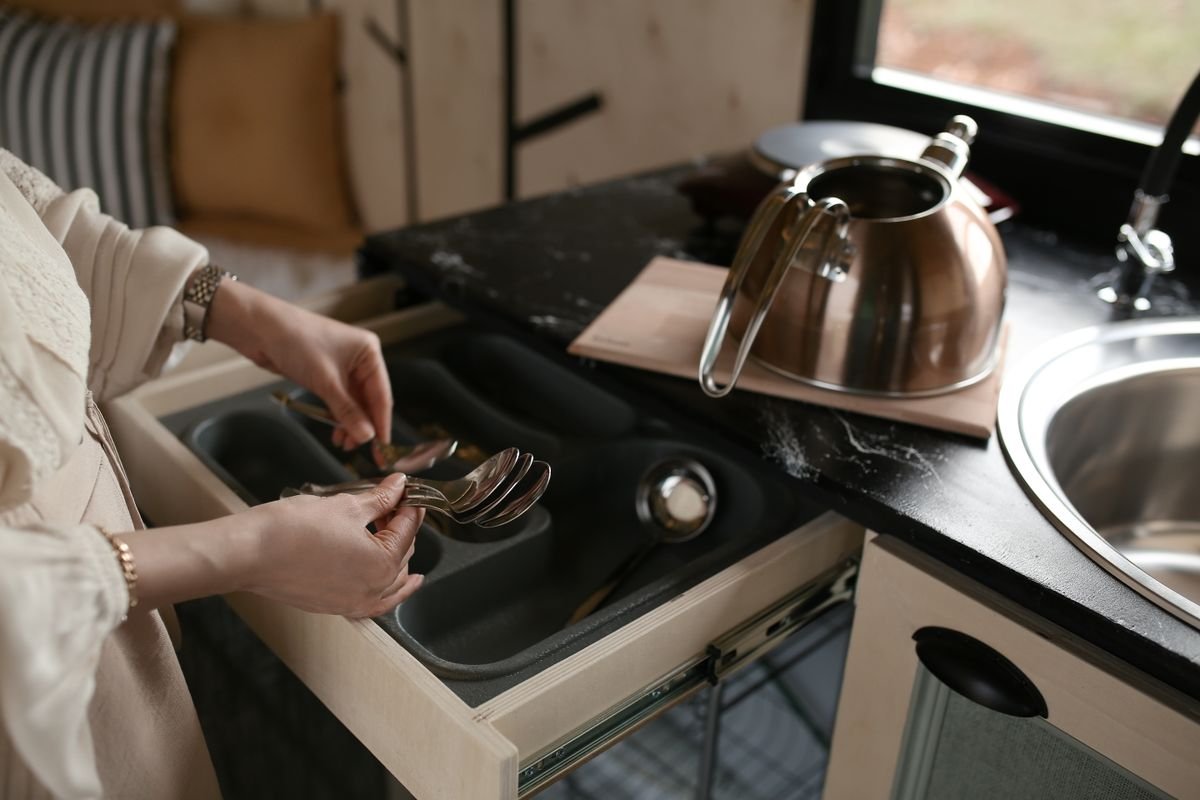
    Hands placing spoons into a cutlery tray inside an open kitchen drawer

    Myth #1: You Need More Drawer Space

    The reality: most cluttered drawers aren’t too small. They’re carrying duplicates. Pull everything out of your main utensil drawer and lay it on the counter grouped by type. It’s very common to find three vegetable peelers, two pizza cutters, a drawer’s worth of mismatched measuring spoons, and four spatulas when you only ever reach for one.

    Try this: keep the one you actually use from each group, plus a backup only for things you use daily and that wear out (like a peeler). Everything else goes into a donation box. If you’re nervous about letting go, put the extras in a labeled bin in the garage for 60 days. If you never open the bin, donate it without looking inside. Most people free up a third of the drawer before buying a single organizer.

    Myth #2: Any Organizer Tray Will Fix It

    The reality: a tray that doesn’t fit your drawer creates new problems. Too small, and it slides forward every time you yank the drawer open, while loose items collect in the gap behind it. Too tall, and the drawer above scrapes the handles. Fixed-size trays are designed for an “average” drawer that very few kitchens actually have.

    Try this: measure the inside of the drawer, not the front panel: width wall to wall, depth front to back, and the usable height (close the drawer and check clearance against the frame above). Then choose an organizer that expands to fill the width so nothing can shift. Leave roughly half an inch of play so the tray goes in and out easily for cleaning. Assign compartments by frequency, with forks and spoons in the slots closest to you and rarely used pieces like the cake server at the back.

    ★ Our Pick

    Pipishell Expandable Bamboo Silverware Organizer (Large)

    Pipishell expandable bamboo silverware drawer organizer with multiple compartments

    If your current tray slides around or leaves dead space on the sides, an expandable organizer solves the fit problem from Myth #2: it widens until it meets the drawer walls, so nothing shifts when you open the drawer.

    • Expands to fit — adjusts from about 13 to 19.6 inches wide to match your drawer
    • 6 to 8 compartments — room for flatware plus longer tools along the extending side sections
    • Bamboo build — sturdy and easy to wipe clean with a damp cloth

    Check Current Price on Amazon →

    As an Amazon Associate we earn from qualifying purchases. Price and availability may change.

    Myth #3: Every Utensil Belongs in a Drawer

    The reality: long, bulky tools like ladles, whisks, tongs, and wooden spoons are the main reason drawers jam. They don’t fit neatly in standard compartments, they tangle, and you end up digging for them mid-recipe while something burns.
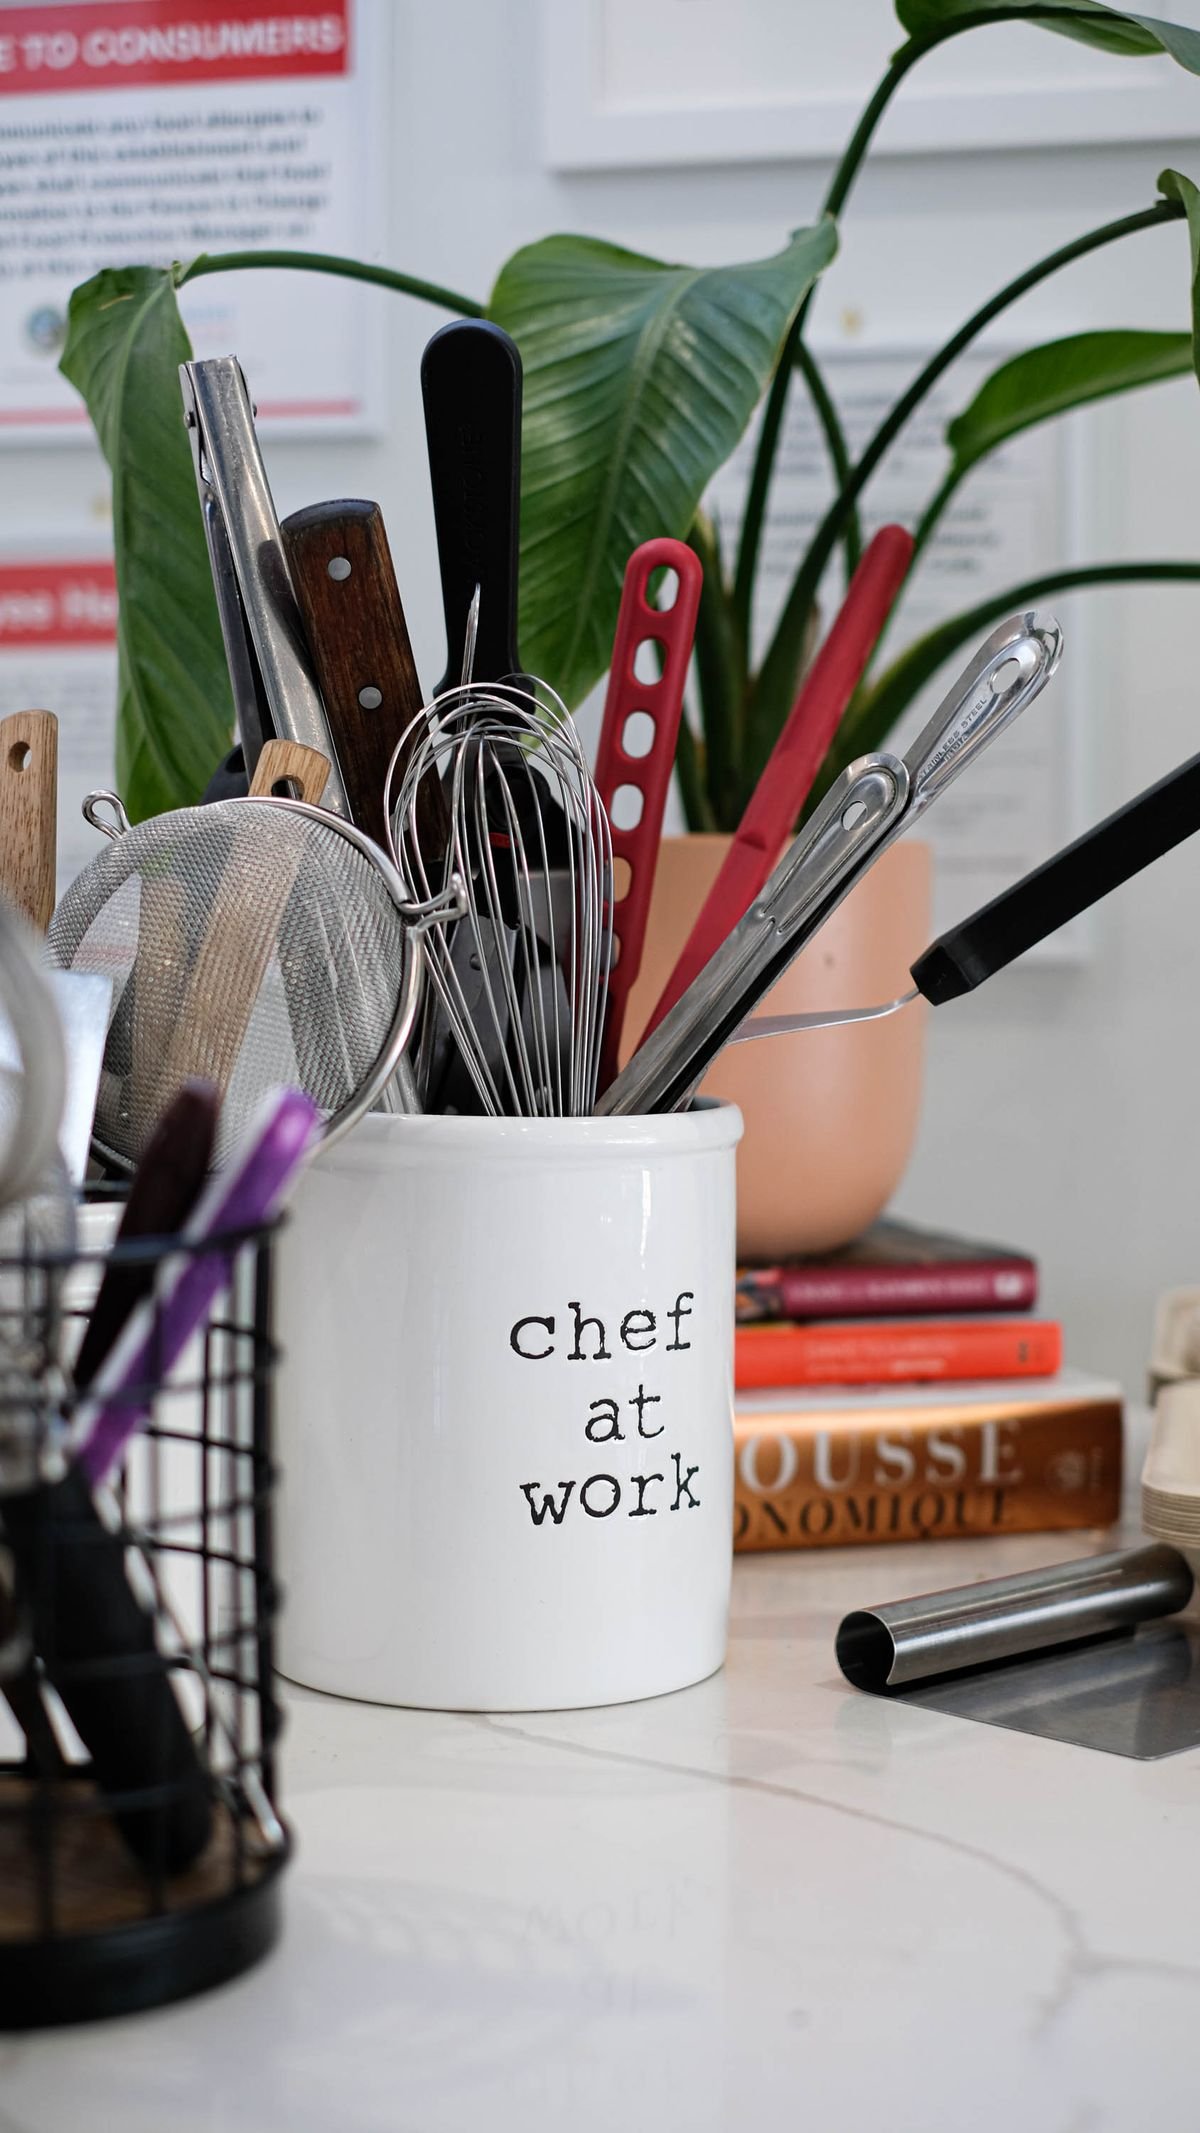
    Countertop utensil crock filled with whisks, tongs and spatulas

    Try this: move your five to eight most-used cooking tools into a sturdy crock right next to the stove. That’s where you need them, and you can grab one with one hand. Pick a crock with a heavy base so it doesn’t tip when you pull out tongs. The rule that keeps it from turning into countertop clutter: if a tool hasn’t left the crock in a month, it goes back into a drawer or out of the house. Your drawer instantly gets lighter and closes properly again.

    Myth #4: The Junk Drawer Is a Lost Cause

    The reality: the junk drawer isn’t a failure. It’s a real need, because every home has batteries, rubber bands, tape, and spare keys that don’t belong anywhere else. It only becomes a mess when it has no structure and no limits.

    Try this: give it a job description. Line it with a few small open bins (old jar lids and small food containers work fine) and decide on four or five categories: tools, tape and glue, batteries and chargers, keys, and “pending” for things you aren’t sure about yet. When the pending bin is full, sort it. Once a month, set a five-minute timer, toss dried-out pens and mystery screws, and put everything back in its bin. A junk drawer with categories is just a utility drawer with a funny name.

    Myth #5: Deep Drawers Are Only for Pots

    The reality: deep drawers are often the most versatile storage in the kitchen, but stacking things in them wastes them. Anything at the bottom of a pile is effectively lost.
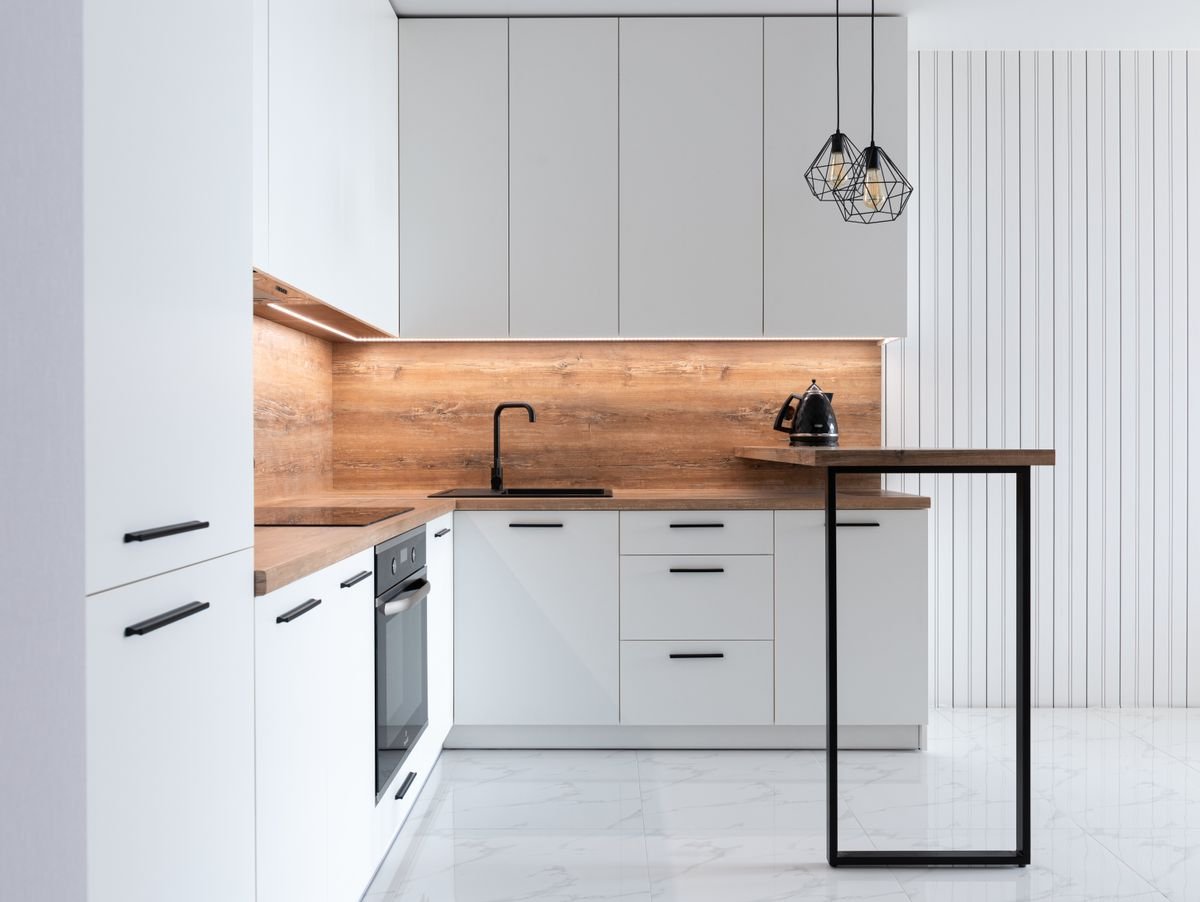
    Modern white kitchen with a stack of shallow and deep drawers

    Try this: think vertically. Store baking sheets, cutting boards, and pot lids on their edges, like files in a cabinet, using simple dividers or a tension rod. Nest food storage containers by shape and keep their lids standing upright in a separate section. Use shallow top drawers for flat, frequently used items (flatware, measuring spoons, wraps) and save the deep drawers for anything taller than your hand. The goal is that you can see and lift out any single item without moving another one first.

    The Short Version

    A calm kitchen drawer comes down to a few simple moves: cut duplicates before buying anything, choose an organizer that actually fits the drawer (an expandable bamboo tray handles odd widths well), move bulky cooking tools to a crock by the stove, give the junk drawer categories and a monthly reset, and store things on their edges in deep drawers. Start with one drawer this weekend. Once you feel the difference of opening it without a fight, the rest of the kitchen tends to follow.

    Which kitchen drawer myth were you living by? And what’s the strangest thing hiding in your junk drawer right now? Tell us in the comments below.
  • Shelf by Shelf: A Fridge Organization Zone Map That Keeps Food Fresher (and Easier to Find)

    Shelf by Shelf: A Fridge Organization Zone Map That Keeps Food Fresher (and Easier to Find)

    Disclosure: This post contains affiliate links. If you make a purchase through one of these links, we may earn a small commission at no additional cost to you. As an Amazon Associate, we earn from qualifying purchases.

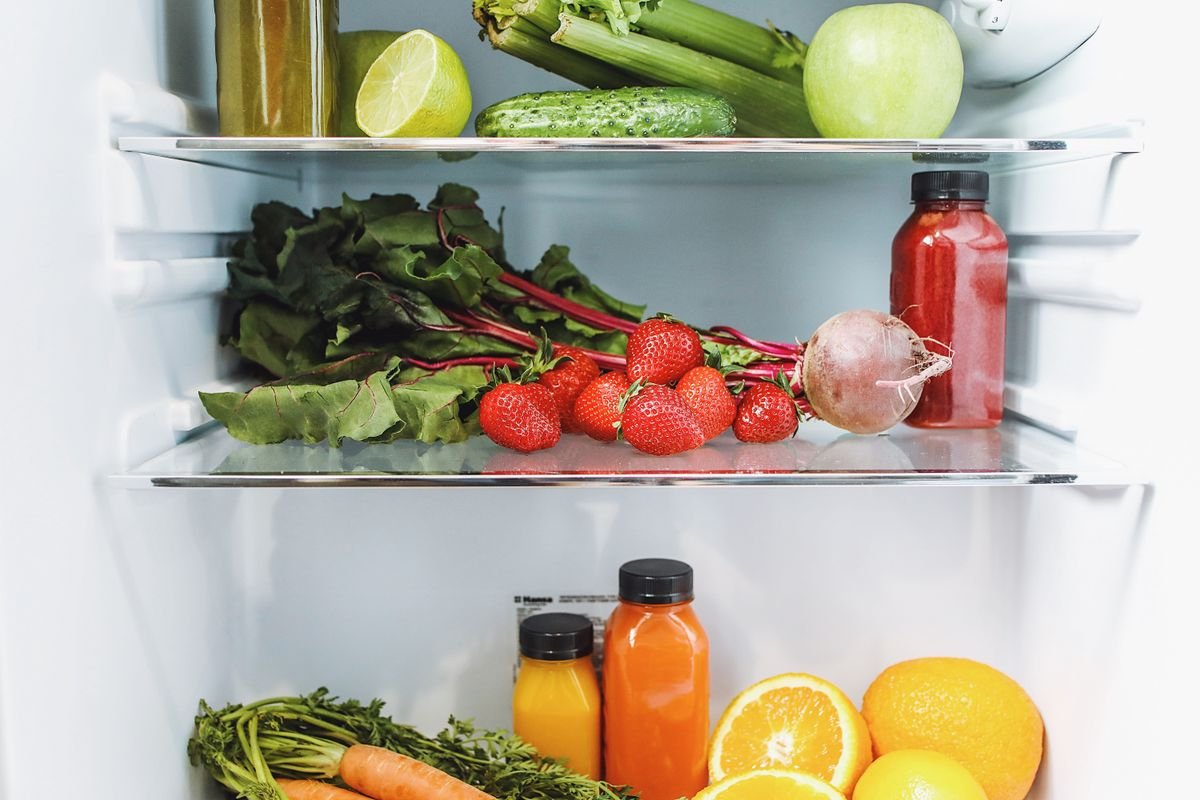
    Fresh vegetables, strawberries and juice bottles on clean glass refrigerator shelves

    Most fridges are organized by one rule: put it wherever it fits. The milk lands in the door, the leftovers get pushed behind the pickles, and the spinach you bought with good intentions turns into a sad green puddle in the back of the drawer.

    Here is the thing most people never hear: your refrigerator is not one temperature. The door swings open dozens of times a day and runs warmer than the shelves, the crisper drawers hold humidity differently, and the bottom shelf is the safest place for anything that might drip. Once you treat each area as its own zone with its own job, the fridge almost organizes itself, and food lasts longer because it sits where it belongs.

    So instead of another list of tips, here is a zone map. Walk through your fridge top to bottom with it once, and you will have a system you can keep up in about ten minutes a week.

    Before You Start: Clear It, Check It, Set It

    Pick a moment right before grocery day, when the fridge is at its emptiest. Take everything out, toss anything expired or forgotten, and wipe the shelves and drawers with warm soapy water. Then check the temperature: the U.S. Food and Drug Administration recommends keeping your refrigerator at 40°F (4°C) or below. A cheap appliance thermometer on the middle shelf tells you more than the dial ever will.

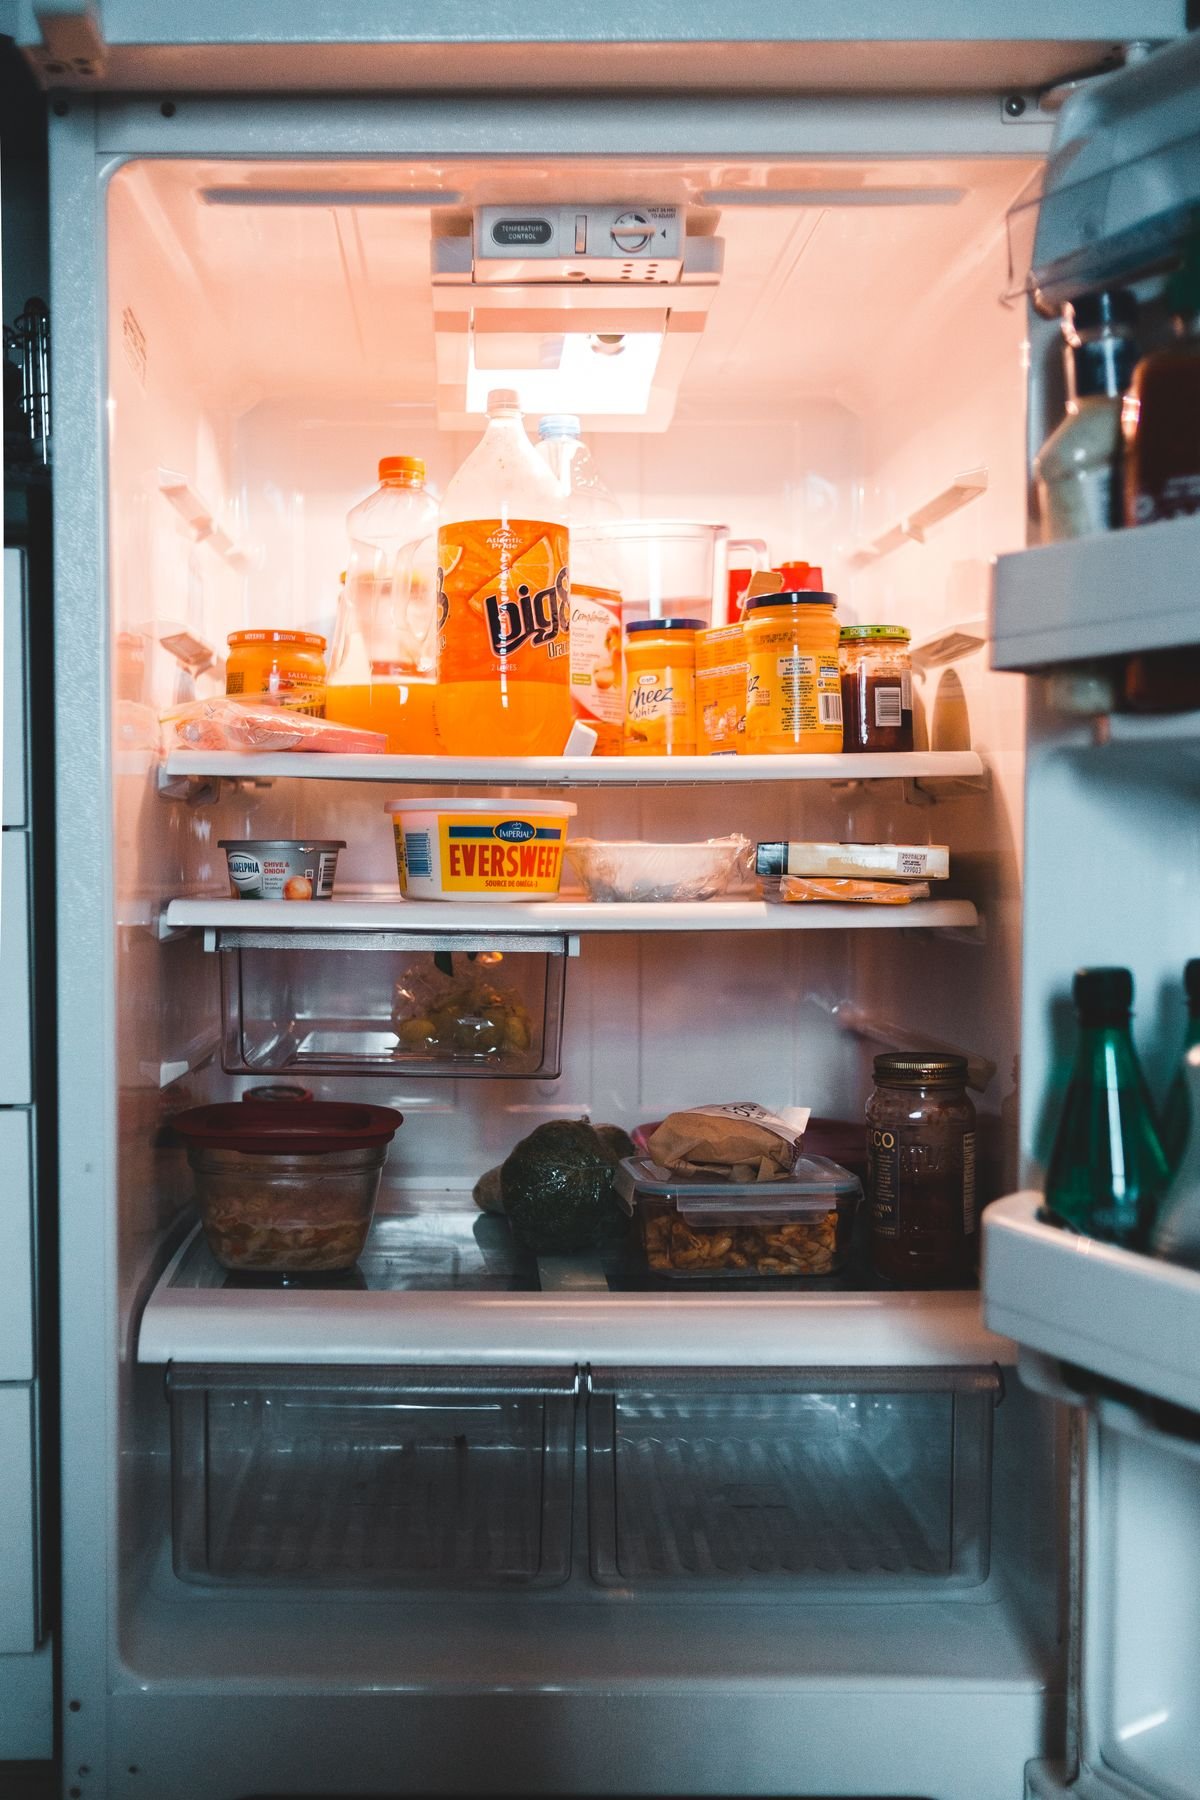
    Open refrigerator with drinks, condiments and leftovers on its shelves

    Now put things back zone by zone, starting at the top.

    Zone 1: The Door (Warmest Spot)

    What goes here: condiments, sauces, salad dressings, jams, pickles, butter, bottled water and juice.

    Why: every time the door opens, the shelves inside it get a blast of room-temperature air. That is fine for vinegar-, salt- and sugar-heavy foods that are naturally more stable. It is not the place for milk or eggs, even if your fridge came with a little egg tray in the door. The USDA suggests keeping eggs in their original carton on an interior shelf.

    Setup tip: group the door by meal, not by size. One shelf for sandwich stuff (mustard, mayo, pickles), one for cooking (soy sauce, chili paste, lemon juice), one for drinks. You will stop opening three jars to find the right one.

    Zone 2: The Top Shelf (Ready to Eat)

    What goes here: leftovers, yogurt, hummus, deli items, snacks and anything that needs no cooking.

    Why: food-safety guidance is simple: ready-to-eat foods go above raw foods, so nothing drips onto something you will not cook. The top shelf is also at eye level for most adults, which makes it the perfect home for the food you actually want people to eat first.

    Setup tip: create an Eat First bin at the front of this shelf for leftovers and anything opened. USDA guidance is to eat most cooked leftovers within three to four days, so a single visible bin keeps them from disappearing behind the juice. Clear bins with handles help here: you slide the whole group out instead of digging.

    ★ Our Pick

    Sorbus Fridge Organizer Bins (6-Piece Set)

    Sorbus 6-piece clear fridge organizer set with wide bins, narrow bins and a soda can organizer holding food and drinks

    If you want to set up zones without buying a dozen random containers, this mixed set covers the main jobs in one go: wide bins for an Eat First zone and produce, narrow bins for yogurt or jars, and a can organizer for drinks.

    • Mixed sizes — 2 wide bins, 2 narrow bins, a 12-can organizer and an egg holder
    • Clear and stackable — you see what is inside each zone at a glance
    • BPA-free and easy to clean — pull a bin out, rinse it, slide it back

    Check Current Price on Amazon →

    As an Amazon Associate we earn from qualifying purchases. Price and availability may change.

    Zone 3: The Middle Shelves (Dairy and Eggs)

    What goes here: milk, cream, cheese, eggs (in the carton) and anything that spoils quickly when it warms up.

    Why: the interior shelves hold a steadier temperature than the door. Dairy is one of the first things to turn when it sits in that warm door shelf, so moving the milk inside is the easiest freshness upgrade you can make today.

    Setup tip: put the tallest items, like milk jugs and juice cartons, at the back and toward the sides, and shorter items in front. Nothing should hide behind something taller than itself.

    Zone 4: The Bottom Shelf (Raw Meat and Thawing)

    What goes here: raw meat, poultry and seafood, plus anything thawing from the freezer.

    Why: raw juices can carry bacteria, and gravity is not your friend. Keeping raw proteins on the lowest shelf means a leaky package can only drip onto the shelf, not onto your lunch. Thawing in the fridge, rather than on the counter, is also the method food-safety agencies recommend.

    Setup tip: keep raw items inside a rimmed tray or a dedicated bin that you can lift out and wash. Label it so nobody in the house puts the cheese in there by accident.

    Zone 5: The Crisper Drawers (Produce, Split by Humidity)

    What goes here: fruits and vegetables, but not all in the same drawer.

    Why: many crisper drawers have a small slider that opens or closes a vent. A closed vent (higher humidity) keeps leafy greens, herbs, carrots and other vegetables that wilt from drying out. An open vent (lower humidity) suits fruits like apples and pears, which give off ethylene gas that speeds ripening in the produce around them. Mixing them is a big reason the lettuce goes limp so fast.

    Setup tip: one drawer for vegetables, vent closed. One drawer for fruit, vent open. If your fridge has no sliders, store greens loosely wrapped in a dry paper towel inside a bin, and keep apples on their own.

    The 10-Minute Weekly Reset

    A zone map only works if it gets a little maintenance. Right before you put new groceries away, run through this quick reset:

    1. Empty the Eat First bin: eat it tonight, freeze it, or toss it.
    2. Pull older items to the front of each zone, so new groceries go in behind them.
    3. Wipe any spills, especially on the bottom shelf.
    4. Check that the crisper vents are still set the way you want them.
    5. Glance at the thermometer. Still at 40°F or below? You are done.

    The Bottom Line

    You do not need a bigger fridge or a full set of matching containers to make this work. Start by moving the milk out of the door and giving leftovers one visible home on the top shelf. Once those two habits stick, add bins where things keep getting lost; a small mixed set like the Sorbus 6-piece fridge organizer is an easy place to begin.

    Which zone in your fridge is the messiest right now: the door, the drawers, or the mystery back corner? Tell us in the comments, and share the one trick that keeps your fridge under control.

  • Under the Kitchen Sink, Sorted: A Measure-First Guide to Choosing the Organizer That Actually Fits

    Under the Kitchen Sink, Sorted: A Measure-First Guide to Choosing the Organizer That Actually Fits

    Disclosure: This post contains affiliate links. If you make a purchase through one of these links, we may earn a small commission at no additional cost to you. As an Amazon Associate, we earn from qualifying purchases.

    The cabinet under the kitchen sink is the one most of us open, shove something into, and close again as fast as possible. It’s dark, it’s deep, there’s a drainpipe running straight through the middle of it, and somewhere in the back there’s a bottle of cleaner you bought twice because you couldn’t find the first one.

    The good news: this is one of the smallest spaces in the house, so it’s one of the fastest to fix. The catch is that most under-sink organizers get returned for one reason — they don’t fit around the plumbing. So instead of another list of ideas, this guide works the other way around: measure first, pick the right type of organizer second, and only then decide what goes back in.

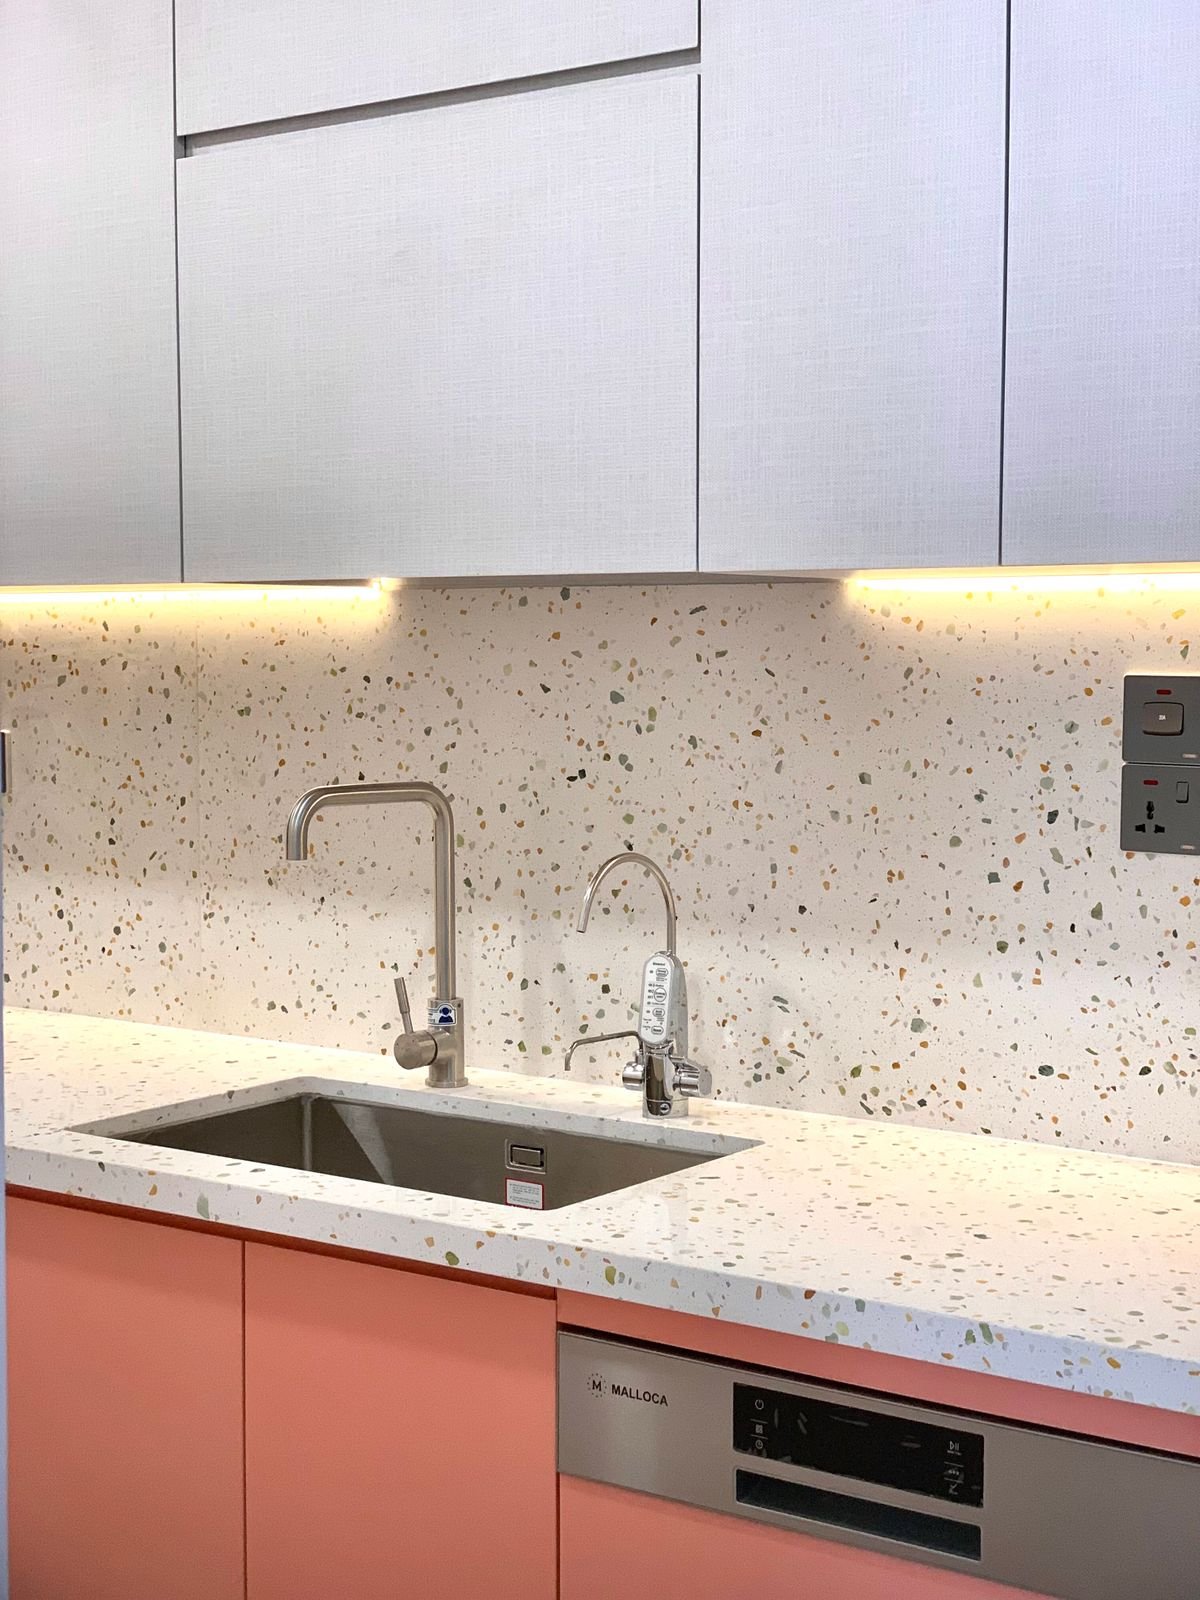
    A kitchen sink with a terrazzo countertop and coral base cabinets below

    Why Under-Sink Storage Usually Fails

    Three things work against you in this cabinet. First, the plumbing: the P-trap, supply lines and (in many kitchens) a garbage disposal eat the middle of the space, so a standard shelf simply won’t sit flat. Second, depth: base cabinets are usually around two feet deep, which means anything past the halfway point is out of sight and out of mind. Third, moisture: drips and small leaks are common here, and cardboard boxes or solid plastic trays trap that water instead of letting it dry.

    Any system that ignores one of those three problems will look great for a week and fall apart after that.

    Step 1: Take Five Measurements Before You Buy Anything

    Grab a tape measure and a phone to jot the numbers down. It takes about five minutes and saves you a return trip.

    1. Door opening width. Measure the narrowest point you’ll have to pass the organizer through — often the face frame or the center stile between two doors, not the cabinet interior.
    2. Interior depth. From the inside of the face frame to the back wall. Subtract an inch for pipes that come out of the back.
    3. Height to the lowest pipe. Measure from the cabinet floor to the bottom of the P-trap or disposal. This is the real ceiling for anything you put directly underneath.
    4. Width of the “free” zones. Measure the clear space to the left and right of the drain. These side zones are where tall organizers belong.
    5. Hinge clearance. Open the door fully and check how far the hinge sticks into the cabinet. Pull-out drawers need to slide past it.

    Step 2: Match the Organizer Type to Your Cabinet

    With your numbers in hand, the choice gets a lot simpler. Here’s how the five most common options compare:

    Organizer typeBest forWatch out for
    L-shaped or two-tier pull-outCabinets with a drain on one side; doubling vertical spaceCheck height to the lowest pipe before ordering
    Single sliding drawerDeep cabinets where the back is wastedHinges and center stiles can block the slide
    Turntable (lazy Susan)Corner sink cabinets and small bottlesTakes a full circle of floor space; tall bottles tip
    Tension rodHanging spray bottles by their triggersOnly works for trigger sprayers; can slip if overloaded
    Door-mounted rackSponges, gloves, trash bagsMust clear the pipes when the door closes

    For most standard single-bowl kitchen sinks, a pull-out that wraps around the drain is the option that solves the most problems at once: it uses the height on one side, brings the back of the cabinet to you, and doesn’t care that the pipe is there.

    ★ Our Pick

    REALINN L-Shaped Pull-Out Under Sink Organizer

    REALINN L-shaped two-tier pull-out organizer installed beside a sink drain pipe

    Its narrow upper basket steps around the drain while the wide bottom tier slides out, so the plumbing stops dictating what you can store.

    • Pipe-friendly L shape — the top basket can be mounted on the left or right to clear the drain or disposal.
    • Pull-out bottom tier — bottles at the back come forward in one pull, no kneeling and reaching.
    • Open wire baskets — drips fall through instead of pooling, and it wipes clean quickly.

    Check Current Price on Amazon →

    As an Amazon Associate we earn from qualifying purchases. Price and availability may change.

    Step 3: Edit Before You Put Anything Back

    Empty the whole cabinet onto a towel on the floor. It’s the only way to see how many half-used bottles you really have. Combine duplicates, toss anything dried out or unlabeled, and move the things you use a few times a year (oven cleaner, silver polish, spare light bulbs) to a garage shelf or utility closet.

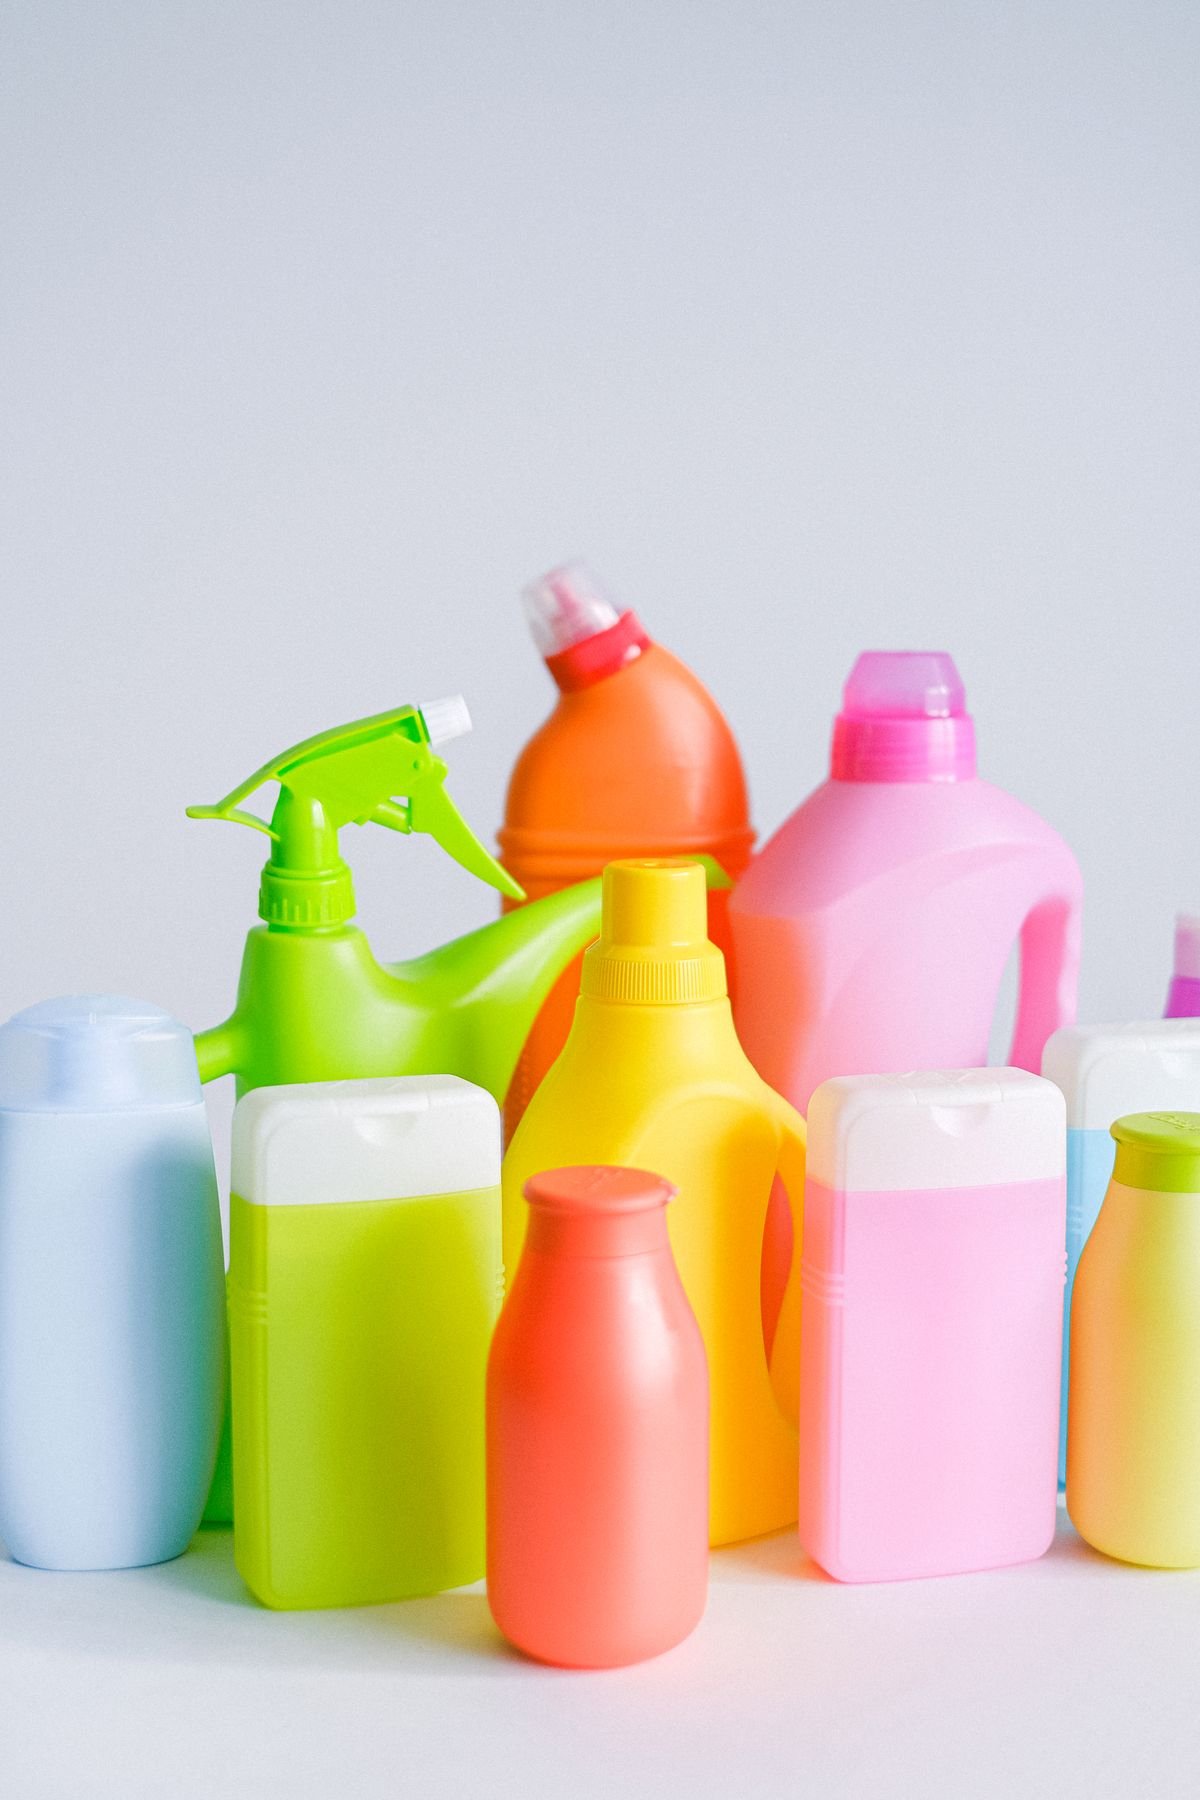
    A group of colorful plastic cleaning product bottles, including a spray bottle

    What earns a spot under the sink is a short list: dish soap refills, dishwasher pods, sponges and brushes, one or two all-purpose sprays, trash bags, and a pair of gloves. If you have young children or pets, this is also the moment to install a cabinet safety latch or move harsh chemicals to a high shelf — the under-sink cabinet is one of the easiest for small hands to reach.

    Step 4: Zone It by How Often You Reach

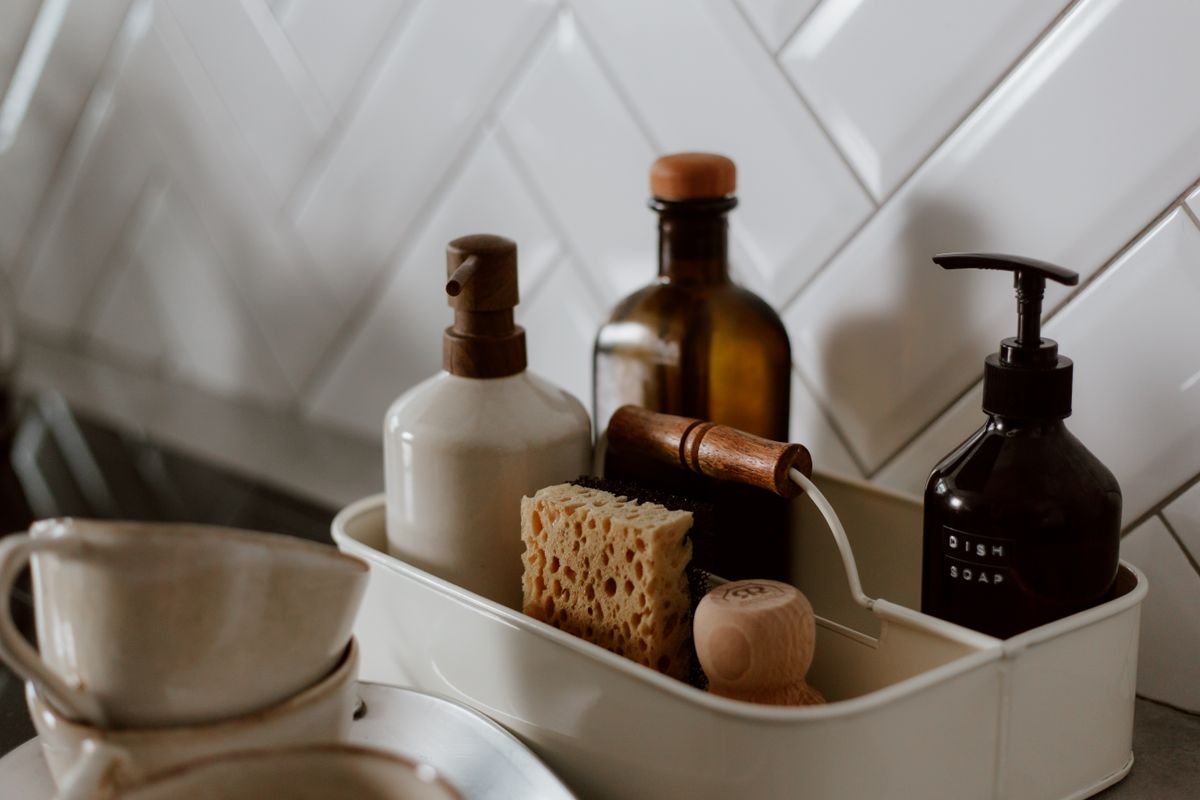
    Put the things you grab every day in the front, at the height your hand naturally lands when the door opens. Weekly items go on the pull-out or the second tier. Refills and backups go in the back or on the lowest level. A small open caddy for daily dish tools keeps them together and lets you carry the whole set to the counter in one go.

    A metal caddy holding dish soap, a sponge and a scrub brush beside a white tiled backsplash

    Trash bags are the item people forget. Keep the open roll on the inside of the door or in a slim holder on a side wall so you can pull one without moving anything else.

    Step 5: Protect the Cabinet Floor

    Before the organizer goes in, lay down a waterproof, trimmable cabinet liner with a raised edge if you can find one. It catches drips from bottles and gives you an early warning if a supply line starts to leak — a damp liner is a lot cheaper to notice than a swollen cabinet floor. Once a month, take ten seconds to run a hand along the liner and the pipes. That small habit is the difference between a tidy cabinet and a repair bill.

    The Short Version

    Measure the opening, the depth and the height to the lowest pipe. Choose an organizer that works with your plumbing rather than against it. Edit down to the dozen or so things you really use at the sink, put daily items up front, and protect the floor from leaks. You’ll get a cabinet you can open without bracing yourself — and you’ll stop buying that second bottle of cleaner.

    What’s living under your kitchen sink right now — and what’s the one thing that always ends up in the way? Tell us in the comments below. We read every one, and your questions shape what we write next.