Disclosure: This post contains affiliate links. If you make a purchase through one of these links, we may earn a small commission at no additional cost to you. As an Amazon Associate, we earn from qualifying purchases.
The cabinet under the kitchen sink is the one most of us open, shove something into, and close again as fast as possible. It’s dark, it’s deep, there’s a drainpipe running straight through the middle of it, and somewhere in the back there’s a bottle of cleaner you bought twice because you couldn’t find the first one.
The good news: this is one of the smallest spaces in the house, so it’s one of the fastest to fix. The catch is that most under-sink organizers get returned for one reason — they don’t fit around the plumbing. So instead of another list of ideas, this guide works the other way around: measure first, pick the right type of organizer second, and only then decide what goes back in.
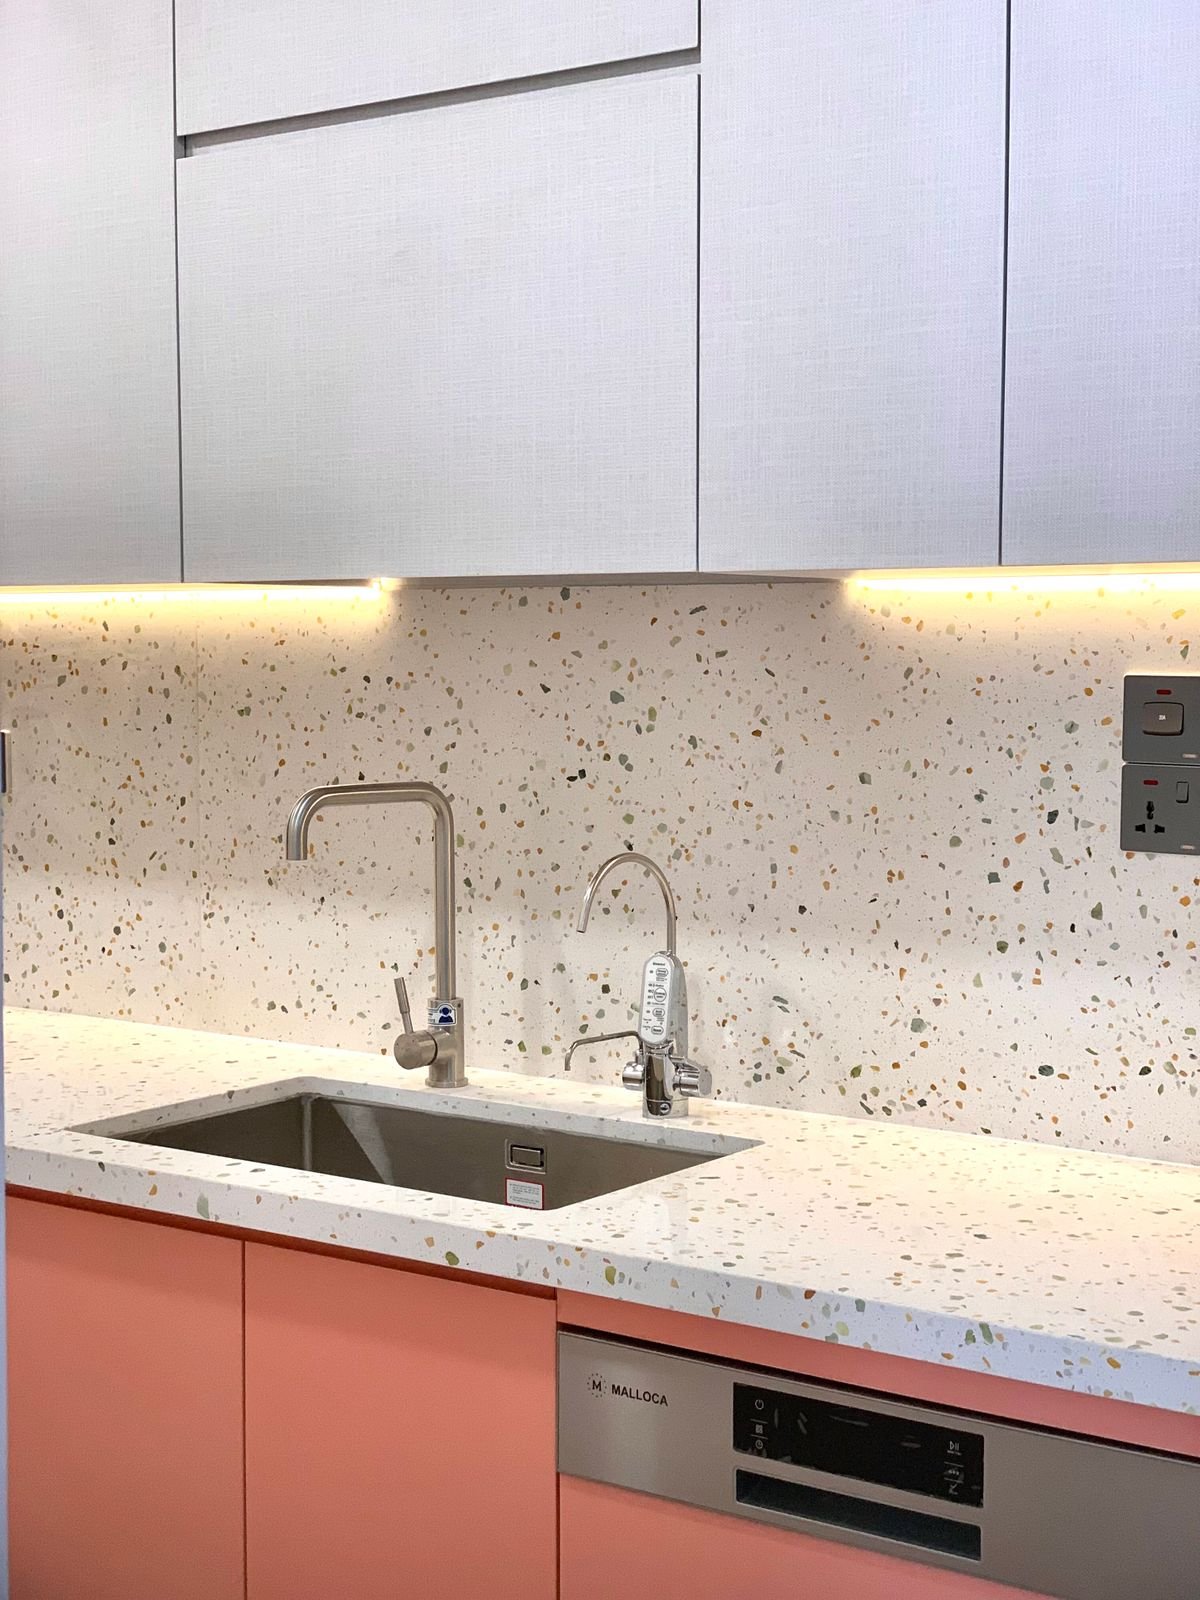
Why Under-Sink Storage Usually Fails
Three things work against you in this cabinet. First, the plumbing: the P-trap, supply lines and (in many kitchens) a garbage disposal eat the middle of the space, so a standard shelf simply won’t sit flat. Second, depth: base cabinets are usually around two feet deep, which means anything past the halfway point is out of sight and out of mind. Third, moisture: drips and small leaks are common here, and cardboard boxes or solid plastic trays trap that water instead of letting it dry.
Any system that ignores one of those three problems will look great for a week and fall apart after that.
Step 1: Take Five Measurements Before You Buy Anything
Grab a tape measure and a phone to jot the numbers down. It takes about five minutes and saves you a return trip.
- Door opening width. Measure the narrowest point you’ll have to pass the organizer through — often the face frame or the center stile between two doors, not the cabinet interior.
- Interior depth. From the inside of the face frame to the back wall. Subtract an inch for pipes that come out of the back.
- Height to the lowest pipe. Measure from the cabinet floor to the bottom of the P-trap or disposal. This is the real ceiling for anything you put directly underneath.
- Width of the “free” zones. Measure the clear space to the left and right of the drain. These side zones are where tall organizers belong.
- Hinge clearance. Open the door fully and check how far the hinge sticks into the cabinet. Pull-out drawers need to slide past it.
Step 2: Match the Organizer Type to Your Cabinet
With your numbers in hand, the choice gets a lot simpler. Here’s how the five most common options compare:
| Organizer type | Best for | Watch out for |
|---|---|---|
| L-shaped or two-tier pull-out | Cabinets with a drain on one side; doubling vertical space | Check height to the lowest pipe before ordering |
| Single sliding drawer | Deep cabinets where the back is wasted | Hinges and center stiles can block the slide |
| Turntable (lazy Susan) | Corner sink cabinets and small bottles | Takes a full circle of floor space; tall bottles tip |
| Tension rod | Hanging spray bottles by their triggers | Only works for trigger sprayers; can slip if overloaded |
| Door-mounted rack | Sponges, gloves, trash bags | Must clear the pipes when the door closes |
For most standard single-bowl kitchen sinks, a pull-out that wraps around the drain is the option that solves the most problems at once: it uses the height on one side, brings the back of the cabinet to you, and doesn’t care that the pipe is there.
REALINN L-Shaped Pull-Out Under Sink Organizer

Its narrow upper basket steps around the drain while the wide bottom tier slides out, so the plumbing stops dictating what you can store.
- Pipe-friendly L shape — the top basket can be mounted on the left or right to clear the drain or disposal.
- Pull-out bottom tier — bottles at the back come forward in one pull, no kneeling and reaching.
- Open wire baskets — drips fall through instead of pooling, and it wipes clean quickly.
Check Current Price on Amazon →
As an Amazon Associate we earn from qualifying purchases. Price and availability may change.
Step 3: Edit Before You Put Anything Back
Empty the whole cabinet onto a towel on the floor. It’s the only way to see how many half-used bottles you really have. Combine duplicates, toss anything dried out or unlabeled, and move the things you use a few times a year (oven cleaner, silver polish, spare light bulbs) to a garage shelf or utility closet.

What earns a spot under the sink is a short list: dish soap refills, dishwasher pods, sponges and brushes, one or two all-purpose sprays, trash bags, and a pair of gloves. If you have young children or pets, this is also the moment to install a cabinet safety latch or move harsh chemicals to a high shelf — the under-sink cabinet is one of the easiest for small hands to reach.
Step 4: Zone It by How Often You Reach
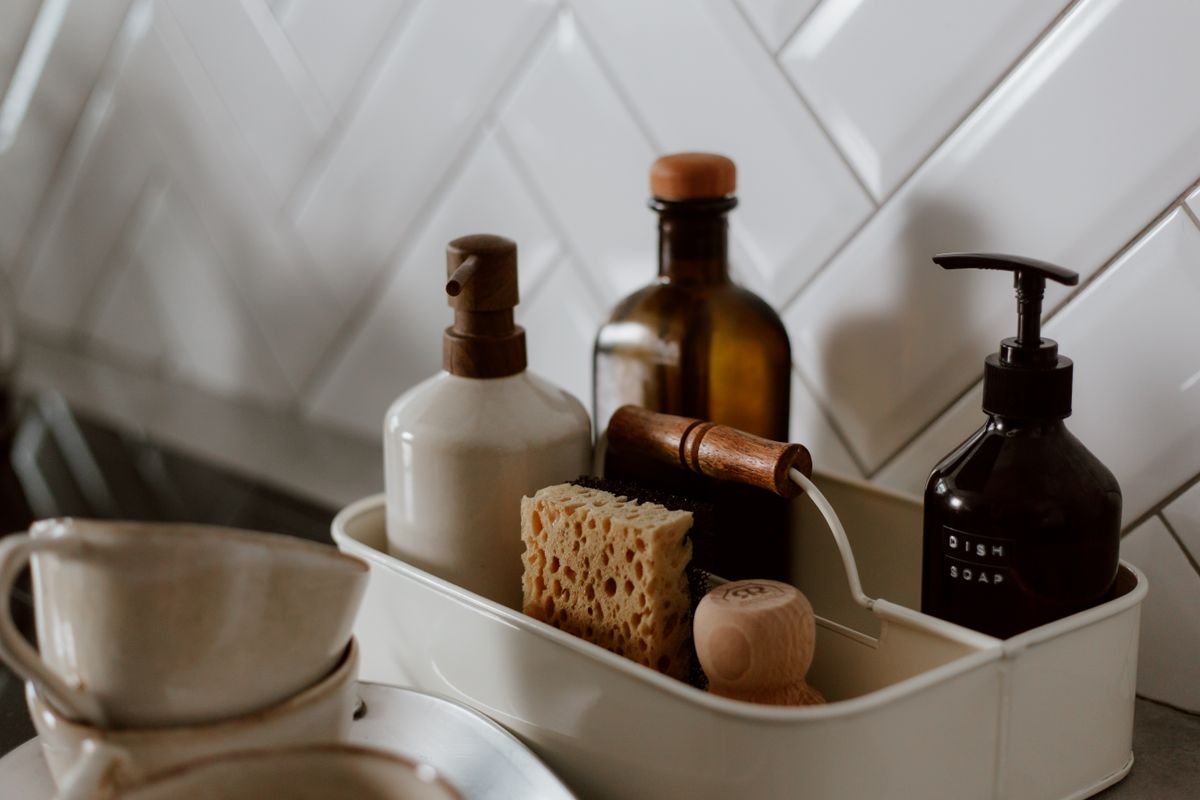
Put the things you grab every day in the front, at the height your hand naturally lands when the door opens. Weekly items go on the pull-out or the second tier. Refills and backups go in the back or on the lowest level. A small open caddy for daily dish tools keeps them together and lets you carry the whole set to the counter in one go.
Trash bags are the item people forget. Keep the open roll on the inside of the door or in a slim holder on a side wall so you can pull one without moving anything else.
Step 5: Protect the Cabinet Floor
Before the organizer goes in, lay down a waterproof, trimmable cabinet liner with a raised edge if you can find one. It catches drips from bottles and gives you an early warning if a supply line starts to leak — a damp liner is a lot cheaper to notice than a swollen cabinet floor. Once a month, take ten seconds to run a hand along the liner and the pipes. That small habit is the difference between a tidy cabinet and a repair bill.
The Short Version
Measure the opening, the depth and the height to the lowest pipe. Choose an organizer that works with your plumbing rather than against it. Edit down to the dozen or so things you really use at the sink, put daily items up front, and protect the floor from leaks. You’ll get a cabinet you can open without bracing yourself — and you’ll stop buying that second bottle of cleaner.
What’s living under your kitchen sink right now — and what’s the one thing that always ends up in the way? Tell us in the comments below. We read every one, and your questions shape what we write next.
Leave a Reply