Blog

  • 10 Closet Organization Ideas That Actually Save Space (No Renovation Required)

    Disclosure: This post contains affiliate links. If you make a purchase through one of these links, we may earn a small commission at no additional cost to you. As an Amazon Associate, we earn from qualifying purchases.

    A neatly organized closet with clothes and accessories arranged by category

    If opening your closet feels like a small act of bravery — sweaters avalanching off a shelf, shoes in three different piles, that one drawer you just close quickly and walk away from — you’re in good company. Most closets don’t need more space. They need a system. Here are ten ideas that hold up months later, not just on organizing day.

    1. Take Everything Out First

    Before you buy a single bin, empty the closet completely. It’s the only way to see what you actually own, catch duplicates, and set aside anything you haven’t worn in a year for donation. Skipping this step is the number one reason closet systems fall apart within weeks — you end up organizing clutter instead of removing it.

    2. Sort by Category, Not by Where It Used to Live

    Group everything into rough categories — tops, bottoms, outerwear, shoes, accessories, seasonal items — before deciding where anything goes back. This makes the next step (assigning zones) far easier and reveals just how much of one category you actually own.

    3. Give Everything a Zone

    Once sorted, assign each category a fixed spot: shelf, section of the rod, or bin. A zoned closet is a closet anyone in the house can put things back into correctly, because there’s only one right place for each item — no guessing.

    4. Use Stackable Bins for Anything That Doesn’t Hang

    Folded sweaters, T-shirts, workout clothes, and off-season items do best in stackable, foldable bins rather than loose piles on a shelf. Bins keep stacks from toppling and make it obvious at a glance when a category is running low on space.

    Soft clothes neatly organized in woven storage baskets

    ★ Our Pick

    SNSLXH 5-Pack Foldable Closet Storage Bins

    SNSLXH 5-pack foldable closet storage bins stacked in a closet

    • Stackable, drawer-style bins — build vertical storage on any shelf without installing anything
    • Foldable when empty — fold flat for off-season storage instead of taking up permanent space
    • Sturdy PP plastic construction — holds folded clothing, shoes, or accessories without sagging
    • Rated 4.5 stars from over 5,000 reviews, and currently an Amazon’s Choice pick in its category

    Check Current Price on Amazon →

    5. Add a Second Level With Shelf Risers

    Most closet shelves only use the bottom half of their actual height. A simple wire or acrylic riser adds a second tier without any tools, instantly doubling usable space for folded items or shoe boxes.

    6. Hang Matching Hangers — And Only as Many as You Need

    Switching to one uniform hanger style (velvet or slim plastic both work well) makes a closet look tidier instantly and lets more clothes fit on the same rod, since you’re not fighting mismatched hook shapes and widths.

    7. Corral Small Items in Their Own Bin

    Belts, scarves, and loose accessories almost never stay organized on a shelf by themselves. Give them one small labeled bin or drawer divider so they’re contained instead of sliding into every other category.

    8. Store Off-Season Clothing Separately

    Heavy coats in summer and swimsuits in winter are just taking up prime closet real estate. Move off-season items into labeled, foldable bins on a top shelf or under the bed, and rotate them twice a year.

    9. Keep a Small Donation Bag Inside the Closet

    Instead of a big annual purge, keep an empty bag or box in the closet year-round. The moment something doesn’t fit or isn’t worn anymore, it goes straight in — no separate decluttering session required.
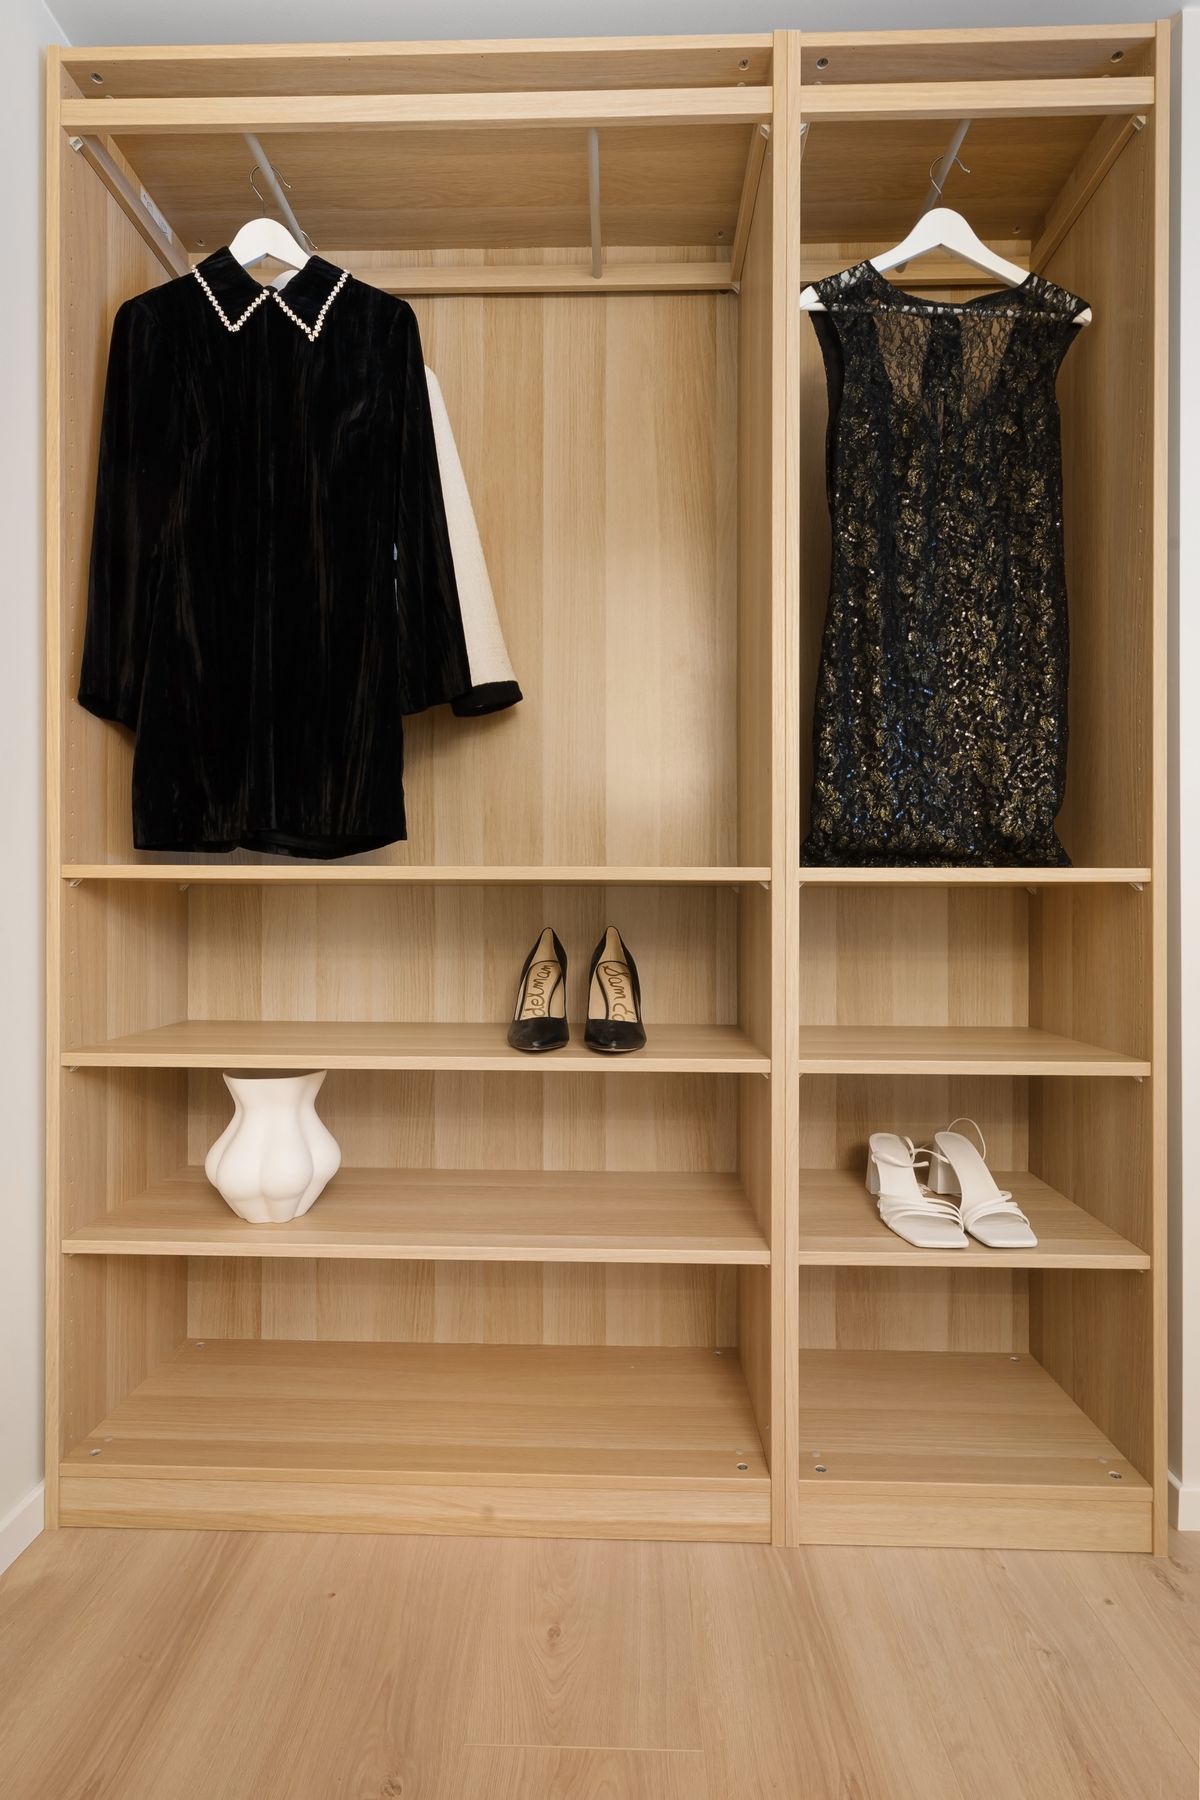
    A minimalist wardrobe with dresses and shoes arranged neatly

    10. Do a 5-Minute Reset Weekly

    Once your system is set up, pick one day a week to spend five minutes putting stray items back in their zone. Five minutes weekly prevents the two-hour teardown-and-redo that most people end up doing every few months.

    Quick Recap

    • Empty the closet before organizing it
    • Sort by category first
    • Assign every category a fixed zone
    • Use stackable bins for folded items (we recommend the SNSLXH 5-pack)
    • Add vertical space with shelf risers
    • Standardize your hangers
    • Corral small accessories in one bin
    • Store off-season items separately
    • Keep a running donation bag
    • Reset weekly, not quarterly

    Have a closet organization trick that’s worked for you? Share it in the comments below.

  • 12 Pantry Organization Ideas That Actually Work (No Renovation Required)

    12 Pantry Organization Ideas That Actually Work (No Renovation Required)

    Disclosure: This post contains affiliate links. If you make a purchase through one of these links, we may earn a small commission at no additional cost to you. As an Amazon Associate, we earn from qualifying purchases.

    If your pantry looks like a game of Tetris gone wrong — cereal boxes leaning on canned goods, three half-open bags of pasta, and a spice jar rolling around in the back — you’re not alone. The good news is that a genuinely organized pantry doesn’t require a renovation, a Pinterest-perfect budget, or a free weekend. It requires a system. Here are twelve ideas that actually hold up after the first week, not just on move-in day.

    1. Start With a Real Audit, Not a Quick Tidy

    Before buying a single container, take everything out. Check expiration dates, toss anything stale or infested (it happens to everyone), and group what’s left into rough categories: baking, breakfast, snacks, canned goods, spices, and so on. This step feels slow, but skipping it is the #1 reason pantry systems fall apart within a month — you end up organizing clutter instead of removing it.

    2. Zone the Pantry by Category, Not by Container Size

    Once you know what you actually own, assign each category a “zone” — a shelf or section it always lives in. Baking on one shelf, snacks at kid height if you have children, canned goods together, and so on. Zoning is what makes a pantry easy to maintain, because everyone in the house — including future, tired you — knows where things go back.

    3. Decant Dry Staples Into Clear, Airtight Containers

    This is the single highest-impact change you can make. Bags of flour, rice, sugar, oats, and pasta are awkward shapes, go stale faster once opened, and are magnets for pantry moths. Moving them into clear, airtight containers solves all three problems at once: you can see what you have and when you’re running low, contents stay fresh longer, and pests can’t get in.

    ★ Our Pick

    Vtopmart Airtight Food Storage Container Set (24-Piece)

    Vtopmart airtight food storage container set, 24-piece, on pantry shelves

    This is the set we recommend if you’re decanting for the first time. It also comes with a full set of labels and a marker, so zoning (step 2) and labeling (step 4) are covered in one purchase.

    • Uniform, stackable shapes — they use shelf space far more efficiently than mismatched bags and boxes

    As an Amazon Associate we earn from qualifying purchases. Price and availability may change.

    4. Label Everything — Including Dates

    Labels aren’t just for looks. Beyond naming the contents, add the date you decanted or opened an item. This makes the “first in, first out” habit (see #7) almost automatic, because you can see at a glance what’s oldest.

    5. Use Your Vertical Space With Risers and Stacking Shelves

    Most pantries waste the top third of every shelf because cans and boxes only use the bottom half of the available height. A simple wire or acrylic shelf riser adds a second tier without any installation, instantly creating usable space for spices, small jars, or a second row of cans.

    6. Corral Small or Loose Items in Bins

    Snack bars, seasoning packets, small bags of nuts, and loose produce like onions or potatoes all do better in a labeled bin than loose on a shelf. Bins act as a “container within the container” — you can pull the whole bin out to grab what you need instead of digging.

    7. Practice First In, First Out (FIFO)

    Every time you restock, move older items to the front and put new stock behind it. This one habit — more than any product — is what prevents the “found three expired jars of the same spice” problem that undoes most pantry organization systems.

    8. Give Every Shelf a Weight Limit (Mentally)

    Overloaded shelves are how systems collapse — literally and figuratively. If a shelf is hard to put things back on, people stop doing it. Keep a little breathing room on every shelf rather than packing it edge to edge.

    9. Store Baking Basics Together, Pre-Measured When Possible

    If you bake often, consider keeping a small labeled container with your most common flour-to-sugar ratio pre-measured, or at least keep baking soda, baking powder, and vanilla in one small caddy. Small conveniences like this are what actually get used on a busy weeknight.

    10. Keep a Running Grocery List Inside the Pantry Door

    A small notepad or whiteboard on the inside of the pantry door means anyone in the house can jot down “we’re low on oats” the moment they notice — instead of forgetting by the time they reach the store.

    11. Do a 5-Minute Reset Once a Week

    Pick a day — Sunday night works well for a lot of people — and spend five minutes putting stray items back in their zone, wiping a shelf if needed, and checking for anything close to its date. Five minutes weekly prevents the two-hour teardown-and-redo that most people end up doing every few months.

    12. Don’t Aim for Perfect — Aim for Repeatable

    The pantries that stay organized aren’t the ones with the fanciest containers. They’re the ones with a system simple enough that a tired person, at the end of a long day, can still put things back in the right place. Start with the audit, decant your top three most-used staples, zone your shelves, and build from there.

    Quick Recap

    • Audit before you organize
    • Zone shelves by category
    • Decant staples into airtight containers (we use and recommend the Vtopmart 24-piece set)
    • Label with contents and date
    • Use vertical risers
    • Corral small items in bins
    • Practice FIFO
    • Reset weekly, not quarterly

    Have a pantry organization tip that’s worked for you? Share it in the comments below.